

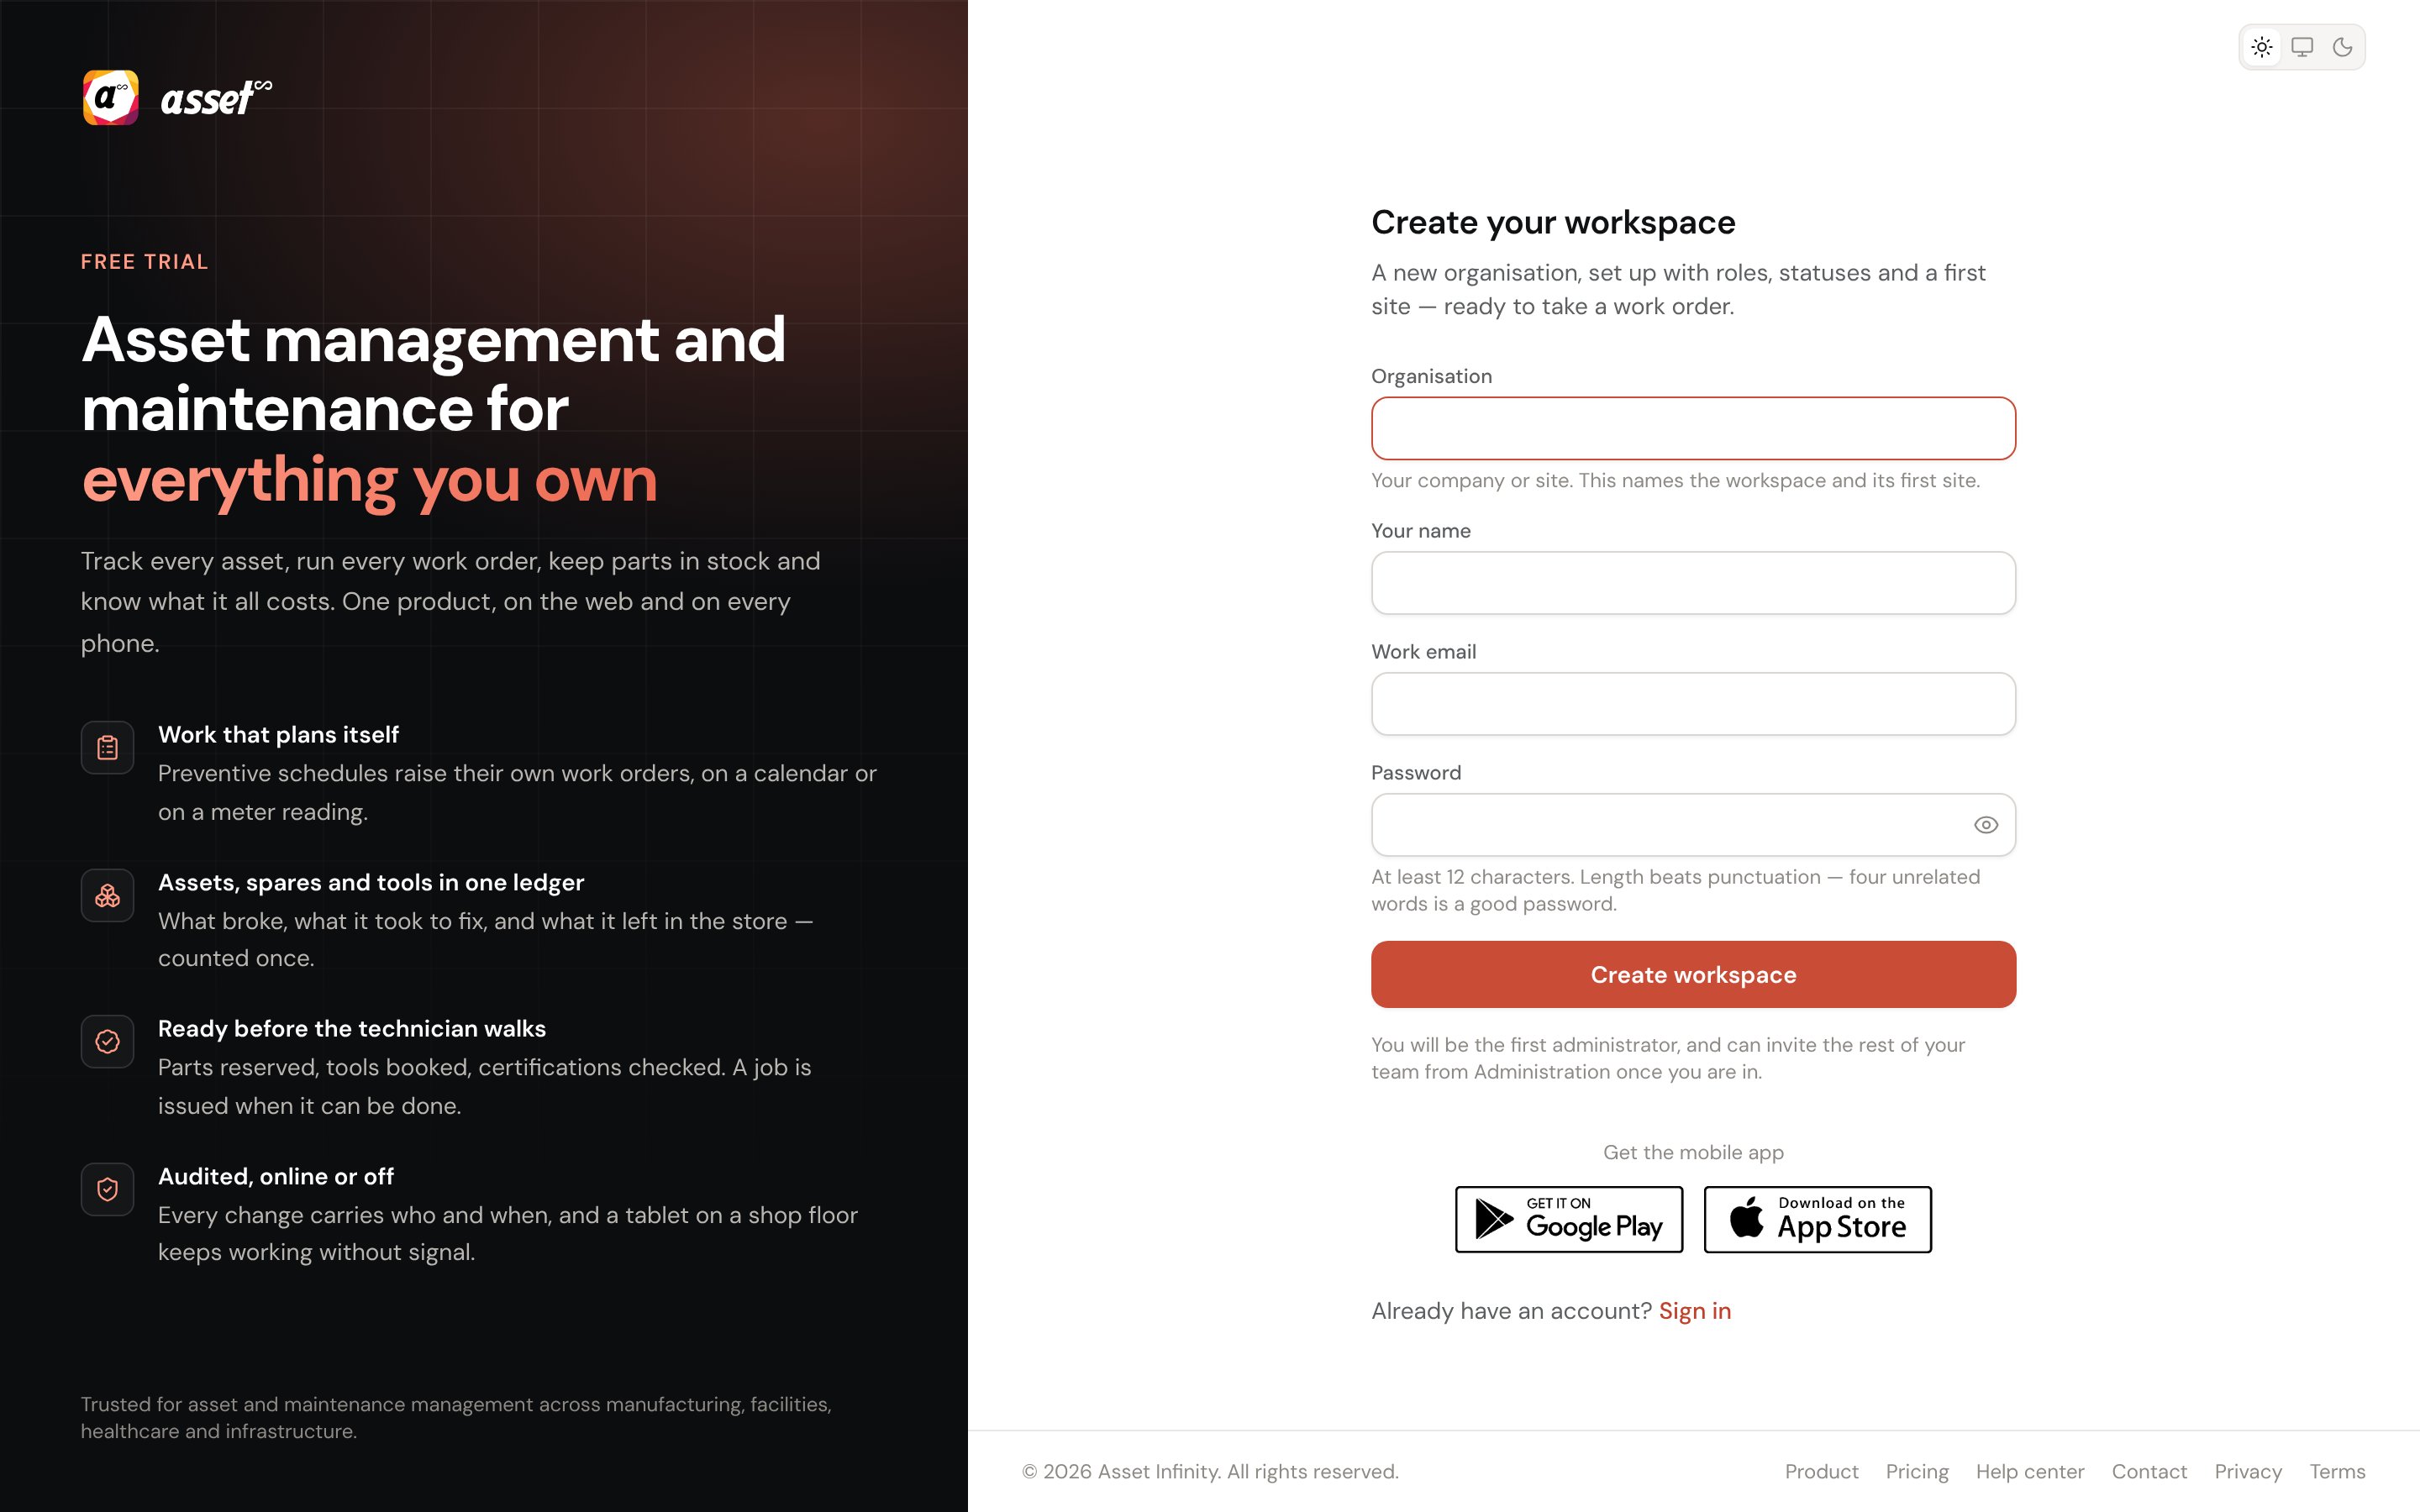
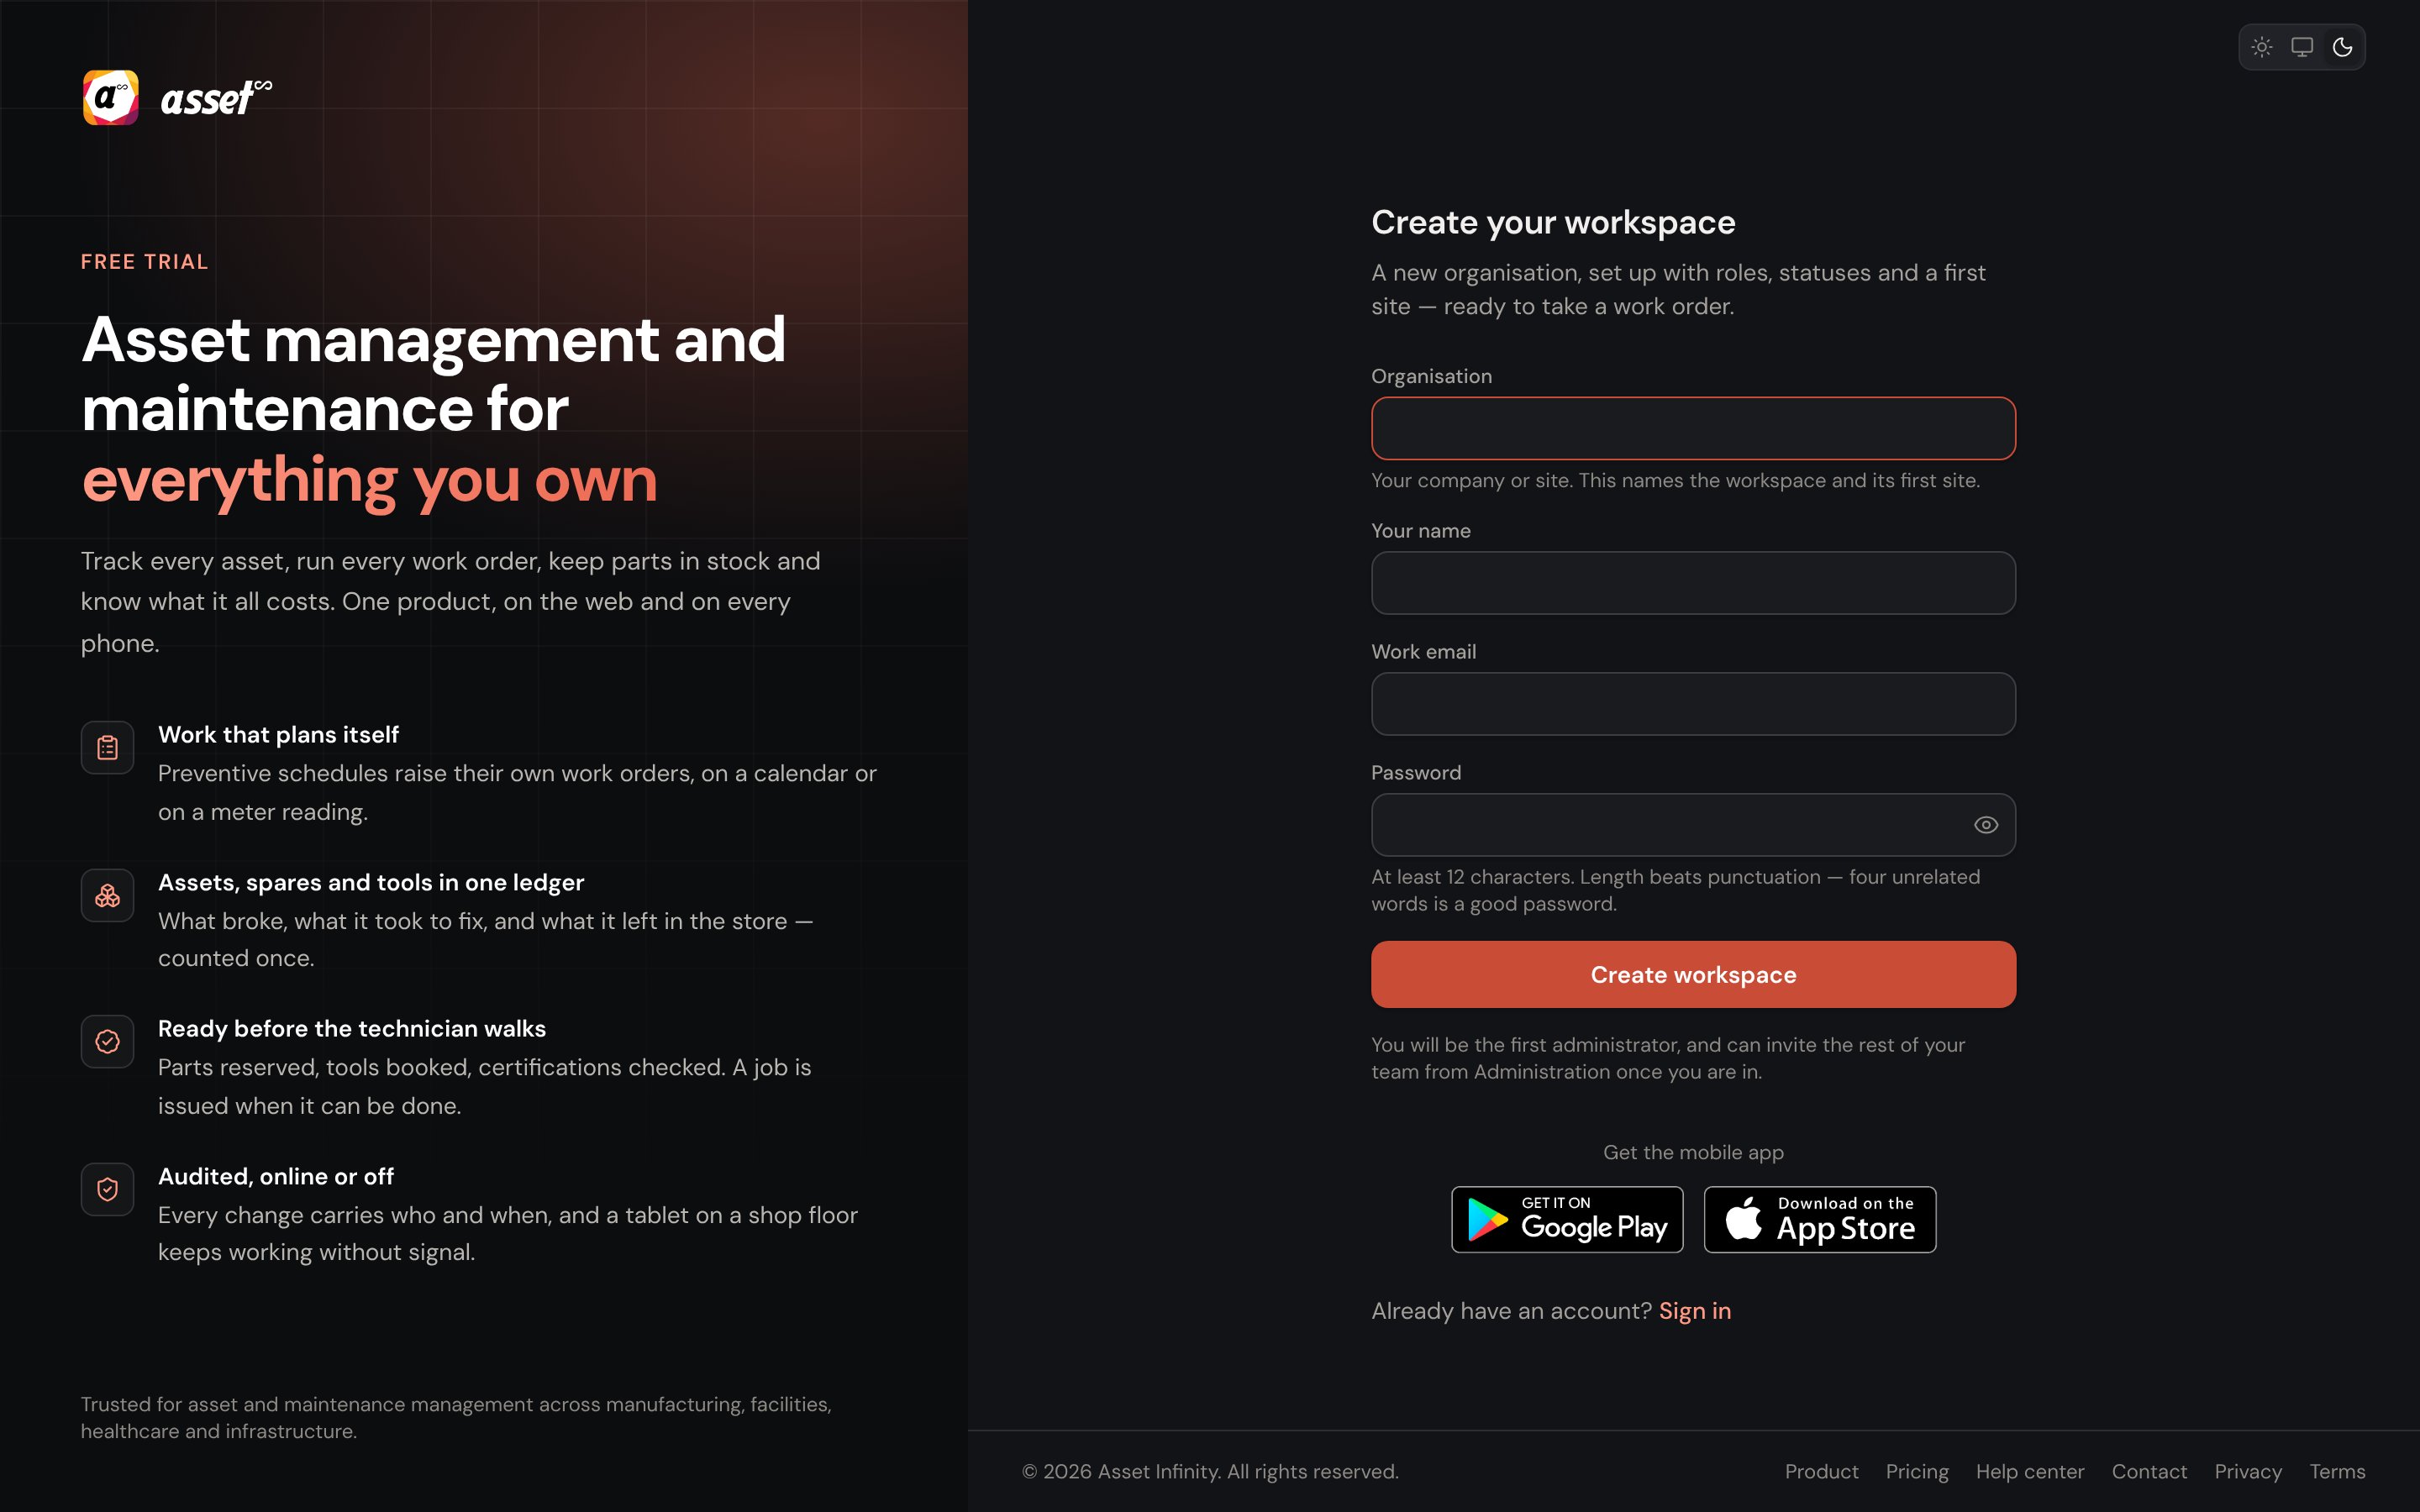
The form
Create workspace creates the organisation and sends a link to the address you gave. Already have
an account? Sign in goes back to sign-in.
Under the form, Get the mobile app offers the field app your technicians will use, chosen the
same way as on the sign-in page — see
getting the mobile app.
Confirming your address
The workspace waits for its address. Check your email names the address the link went to; open the link, press Open my workspace, and you land inside it signed in as its first administrator. Nobody can sign in before the link is followed, not even with the password you chose, and the trial starts when the workspace opens. Send the link again sends a fresh one, and Use a different address takes you back to the form to correct a mistyped address. A workspace whose link is never opened is deleted after a week. The screens and their messages are described step by step in signing in.The Welcome questions
The first time you are inside, you are asked two questions, described in full under the Welcome questions:
Sample data can be cleared at any time from the banner on Getting started.
Where sign-up is not offered
An organisation’s own address — its subdomain or its own domain, set under Branding — never offers sign-up. Opening/sign-up there shows Accounts here
are by invitation: the organisation manages who can sign in at that address, so ask one of its
administrators to invite you, and its help desk address is shown where it has one. Back to sign in
returns to the sign-in page.
Some installations provision organisations by hand and do not offer self-service sign-up at all.
What a new organisation contains
A new organisation is not empty. It arrives with:
Everything above is yours to change.
The trial
A self-service organisation starts on a 14-day trial. Billing shows the days left, and a banner appears across the application in the last seven days. When the trial ends, nothing you set up is lost — choosing a plan puts you back where you left off.First things to do
After sign-up the product opens Getting started, the checklist of what it needs, until you have loaded at least one asset.1
Check your organisation settings
Currencies, language, timezone and planning horizon on Organisation.
2
Rename the site and build its locations
On the sites register and inside a site. Give it a working
week — see setting up sites.
3
Compose roles, then invite people
Make narrower roles on roles before inviting anybody who should not run the
organisation, then add people under people and access.
4
Configure before loading
Asset categories, criticality and meter types before you load assets — easier than reclassifying
afterwards. See asset settings.
5
Load your data
Work down Getting started, importing the files you have.
6
Build your first plan
See the plan builder.