

Signing in
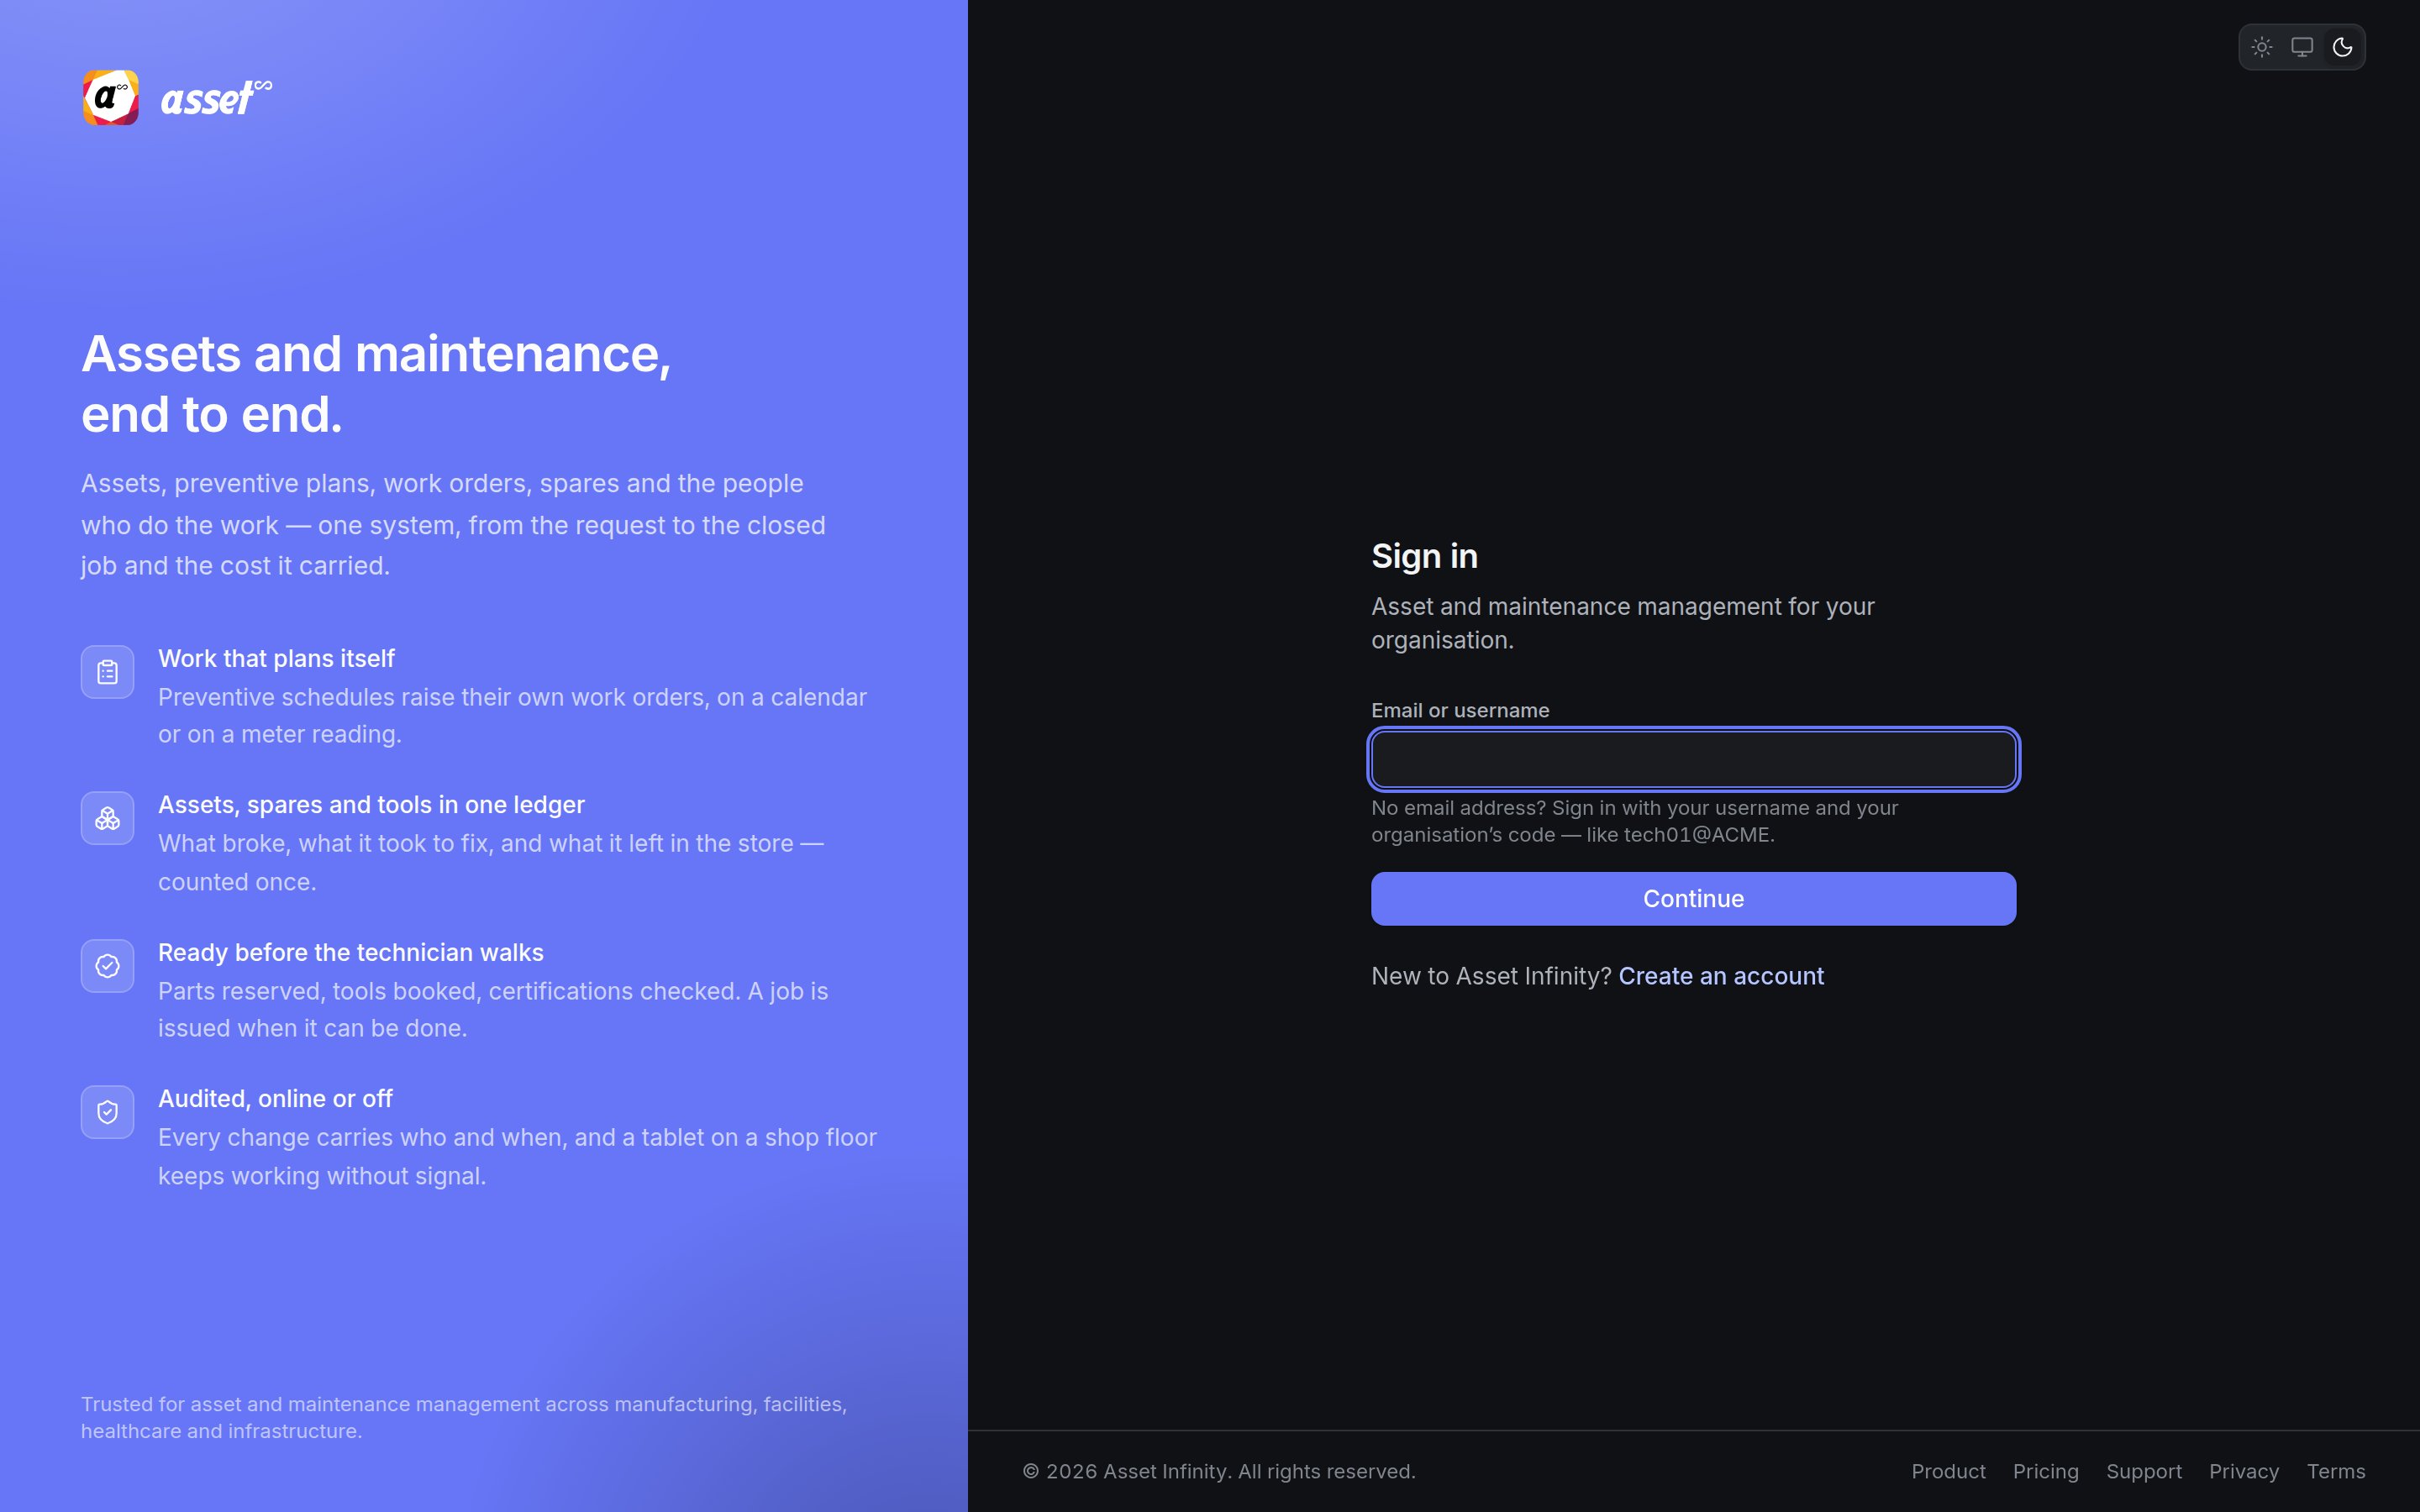
Sign-in is two steps, so the app can work out how you sign in before it asks for a secret.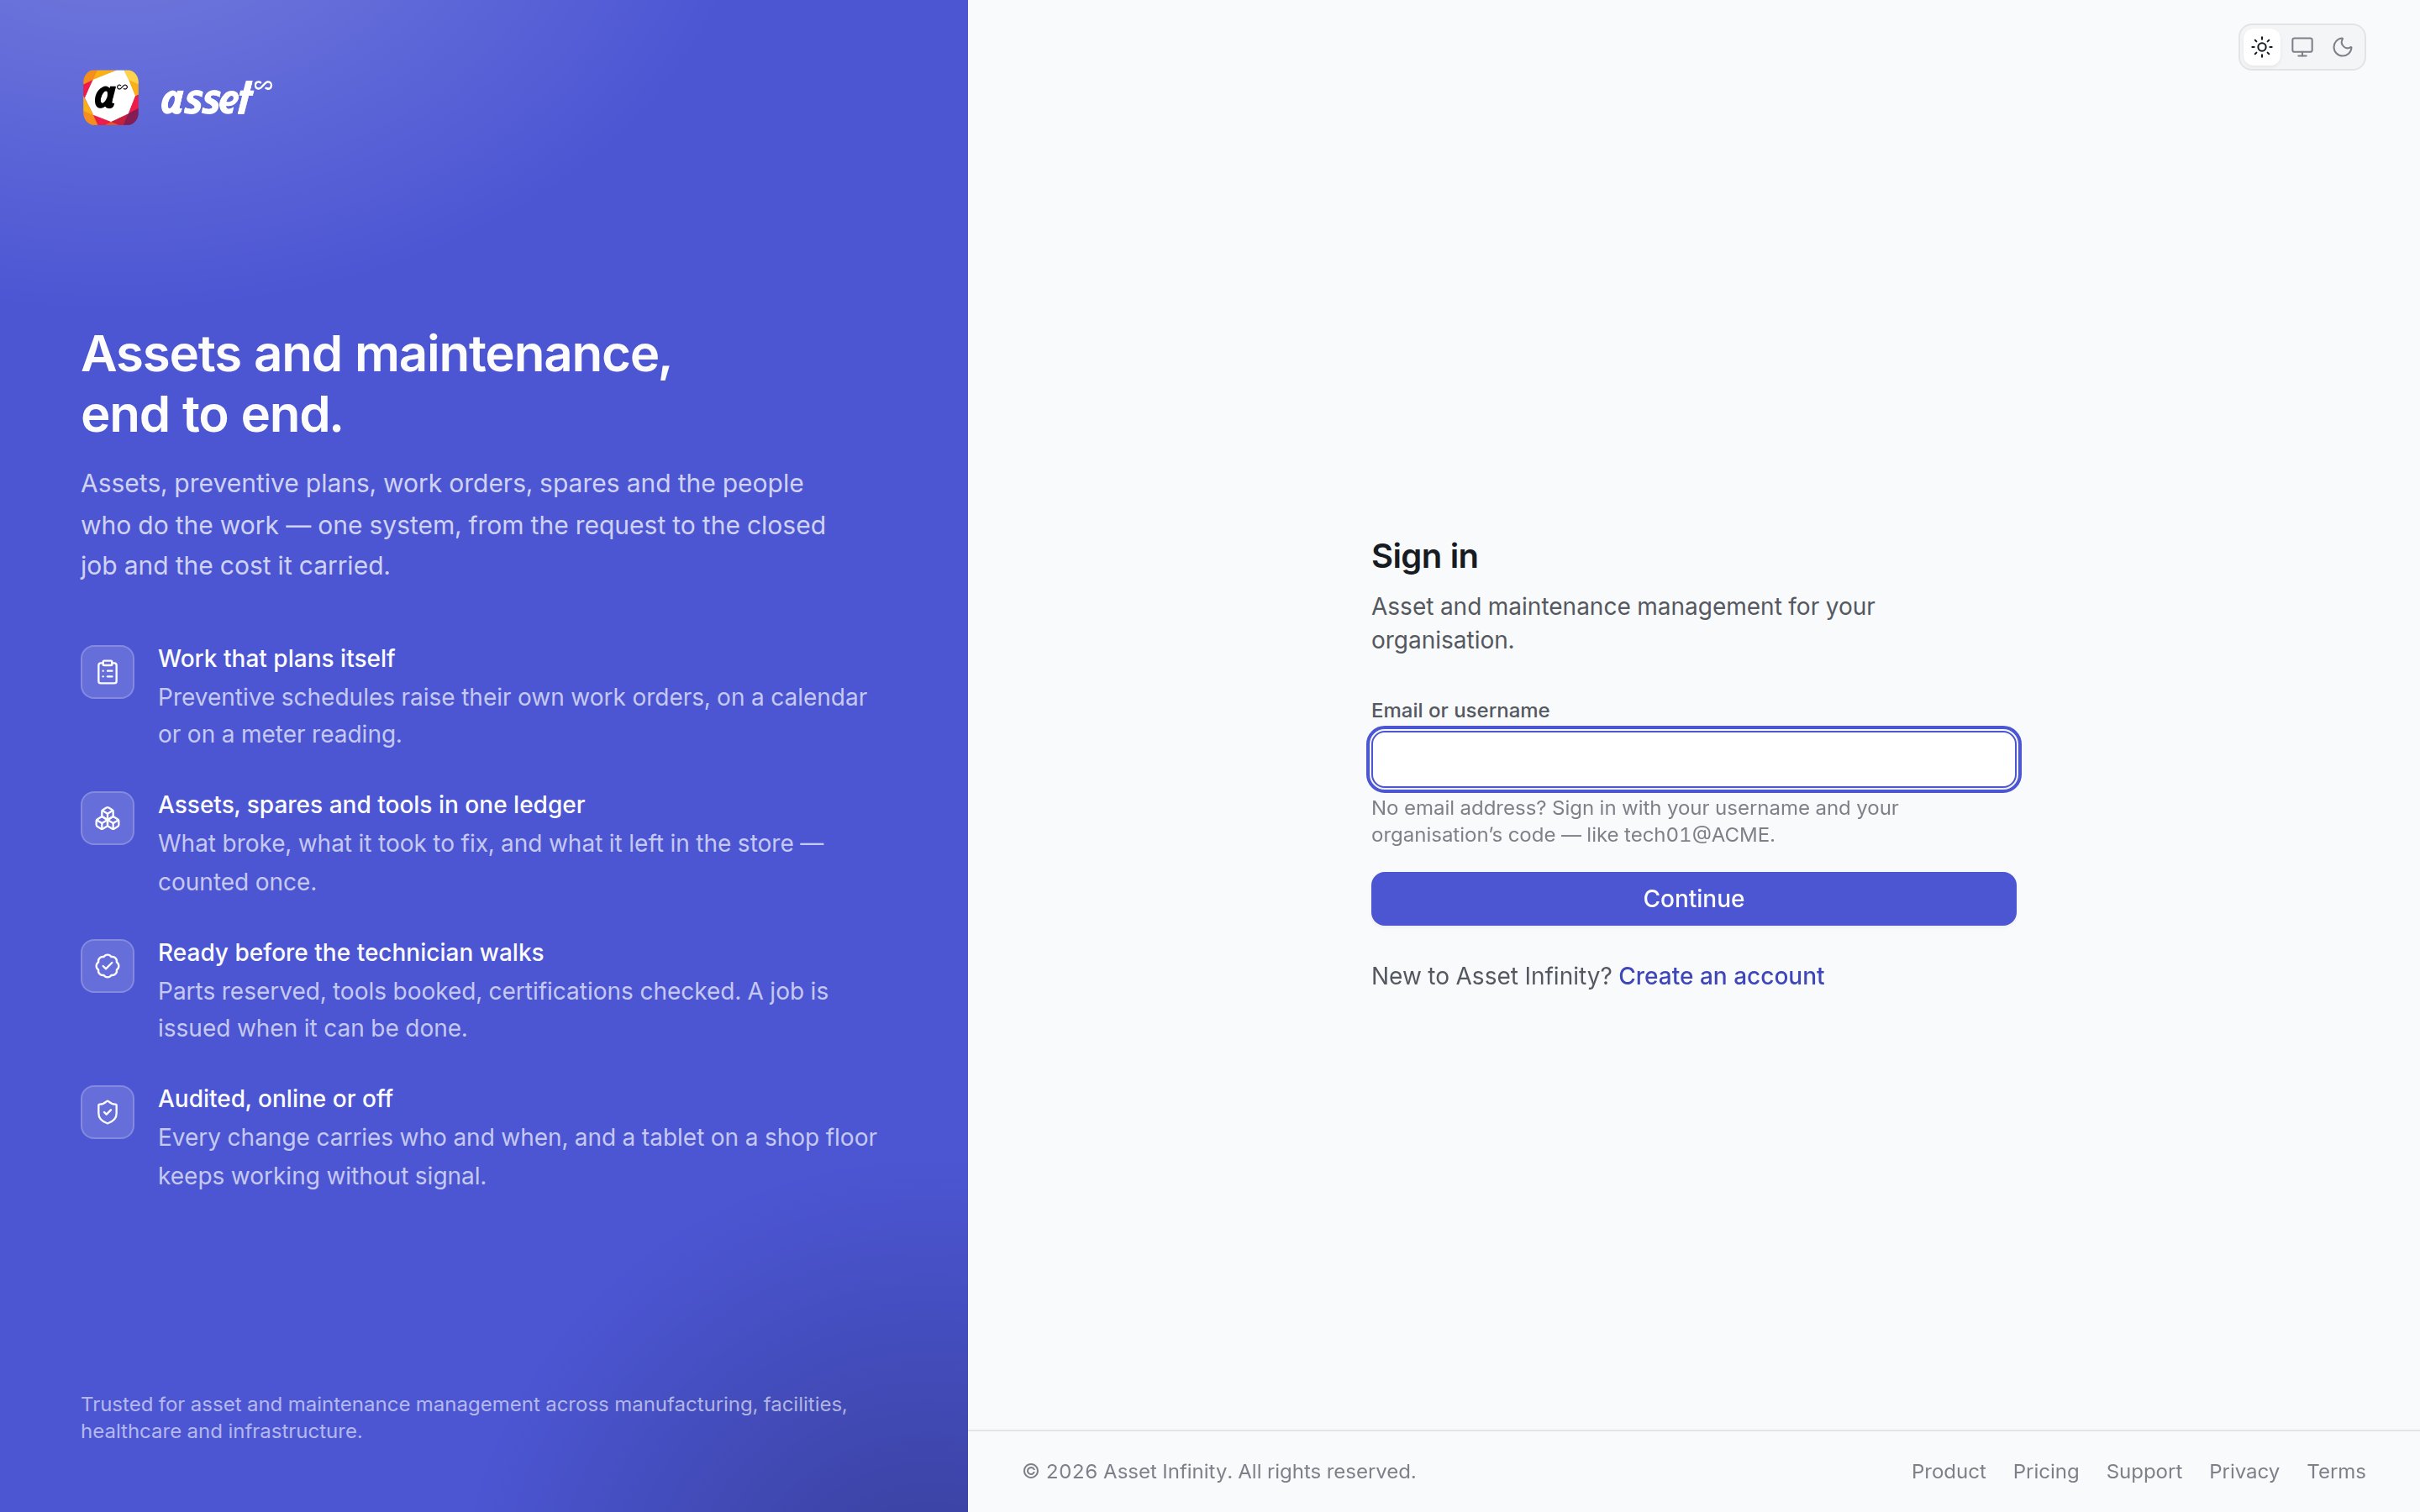
1
Enter your email or username
Type the address you sign in with into Email or username and click Continue.No email address? Sign in with your username and your organisation’s code, joined with an
@ — for example
tech01@ACME. Your administrator gives you both.If the product’s own Google or Microsoft sign-in is offered on this installation, Continue
with Google and Continue with Microsoft appear above the box on this first step.2
Prove it is you
The second step shows the address you typed at the top — click it, or Change, to go back
and correct it. What appears under it depends on how your organisation has set up sign-in for
your address:
How sign-in methods are configured is described in ways to sign in
and identity providers.
3
Choose an organisation, if asked
If your address has an account in more than one organisation using the same password, you are
asked Which organisation? and shown one button per organisation. Pick the one you want to
work in. Back returns you to the password step. You can move between them later from the
organisation switcher at the foot of the
sidebar.
4
Enter your two-step code, if asked
If two-step sign-in is on for your account, a Two-step sign-in screen follows. Type the
Authentication code from your authenticator app — or one of your recovery codes — and click
Sign in.If your organisation requires two-step sign-in and you have not set it up yet, this screen
sets it up instead: scan the QR code with your authenticator app (Scan with your authenticator
app, or type the code shown under Or type this in:), enter the Code from the app, and
you are shown your recovery codes under Keep these somewhere safe. Each one signs you in once
if you lose your phone, and they are shown only this once — print them or put them in a password
manager, then click I have kept them — continue.If you wait too long the screen says That sign-in has expired. Start again. and sends you
back to the password.
When the password has to change
A new password must be at least 12 characters. The product’s advice is that length beats punctuation — four unrelated words make a good password. Your organisation’s authentication settings may add further rules, and the screen names any rule a password breaks.
Forgot your password
Forgot password? on the password step opens Forgot your password?, with your address filled in if you had typed it.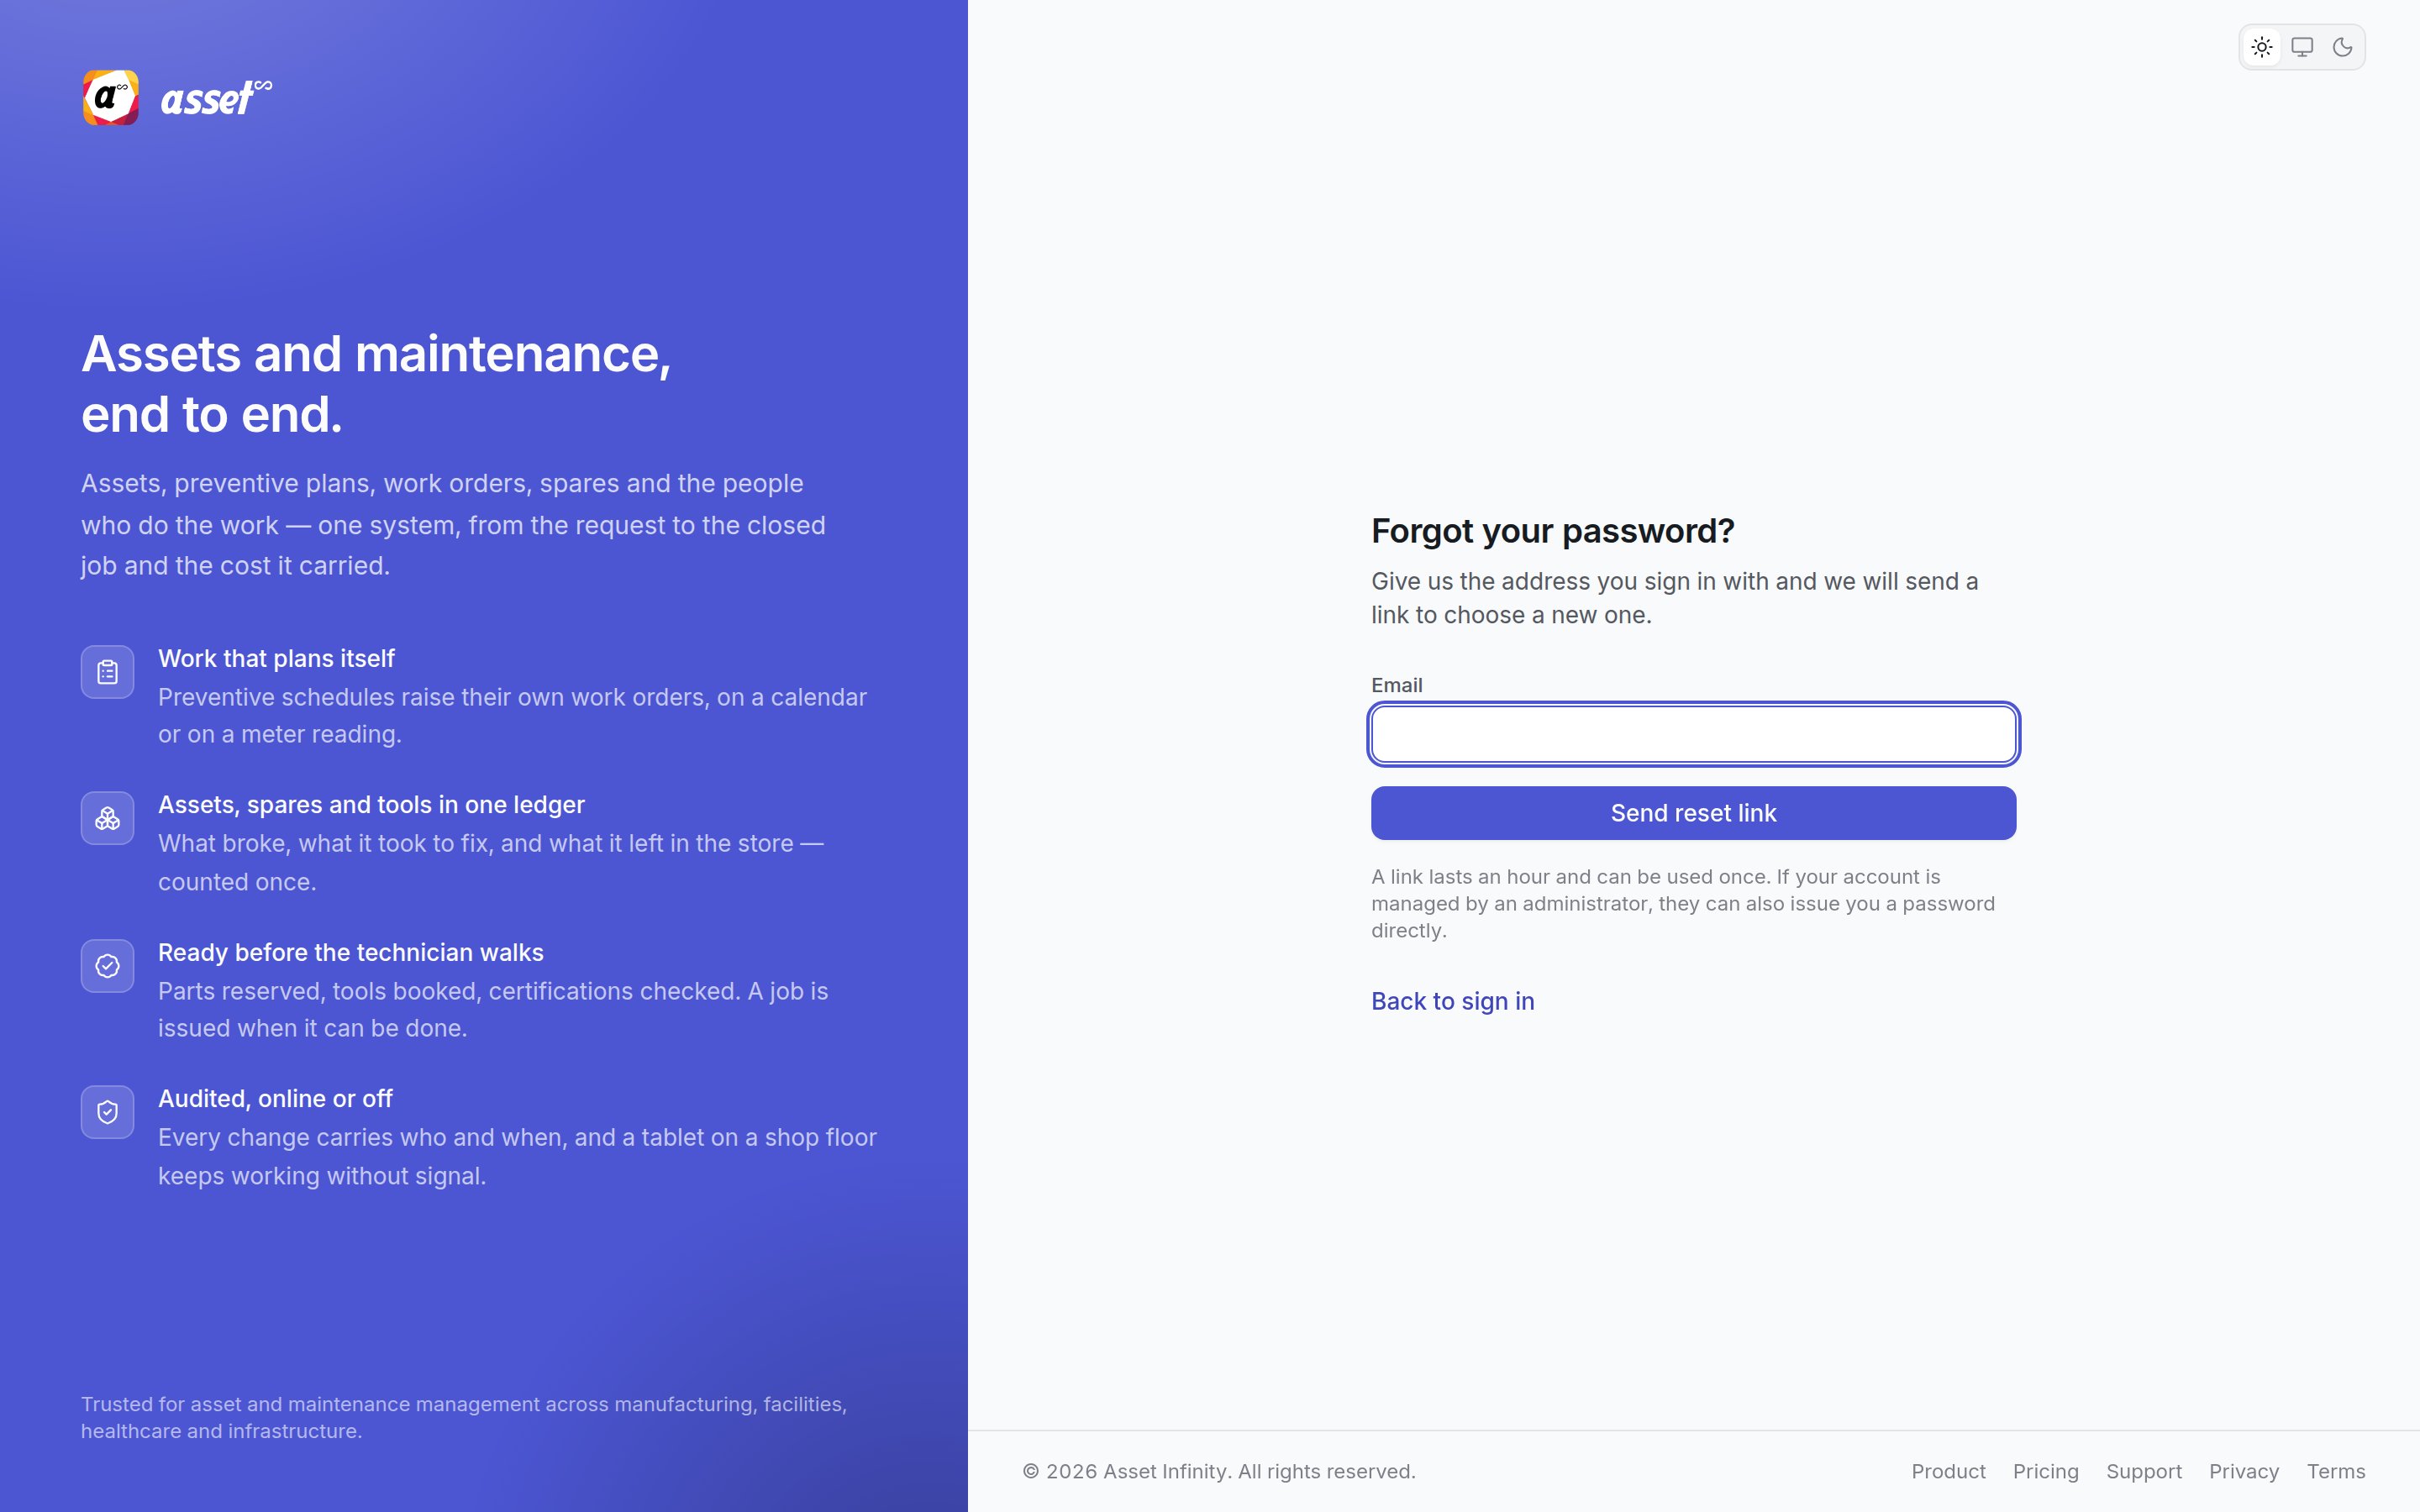
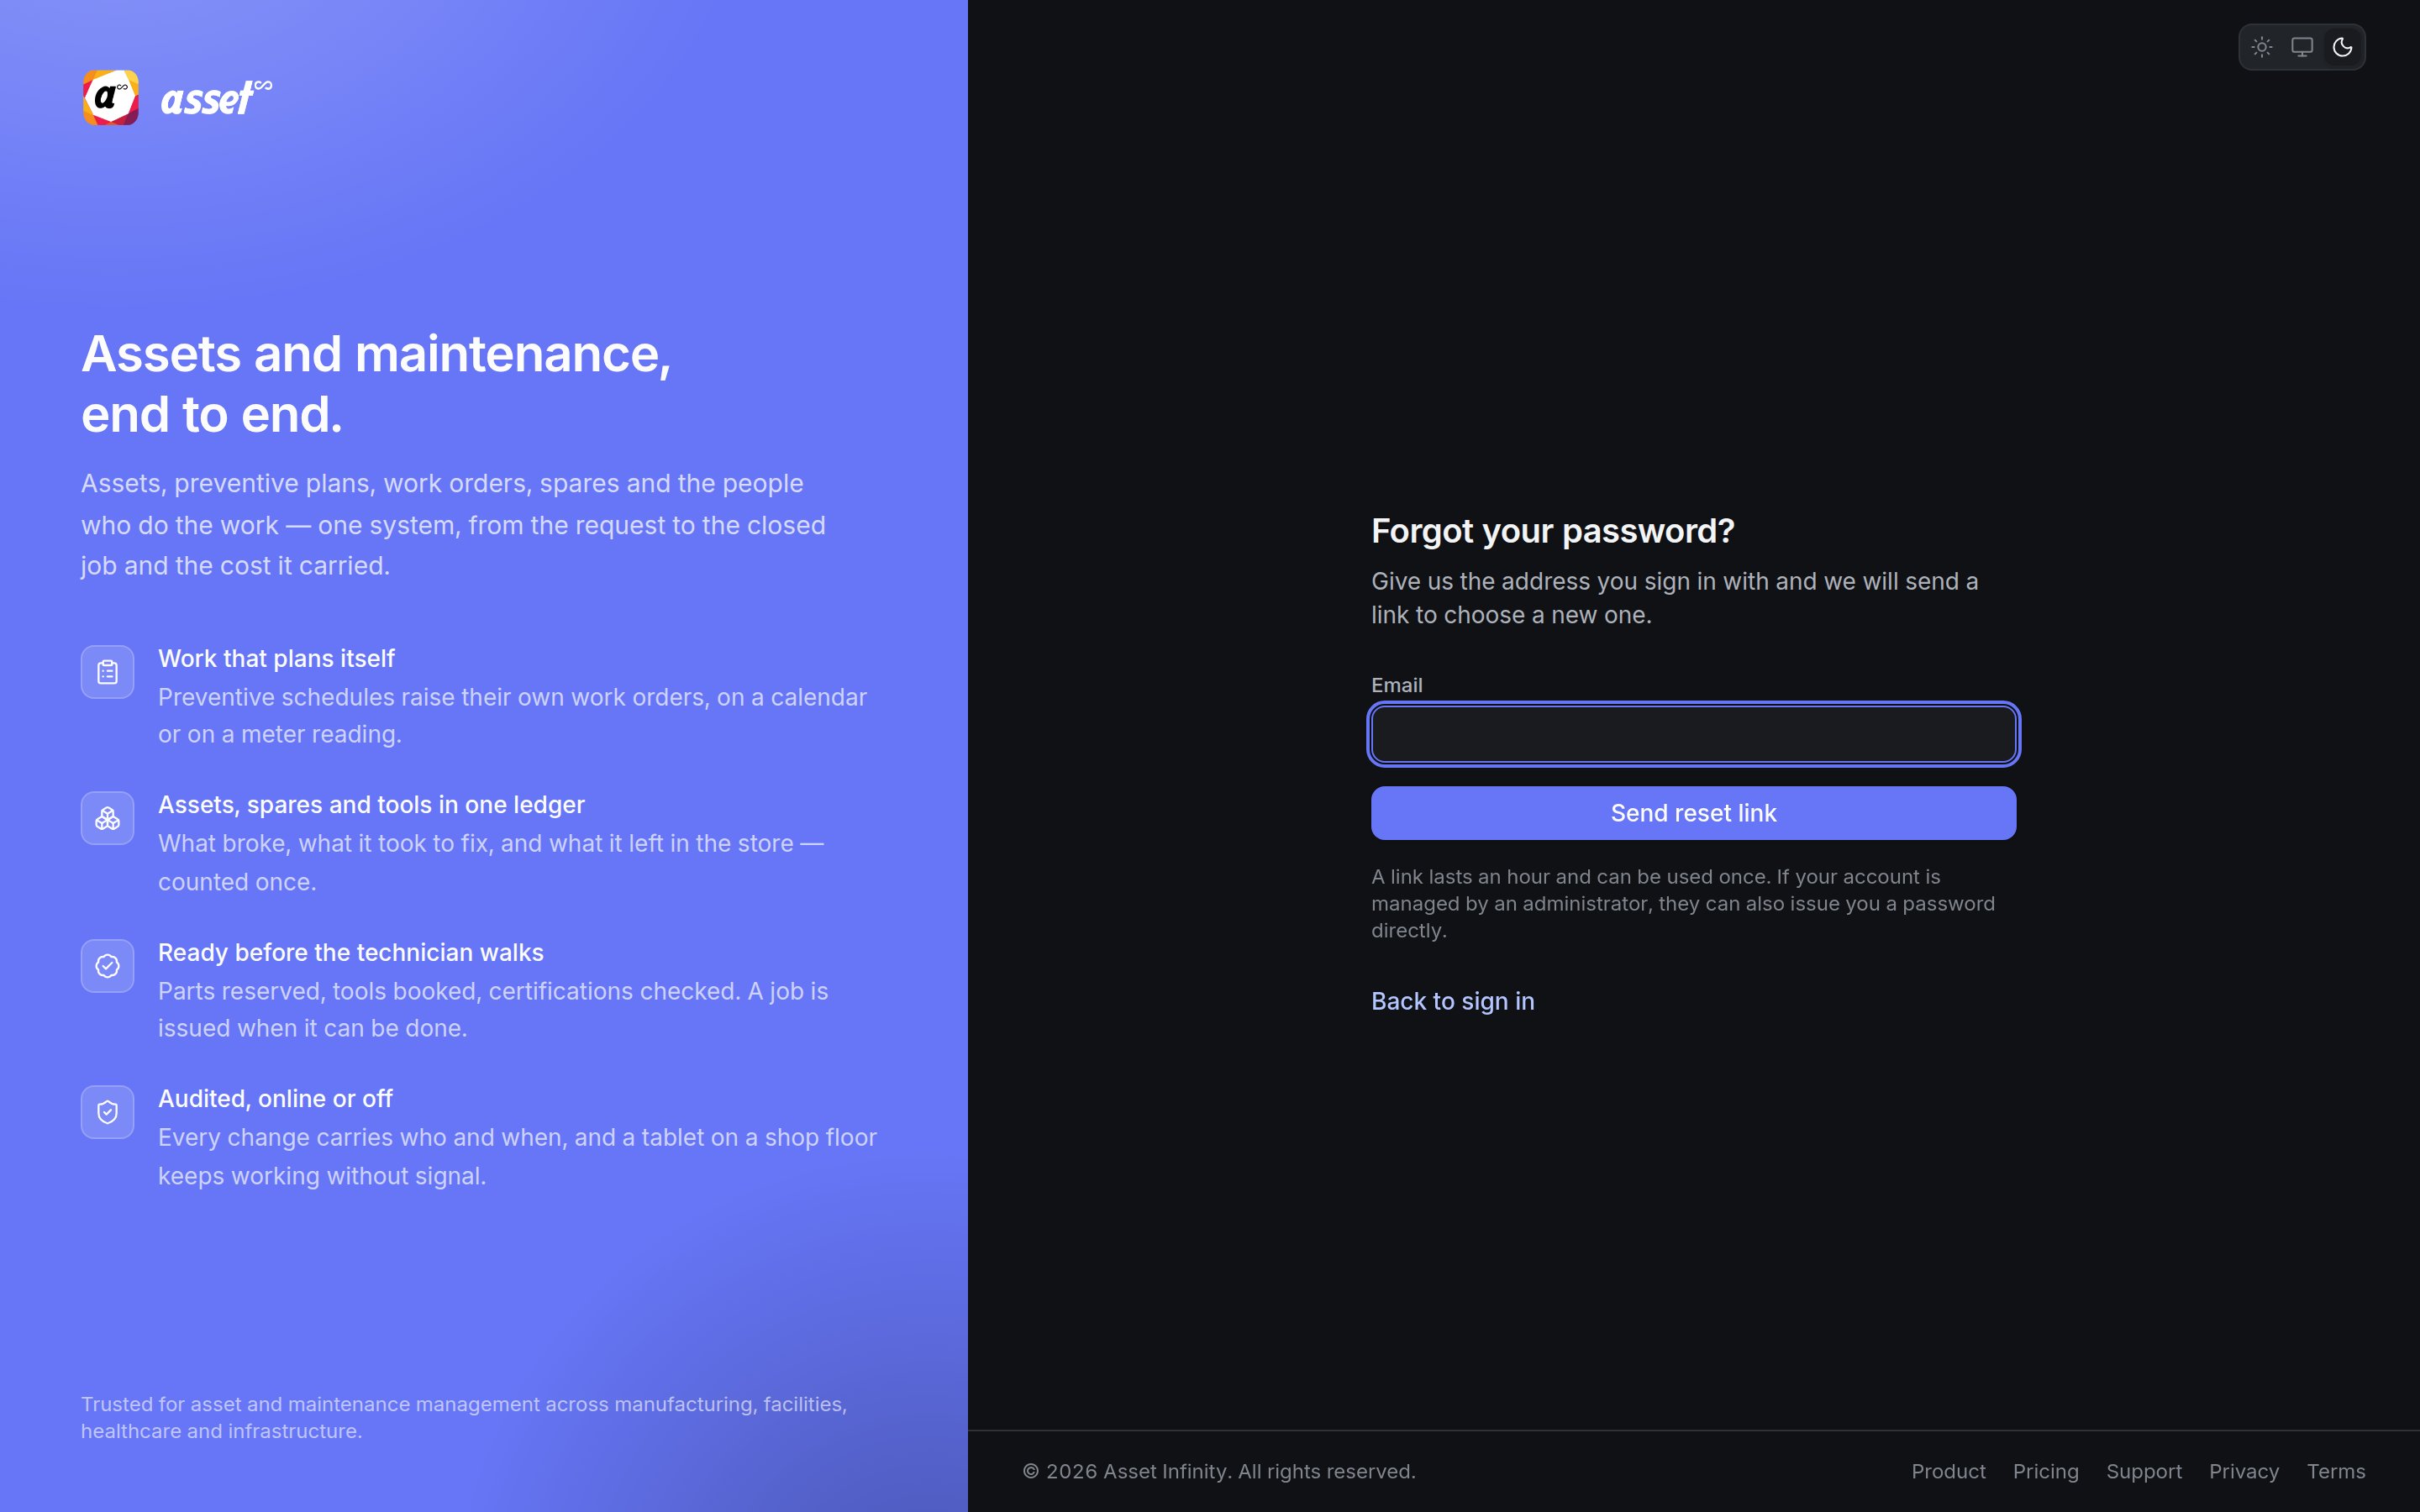
The screen always confirms that a link is on its way, whether or not the address has an account — it never reveals which addresses exist. If nothing arrives, check your spam folder and that the address is the one your account uses, or click Try another address. A link lasts an hour and can be used once. If your account is managed by an administrator, they can also issue you a password directly.
Choosing a new password from the link
The link in the reset email opens Choose a new password. It works once, and only for the account it was sent to.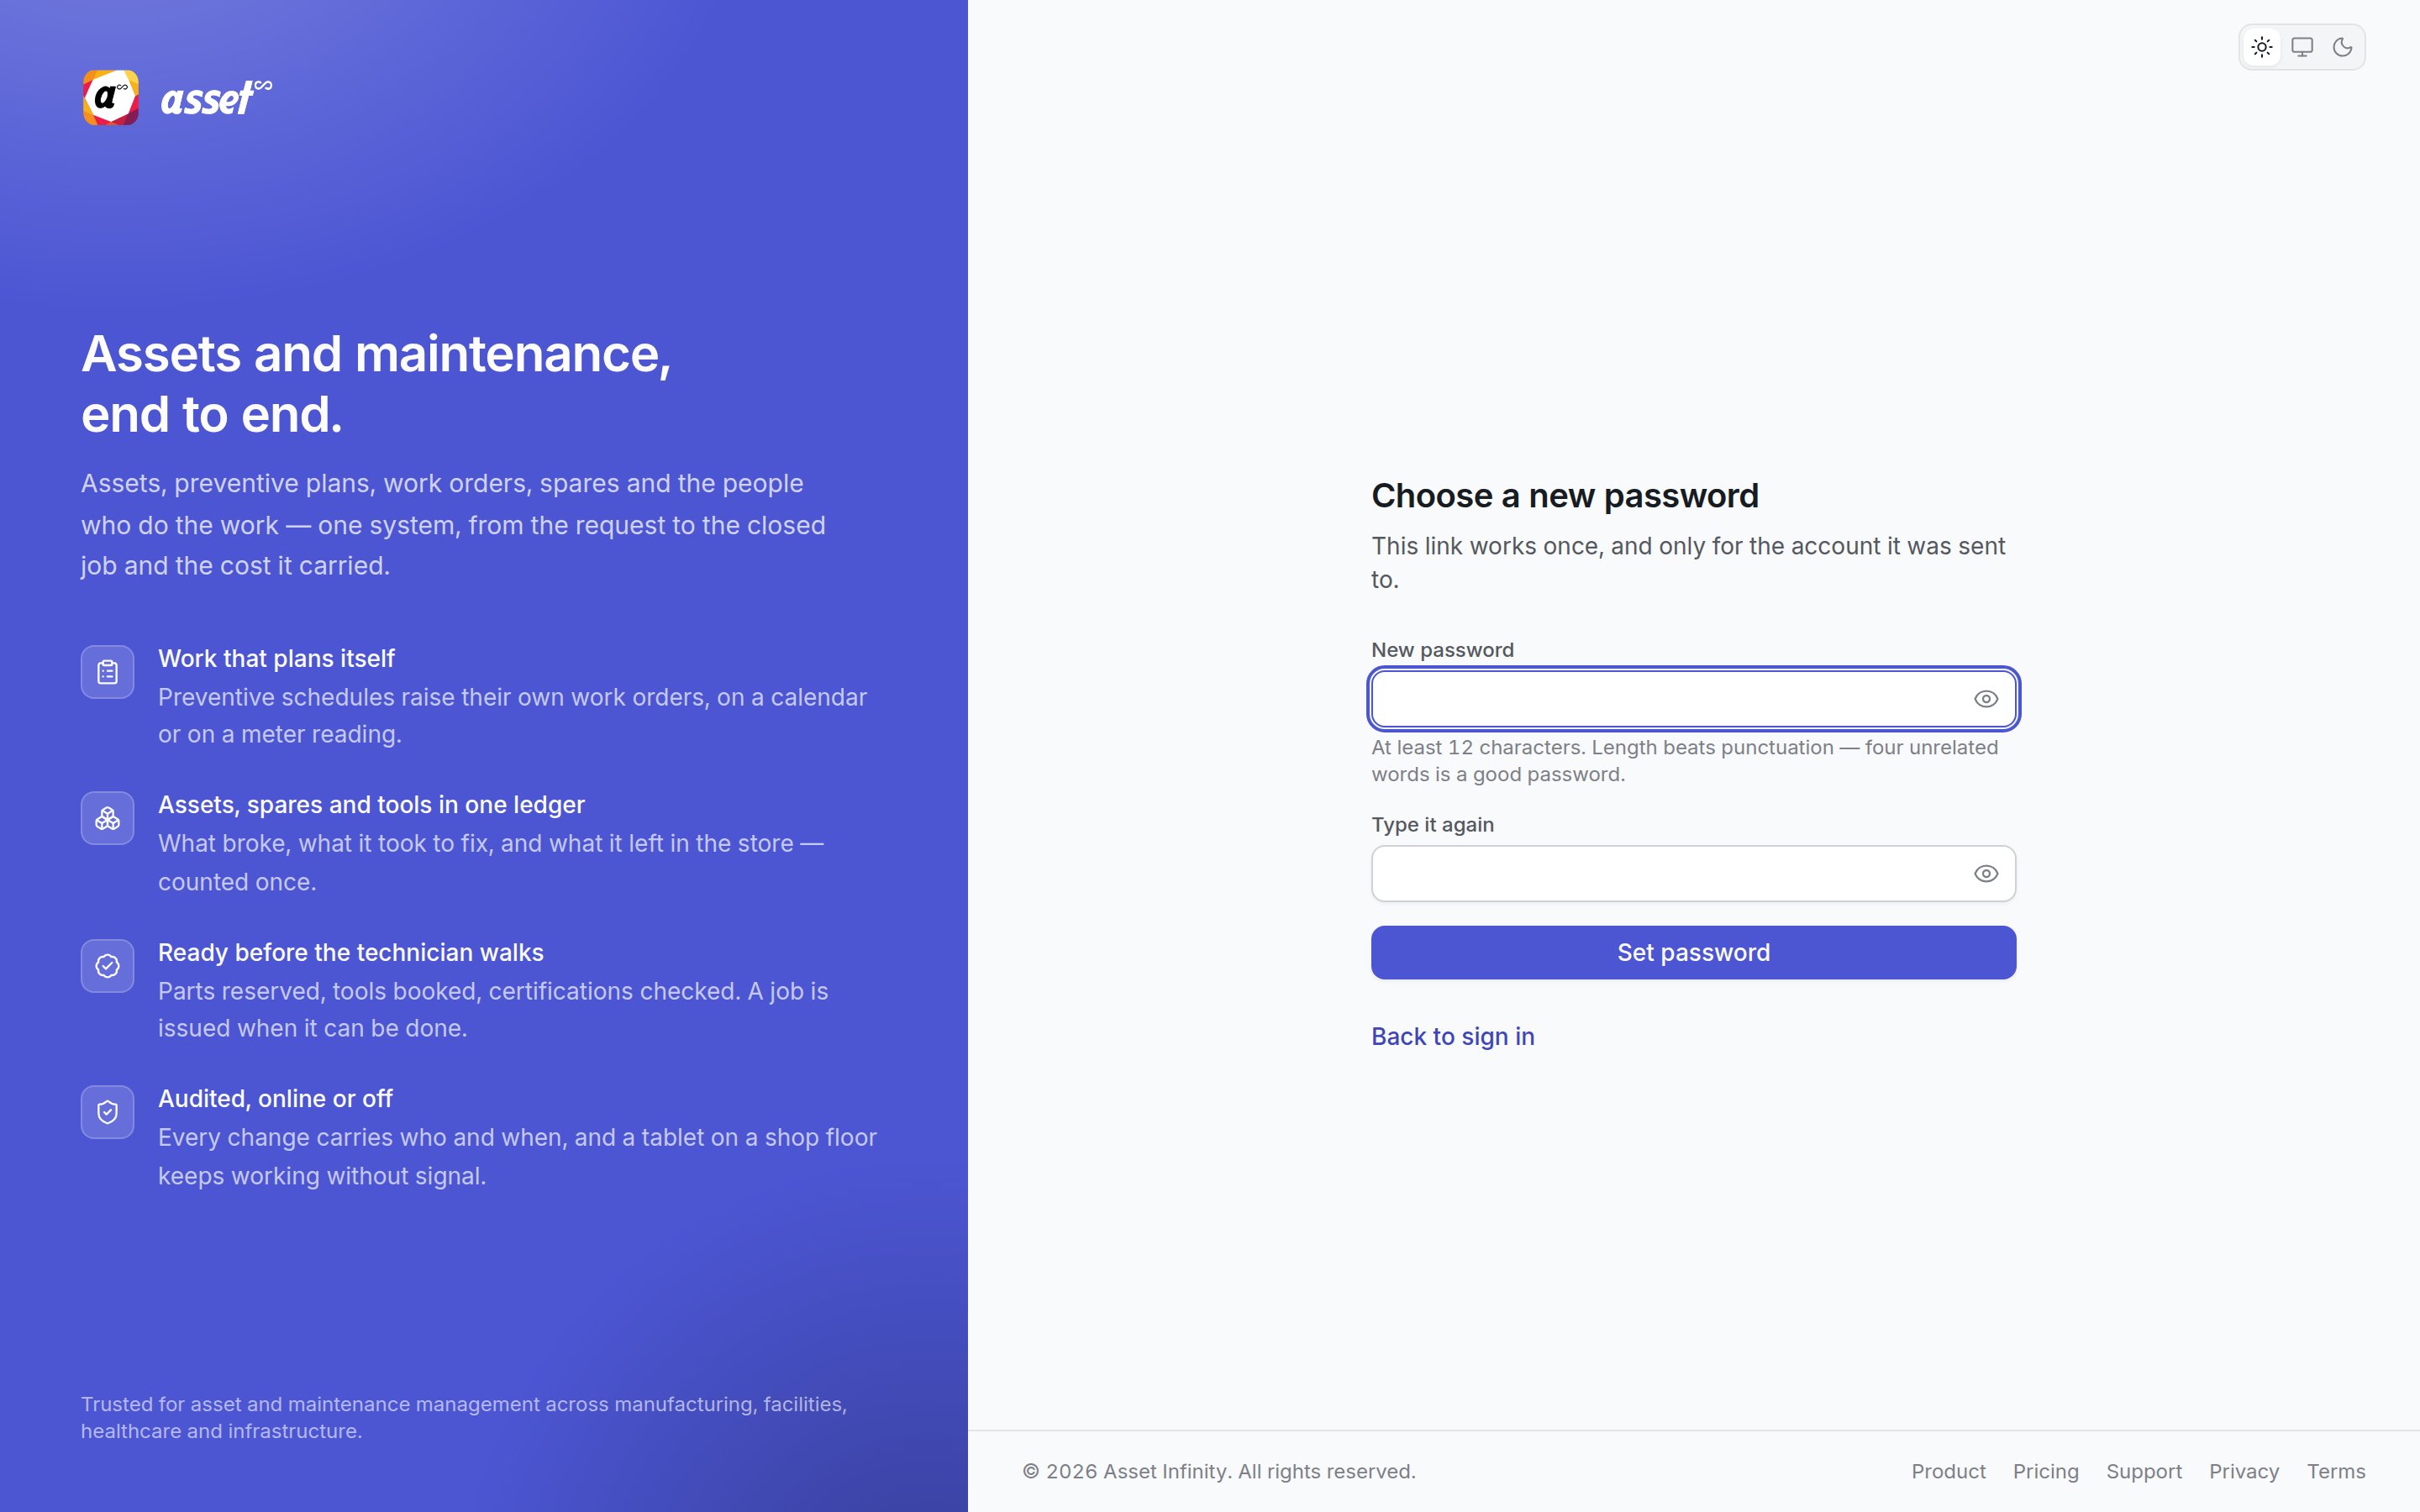
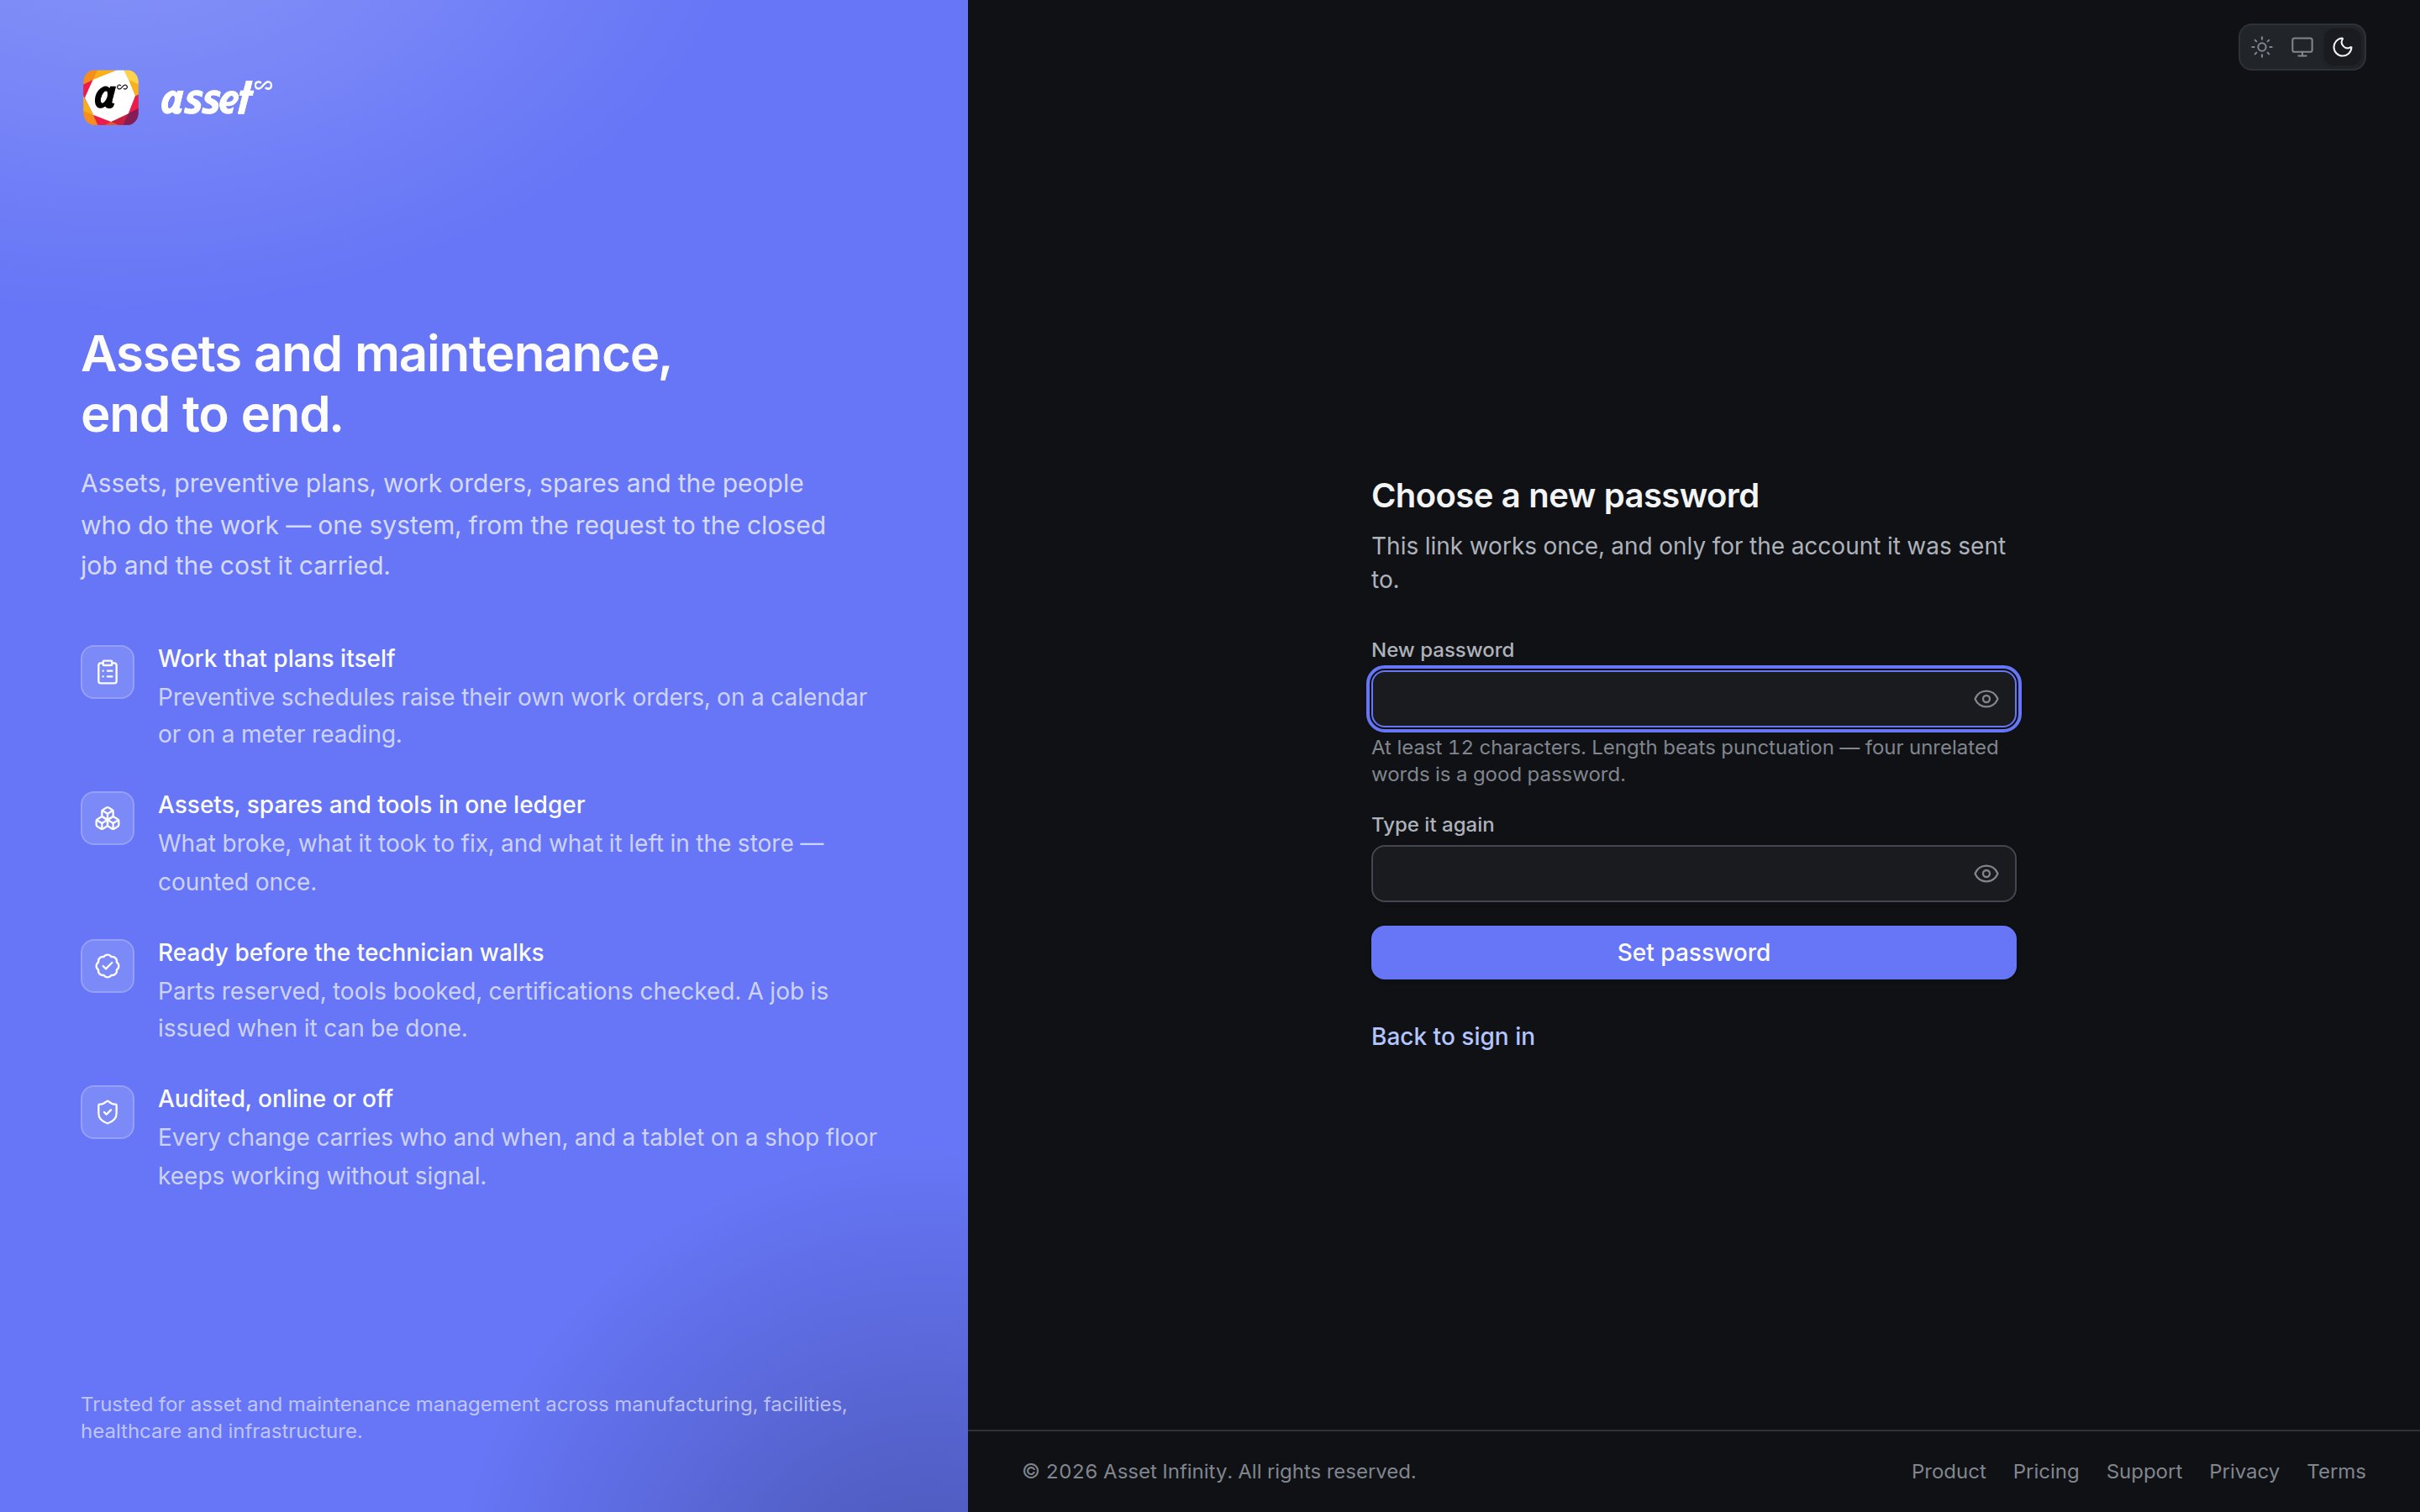
Click Set password. Password changed confirms it; the link is now used up and any lockout on the account has been cleared. Click Go to sign in.
If the screen says That link is incomplete, your email program probably broke the address across two lines. Copy the whole address out of the email, including everything after
?token=, or click Ask for a new link.
Accepting an invitation
When an administrator invites you, the email links to Choose a password.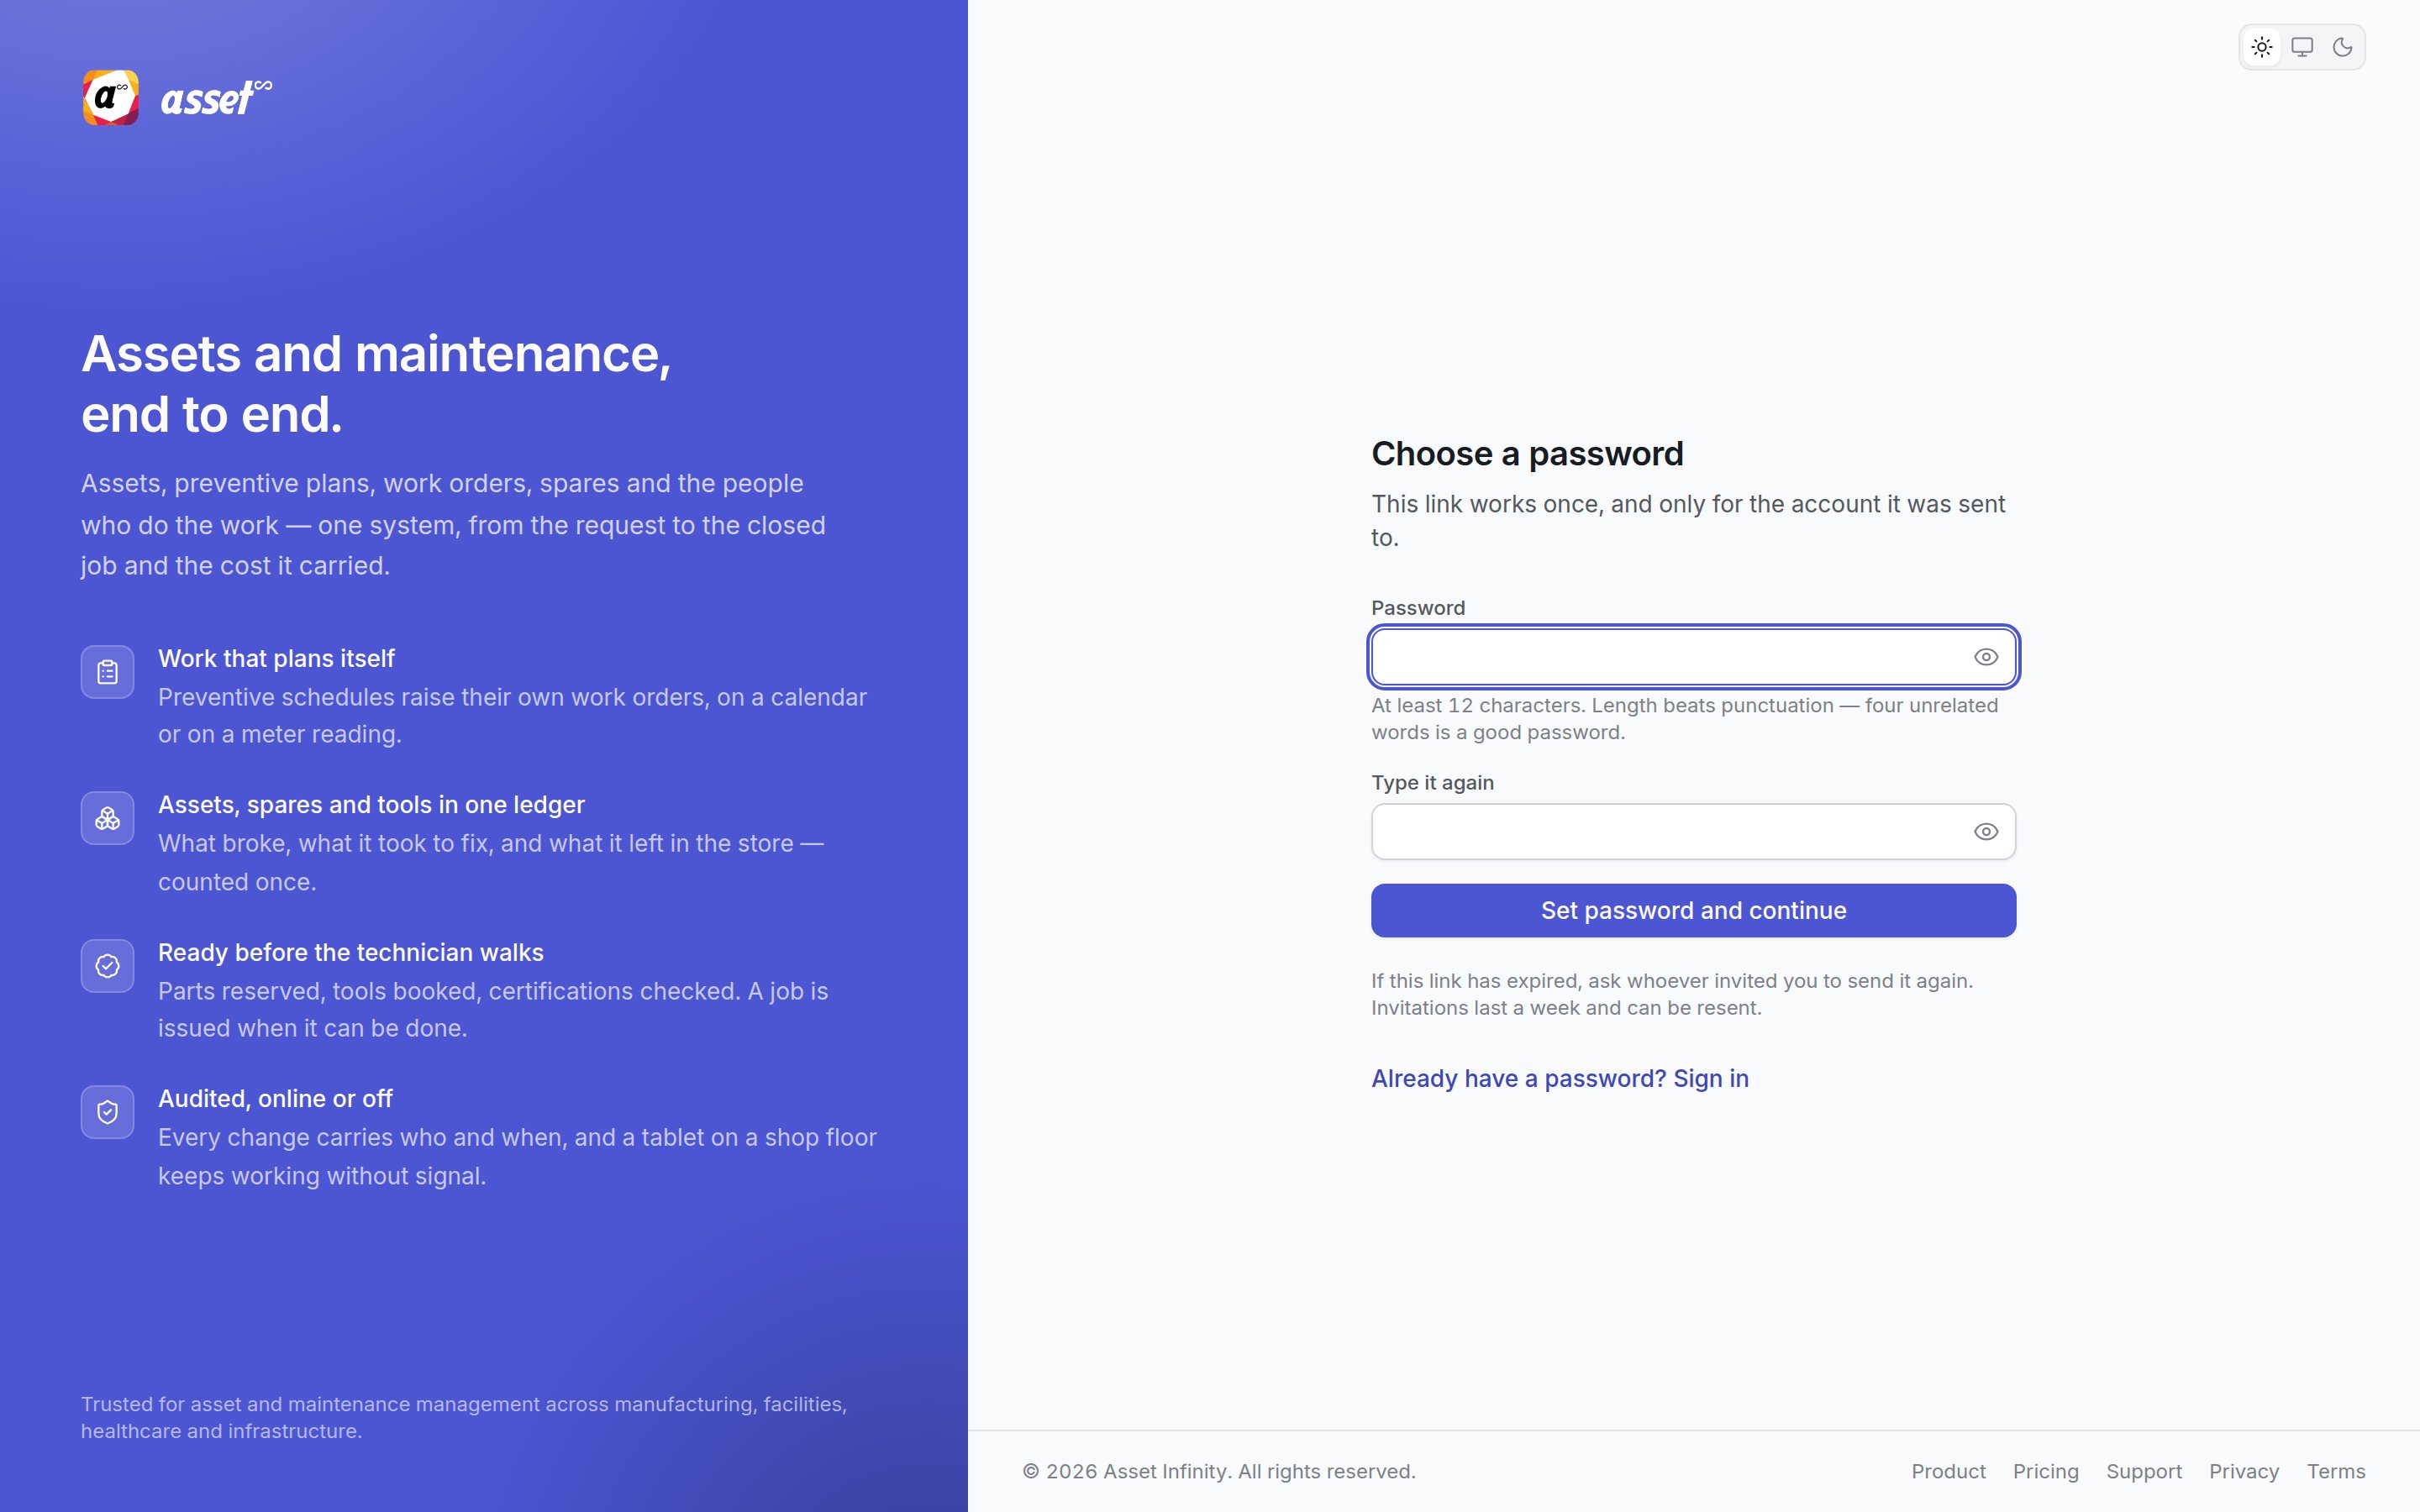
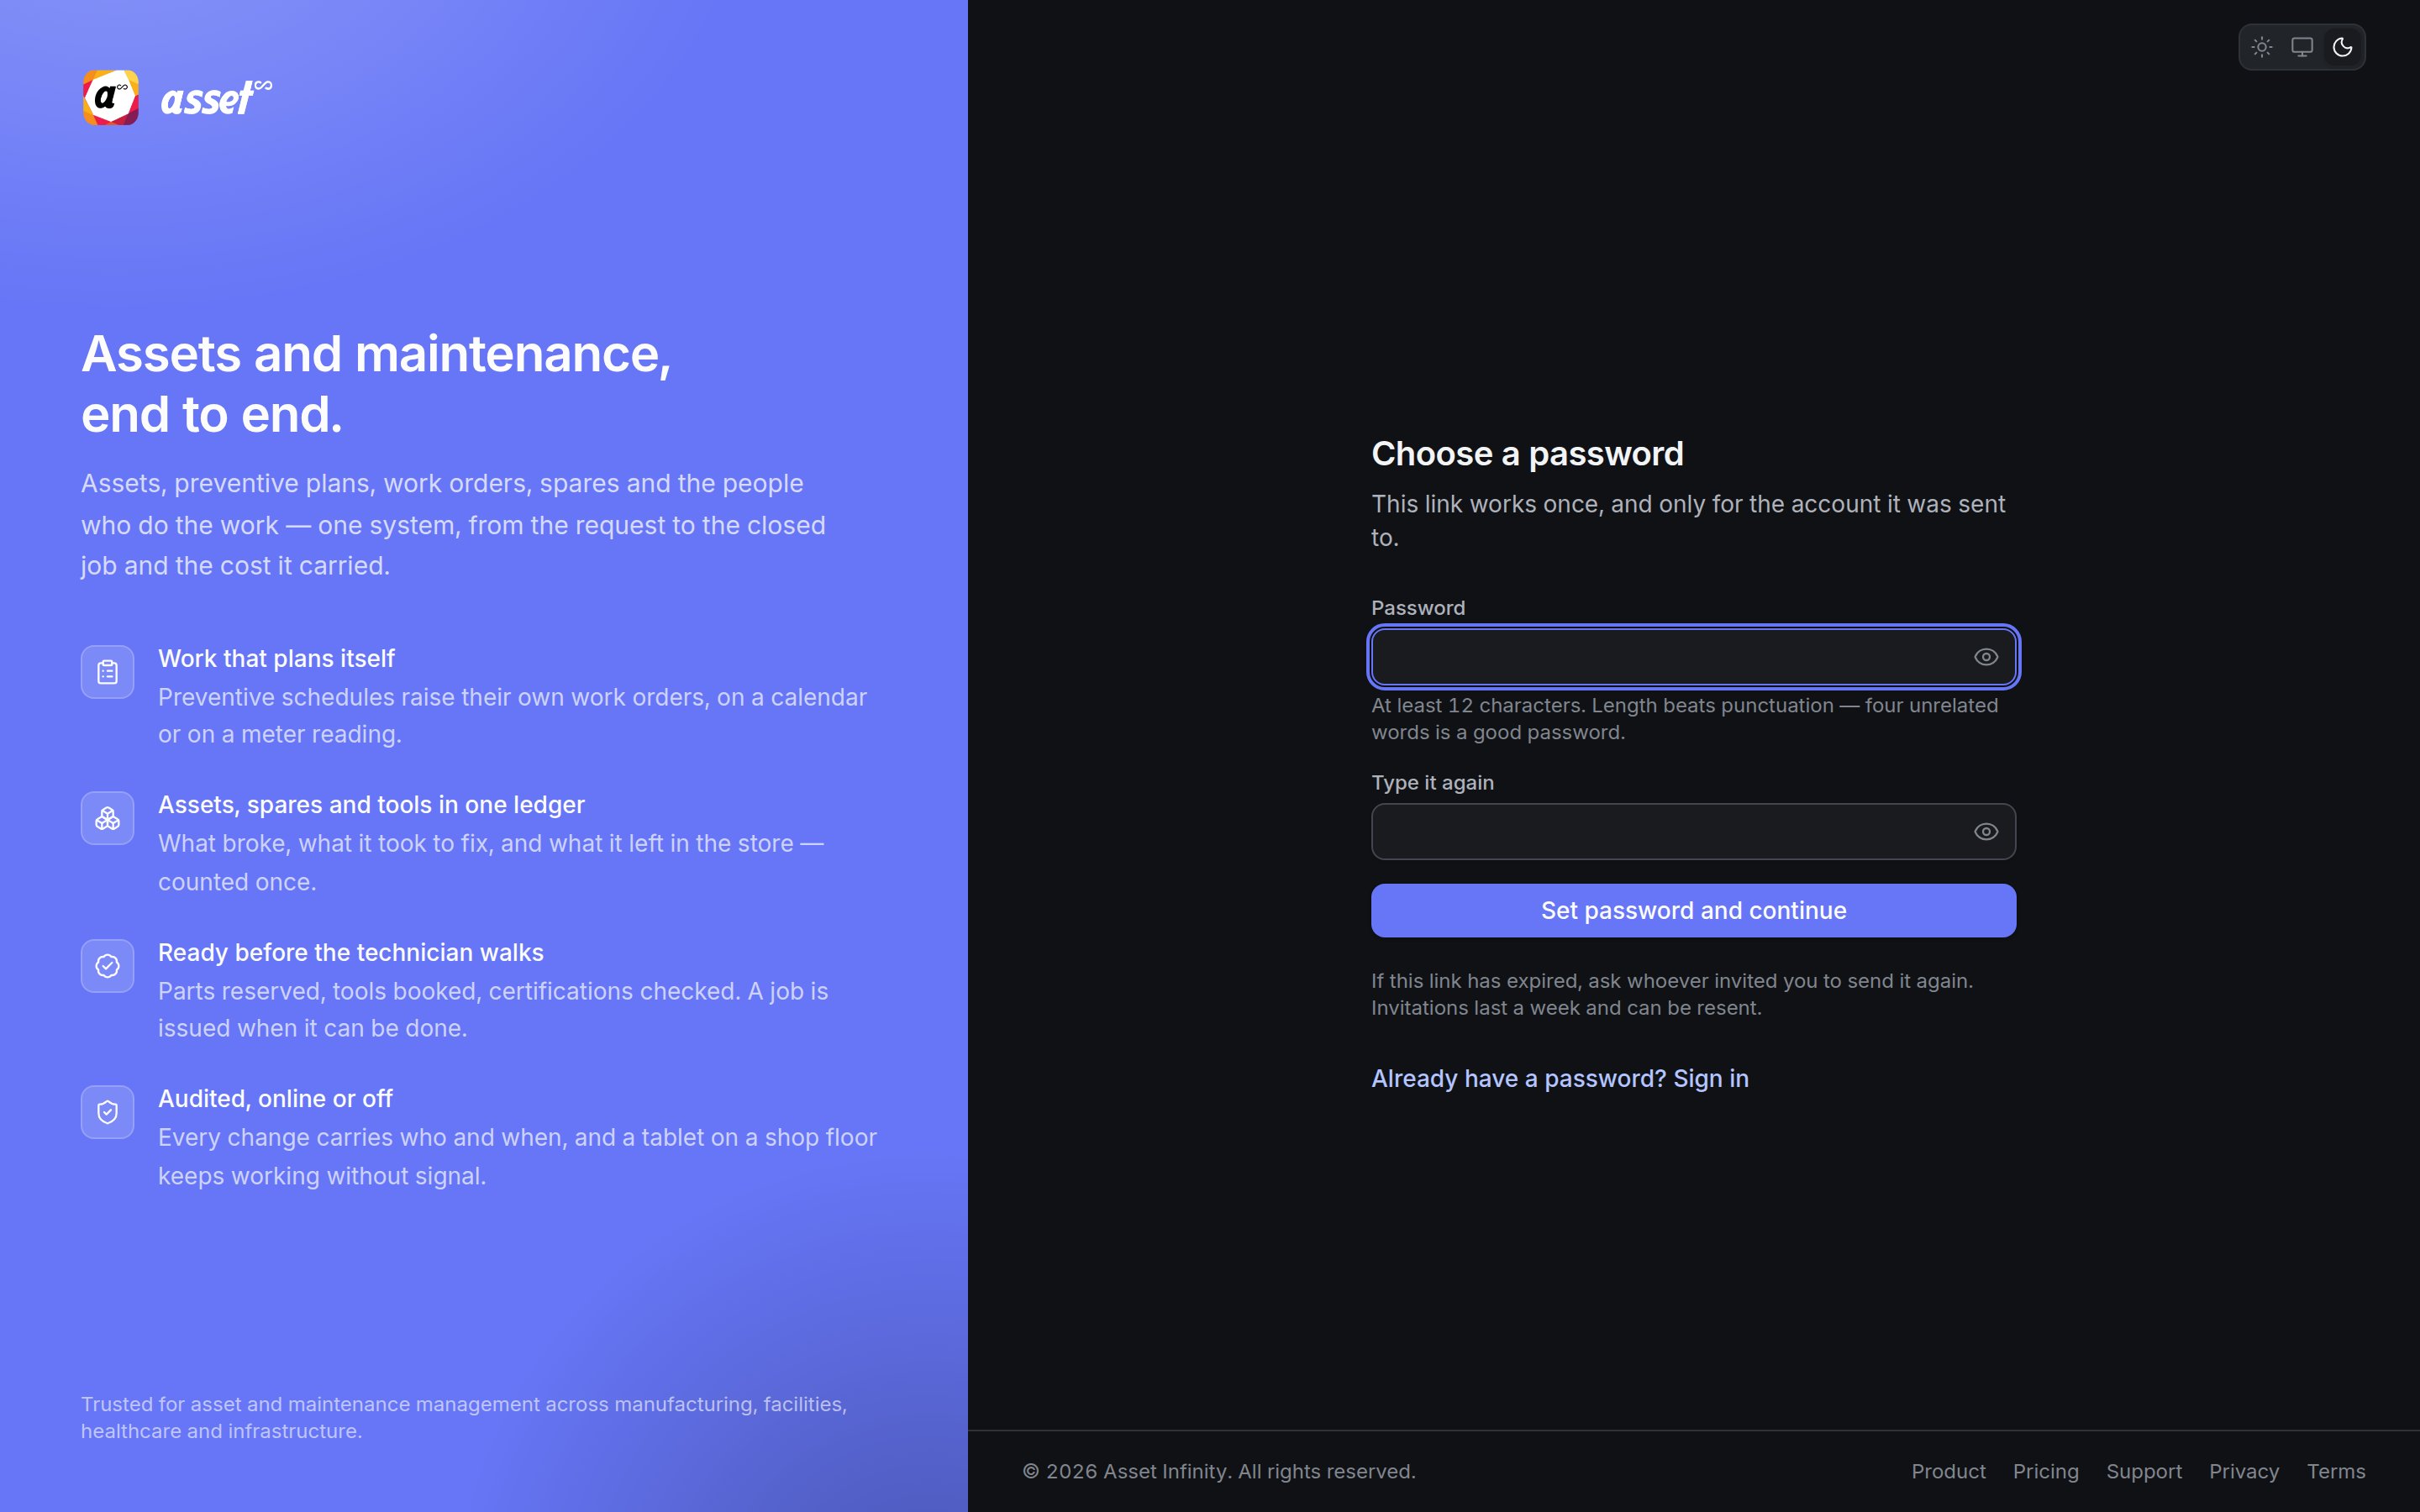
Click Set password and continue. Your account is ready names the address you sign in as. If you already had an account under that address in another organisation, the invitation joins the two — one sign-in rather than two — and you move between organisations from the switcher at the foot of the sidebar.
Invitations last a week. If yours has expired, ask whoever invited you to send it again; they can resend it from the same screen. Already have a password? Sign in takes you to the sign-in screen.
Creating a workspace
Where the installation accepts new organisations, the sign-in screen offers New to Asset Infinity? Create an account, which opens Create your workspace — a new organisation, set up with roles, statuses and a first site, ready to take a work order.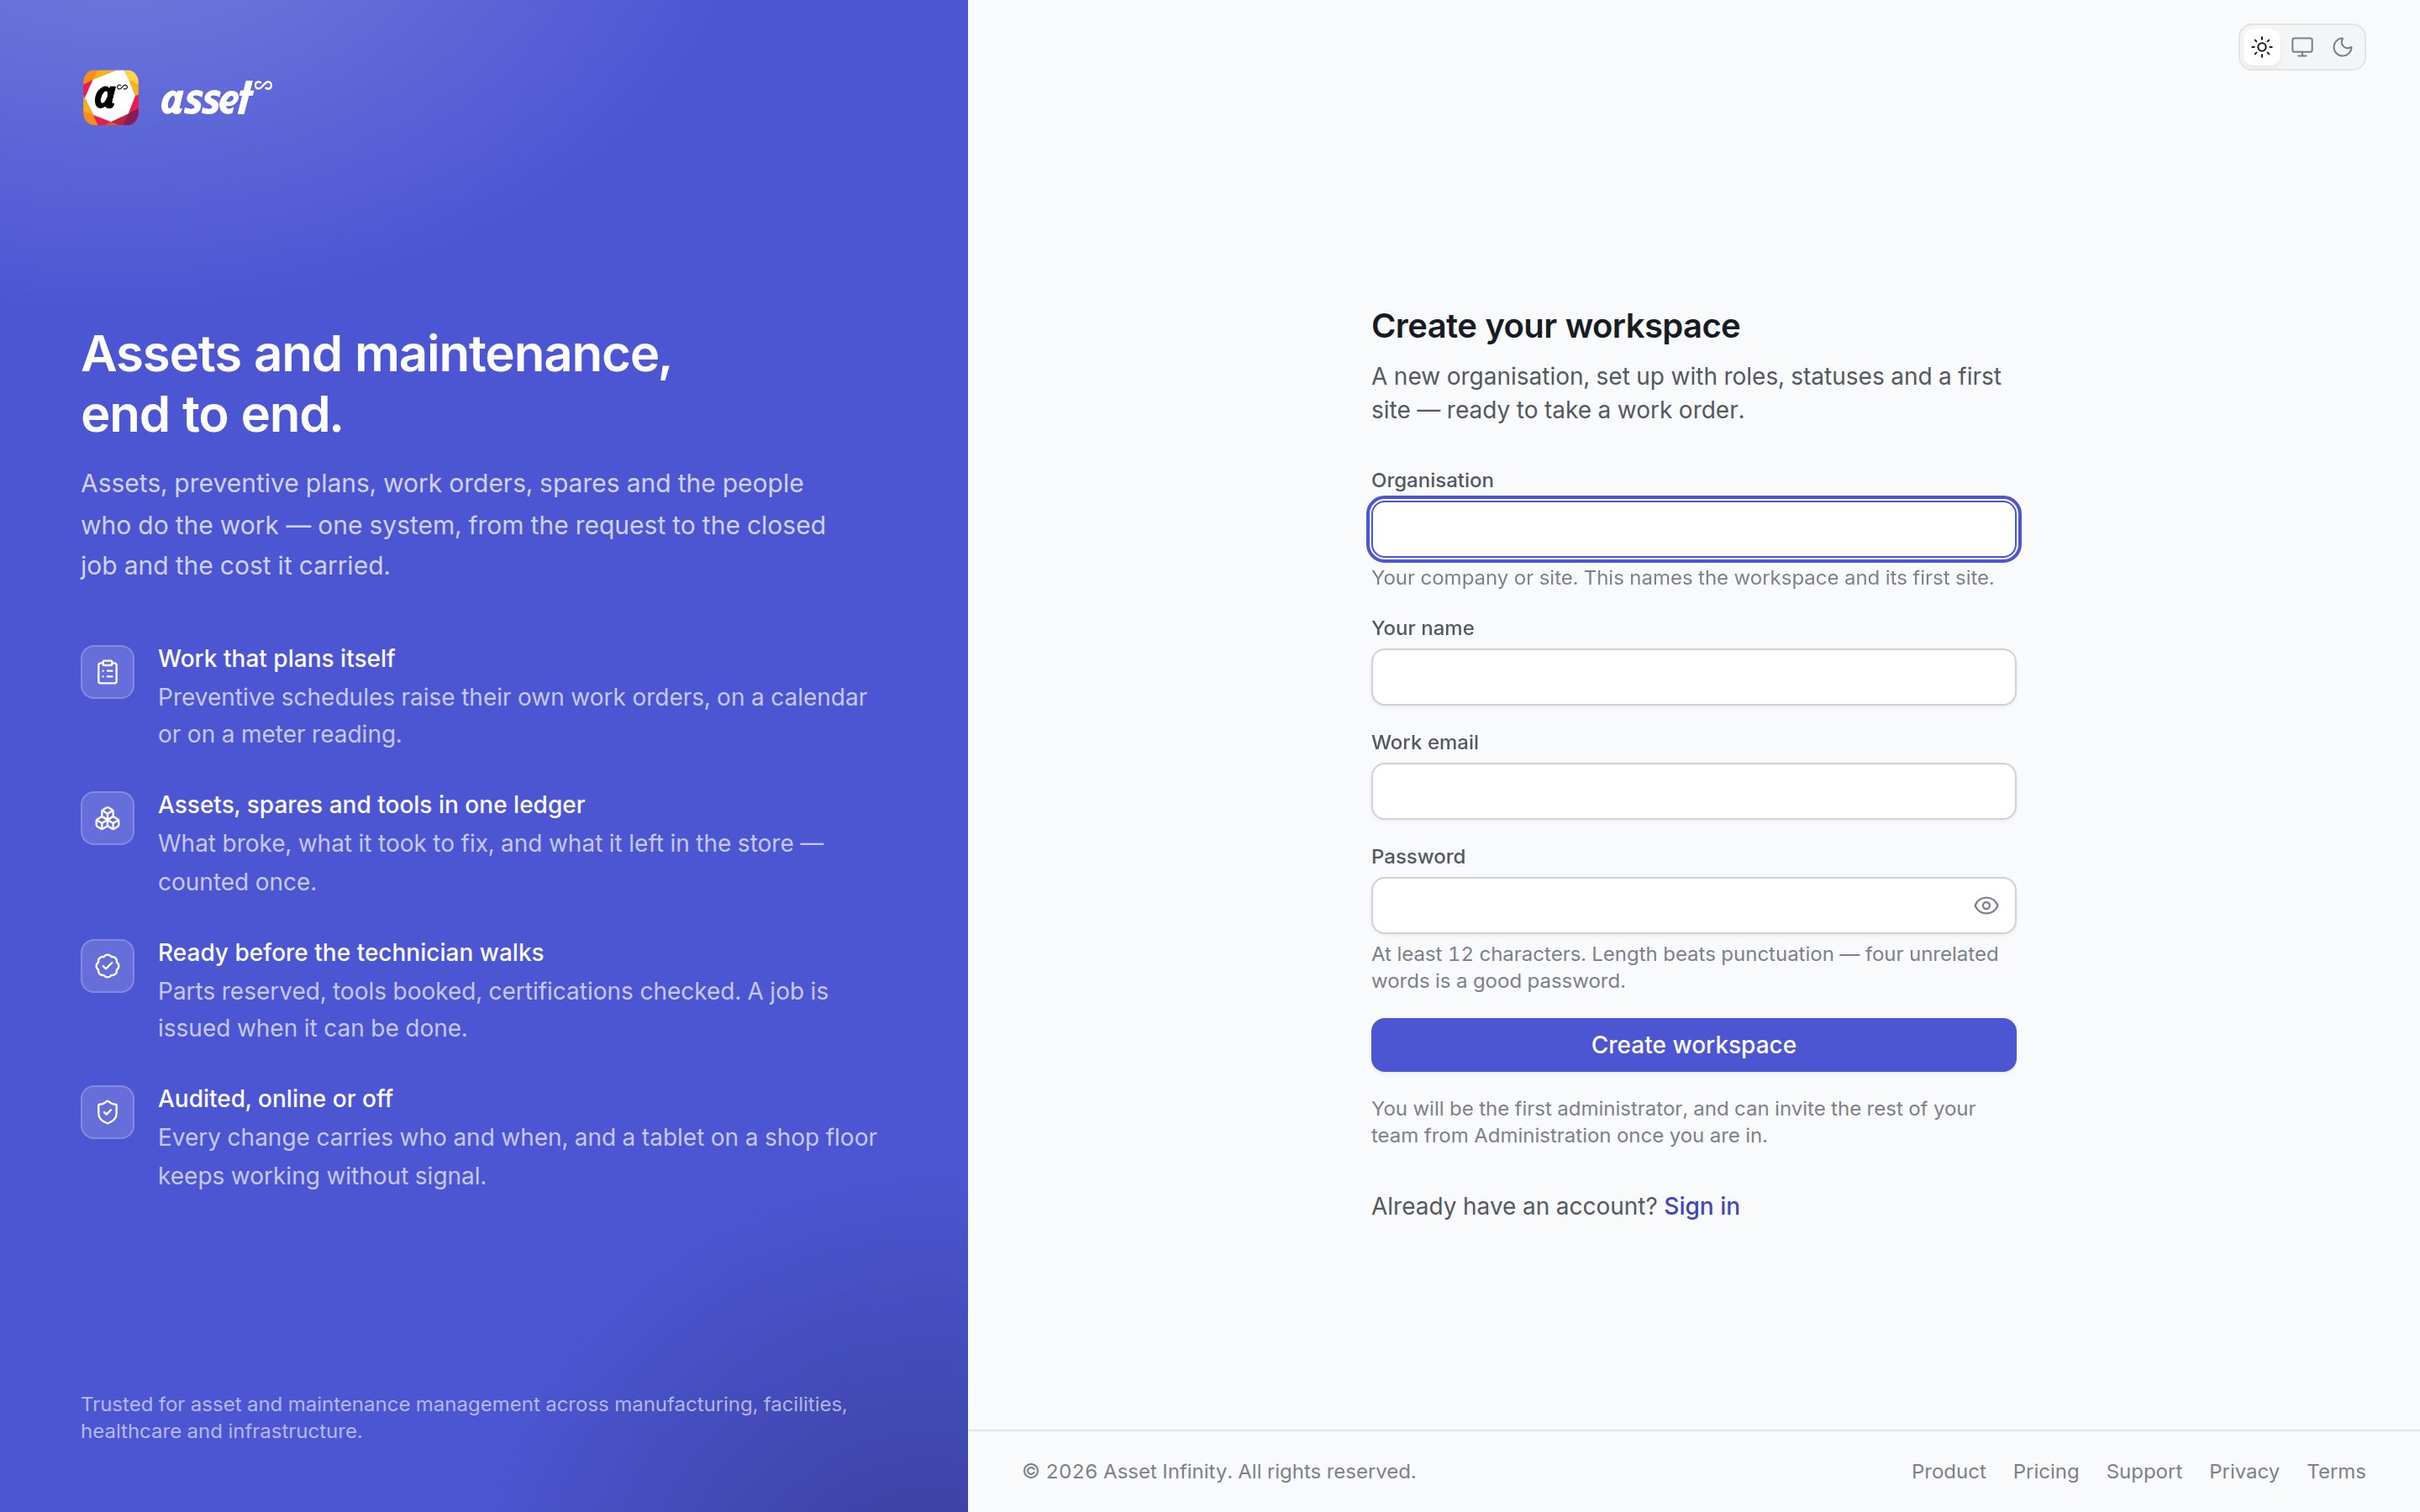
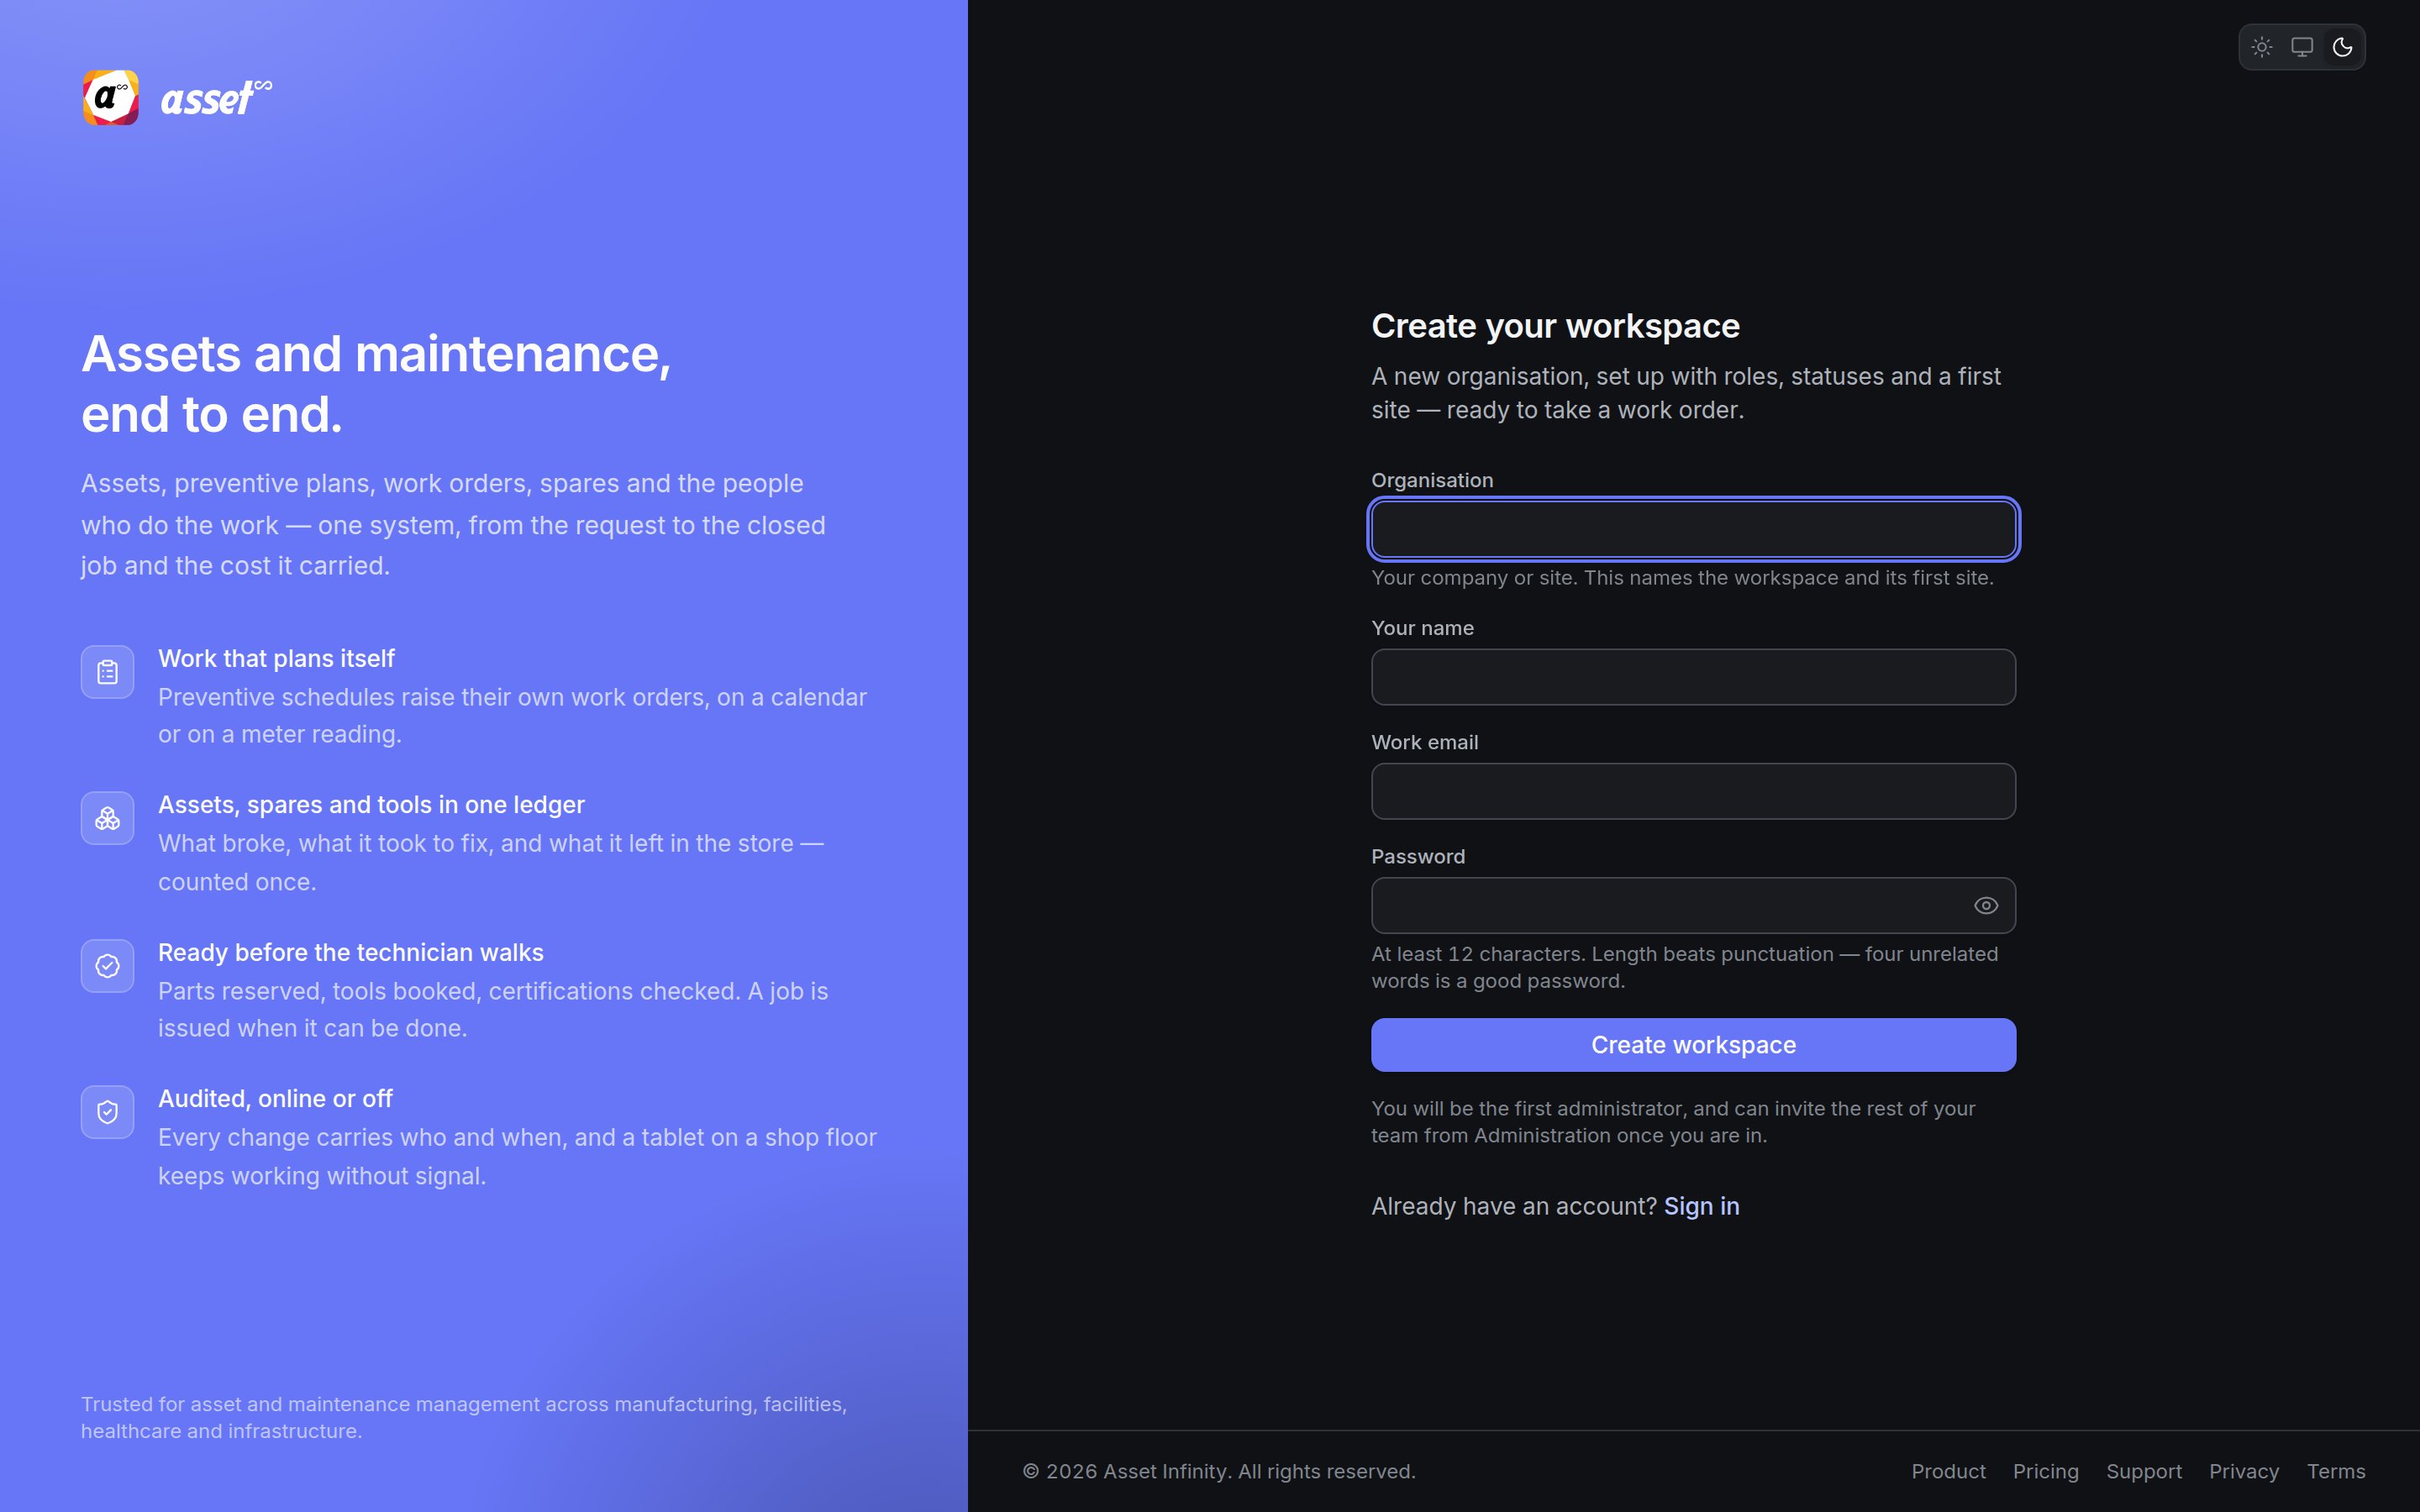
Click Create workspace. You become its first administrator and can invite the rest of your team from Administration once you are in; the getting started checklist walks you through what to set up. See also self-service sign-up.
On an organisation’s own web address the link is absent, and opening the sign-up address shows Accounts here are by invitation instead, naming the organisation, telling you to ask one of its administrators to invite you, and linking to its help desk where one is configured.
Approving from an email
An approval email can carry Approve, Reject and Send back buttons. Pressing one opens a page — without signing you in — that shows the request (its workflow, step, who asked and when it is due) with the action you chose already selected. Nothing is decided until you confirm on that page: Reject and Send back ask for a reason (Why it is being rejected (required), What needs changing (required)), and Approve takes an optional A note for the trail. Click the confirm button (for example Confirm: Approve) to record it, or Open the request in the app to look first. A link that has already been used, or a request decided some other way, says so. See approvals.Being signed out on a shared terminal matters. Signing out clears the support chat’s conversation
from the device, and the approval-email page never signs anybody in, so the next person to use the
computer cannot act as you.