

If you don’t see this in your navigation, your administrator can switch the module on under Administration → Modules, or it may not be included in your plan. The module is called Sensors there.
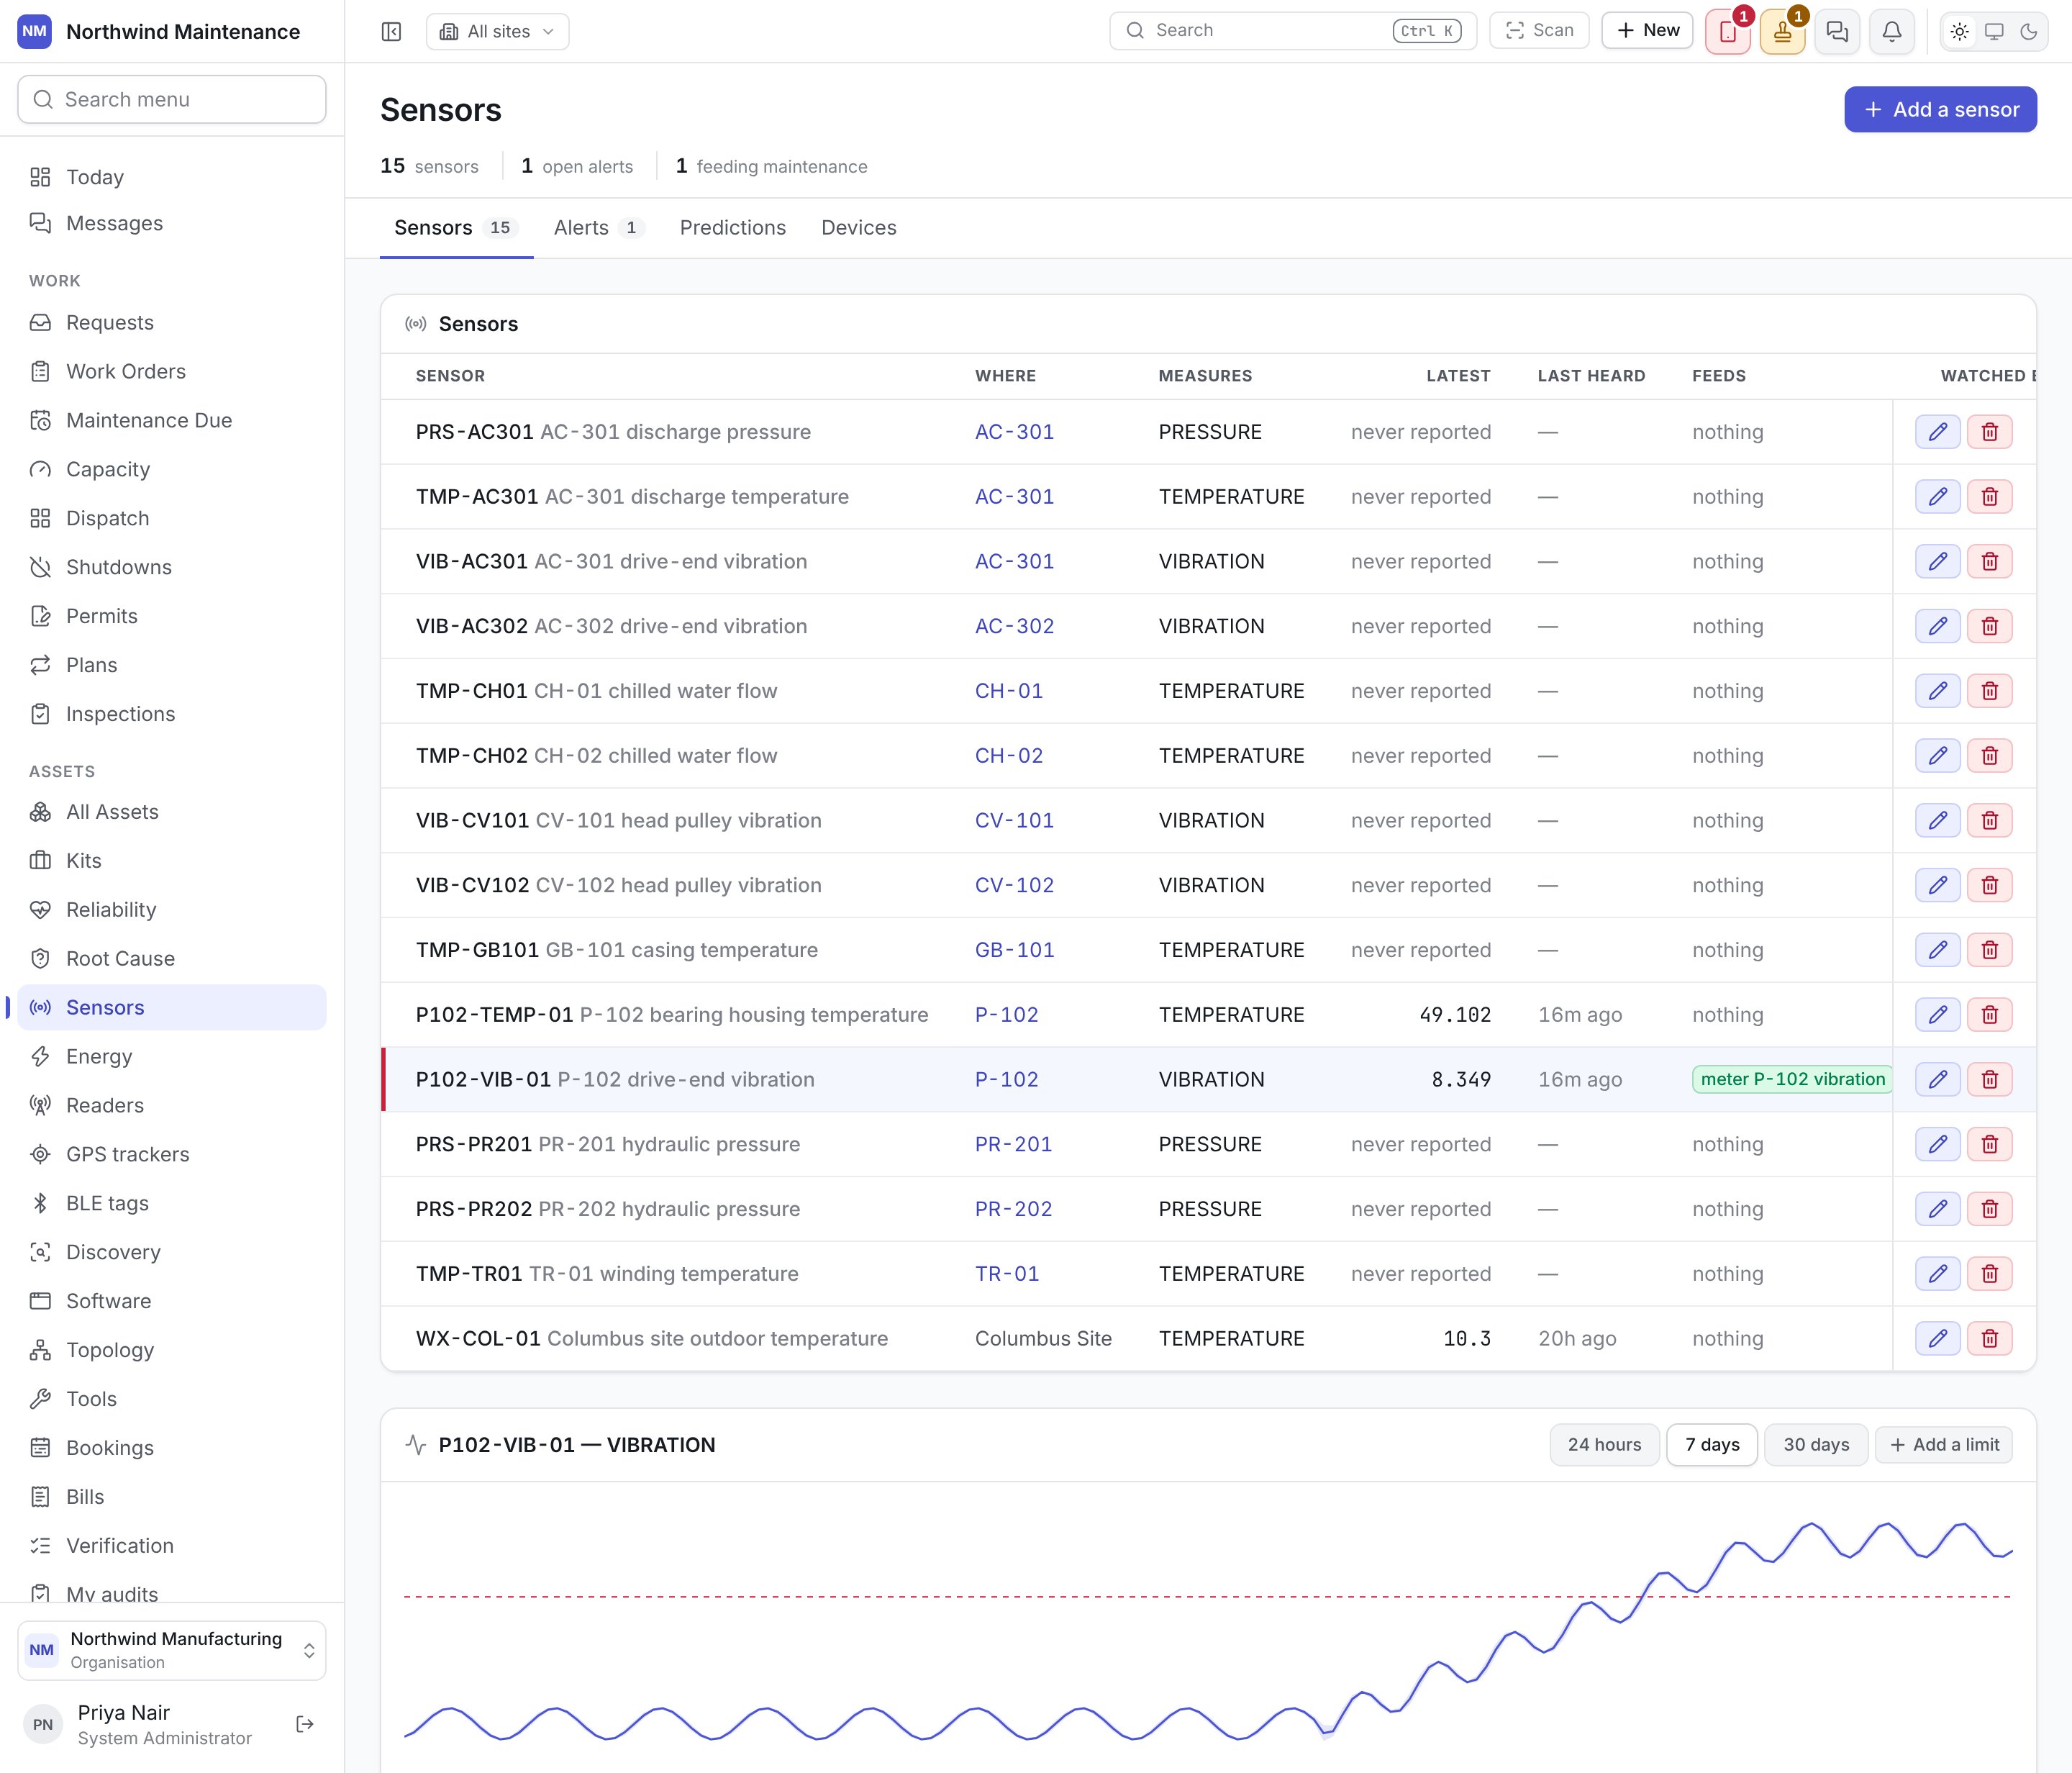
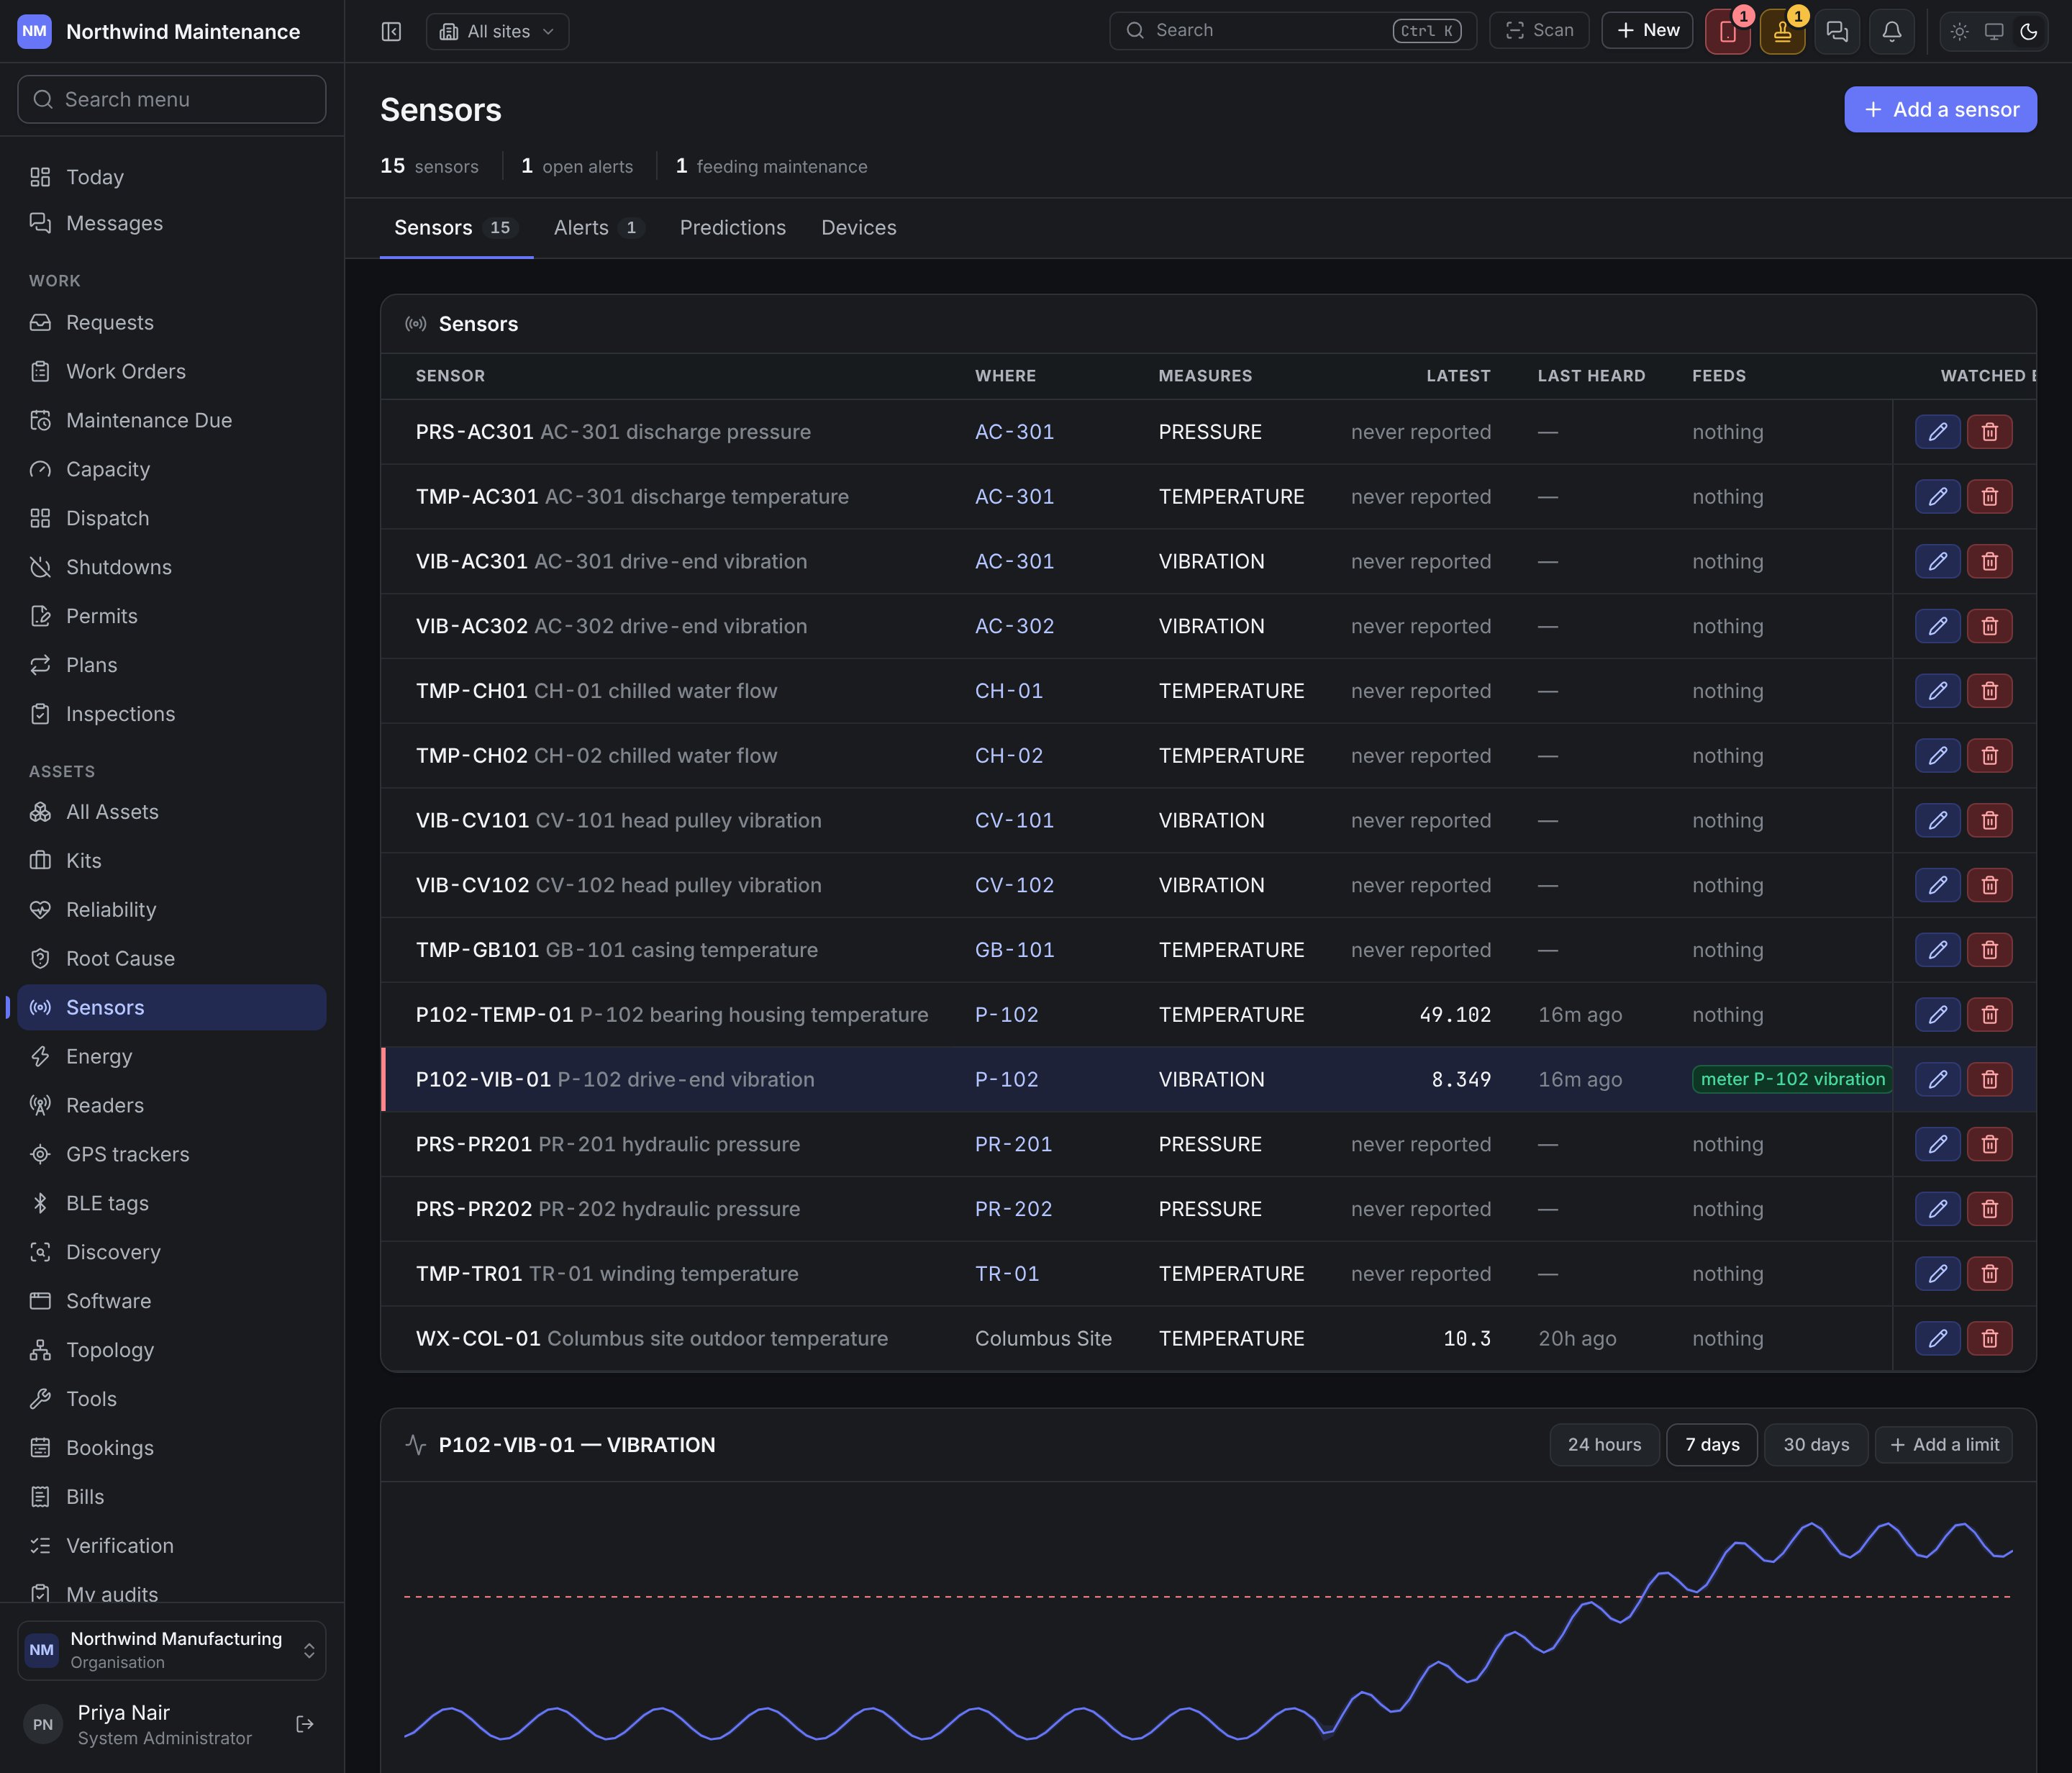
- Is the sensor feeding maintenance? A sensor bound to a meter writes its readings through to that meter, so the meter-based and condition-based maintenance plans on it come due by themselves.
- Is anything watching it? A sensor with no limit on it never raises an alert. Limits are what turn a reading into a breach.
How the pieces fit
The header
Add a sensor opens the sensor form. It appears only if you may add configuration entries.
Two banners can appear under the tabs:
- A sensor is on a device that has stopped reporting. A silent sensor raises no alerts, which reads exactly like a healthy one, so the screen says so out loud whenever a device is offline or in fault.
- An error banner when something you asked for was refused — removing a sensor that still has readings, for example. The sentence names what is in the way.
The Sensors tab
Each row is one sensor. A row turns red when it has an open alert, and amber when its device has stopped reporting.
The pencil button at the right of a row edits the sensor and the bin, drawn in red, removes it. Removing a sensor is refused while
readings, limits or alerts still refer to it; switch Active off instead to stop it being offered
for anything new.
Click a row to open its trace underneath the list. Click it again to close it.
The trace
The trace is the sensor’s readings over the last 24 hours, 7 days (the default) or 30 days, drawn against the limits it is judged by.
Under the chart, the screen gives the time span, the lowest and highest values plotted, and how many
slices and individual samples the chart was built from.
Below that, each limit on the sensor is listed with its severity, what it watches for (for example
above 7), how many readings in a row it takes to trip, how far back the reading has to come to
clear, and a raises a job marker when tripping it raises a work order. If nothing is set, the
trace says Nothing is watching this sensor.
Add a limit sits beside the window buttons. Each listed limit has its own edit and remove
buttons.
Adding or editing a sensor
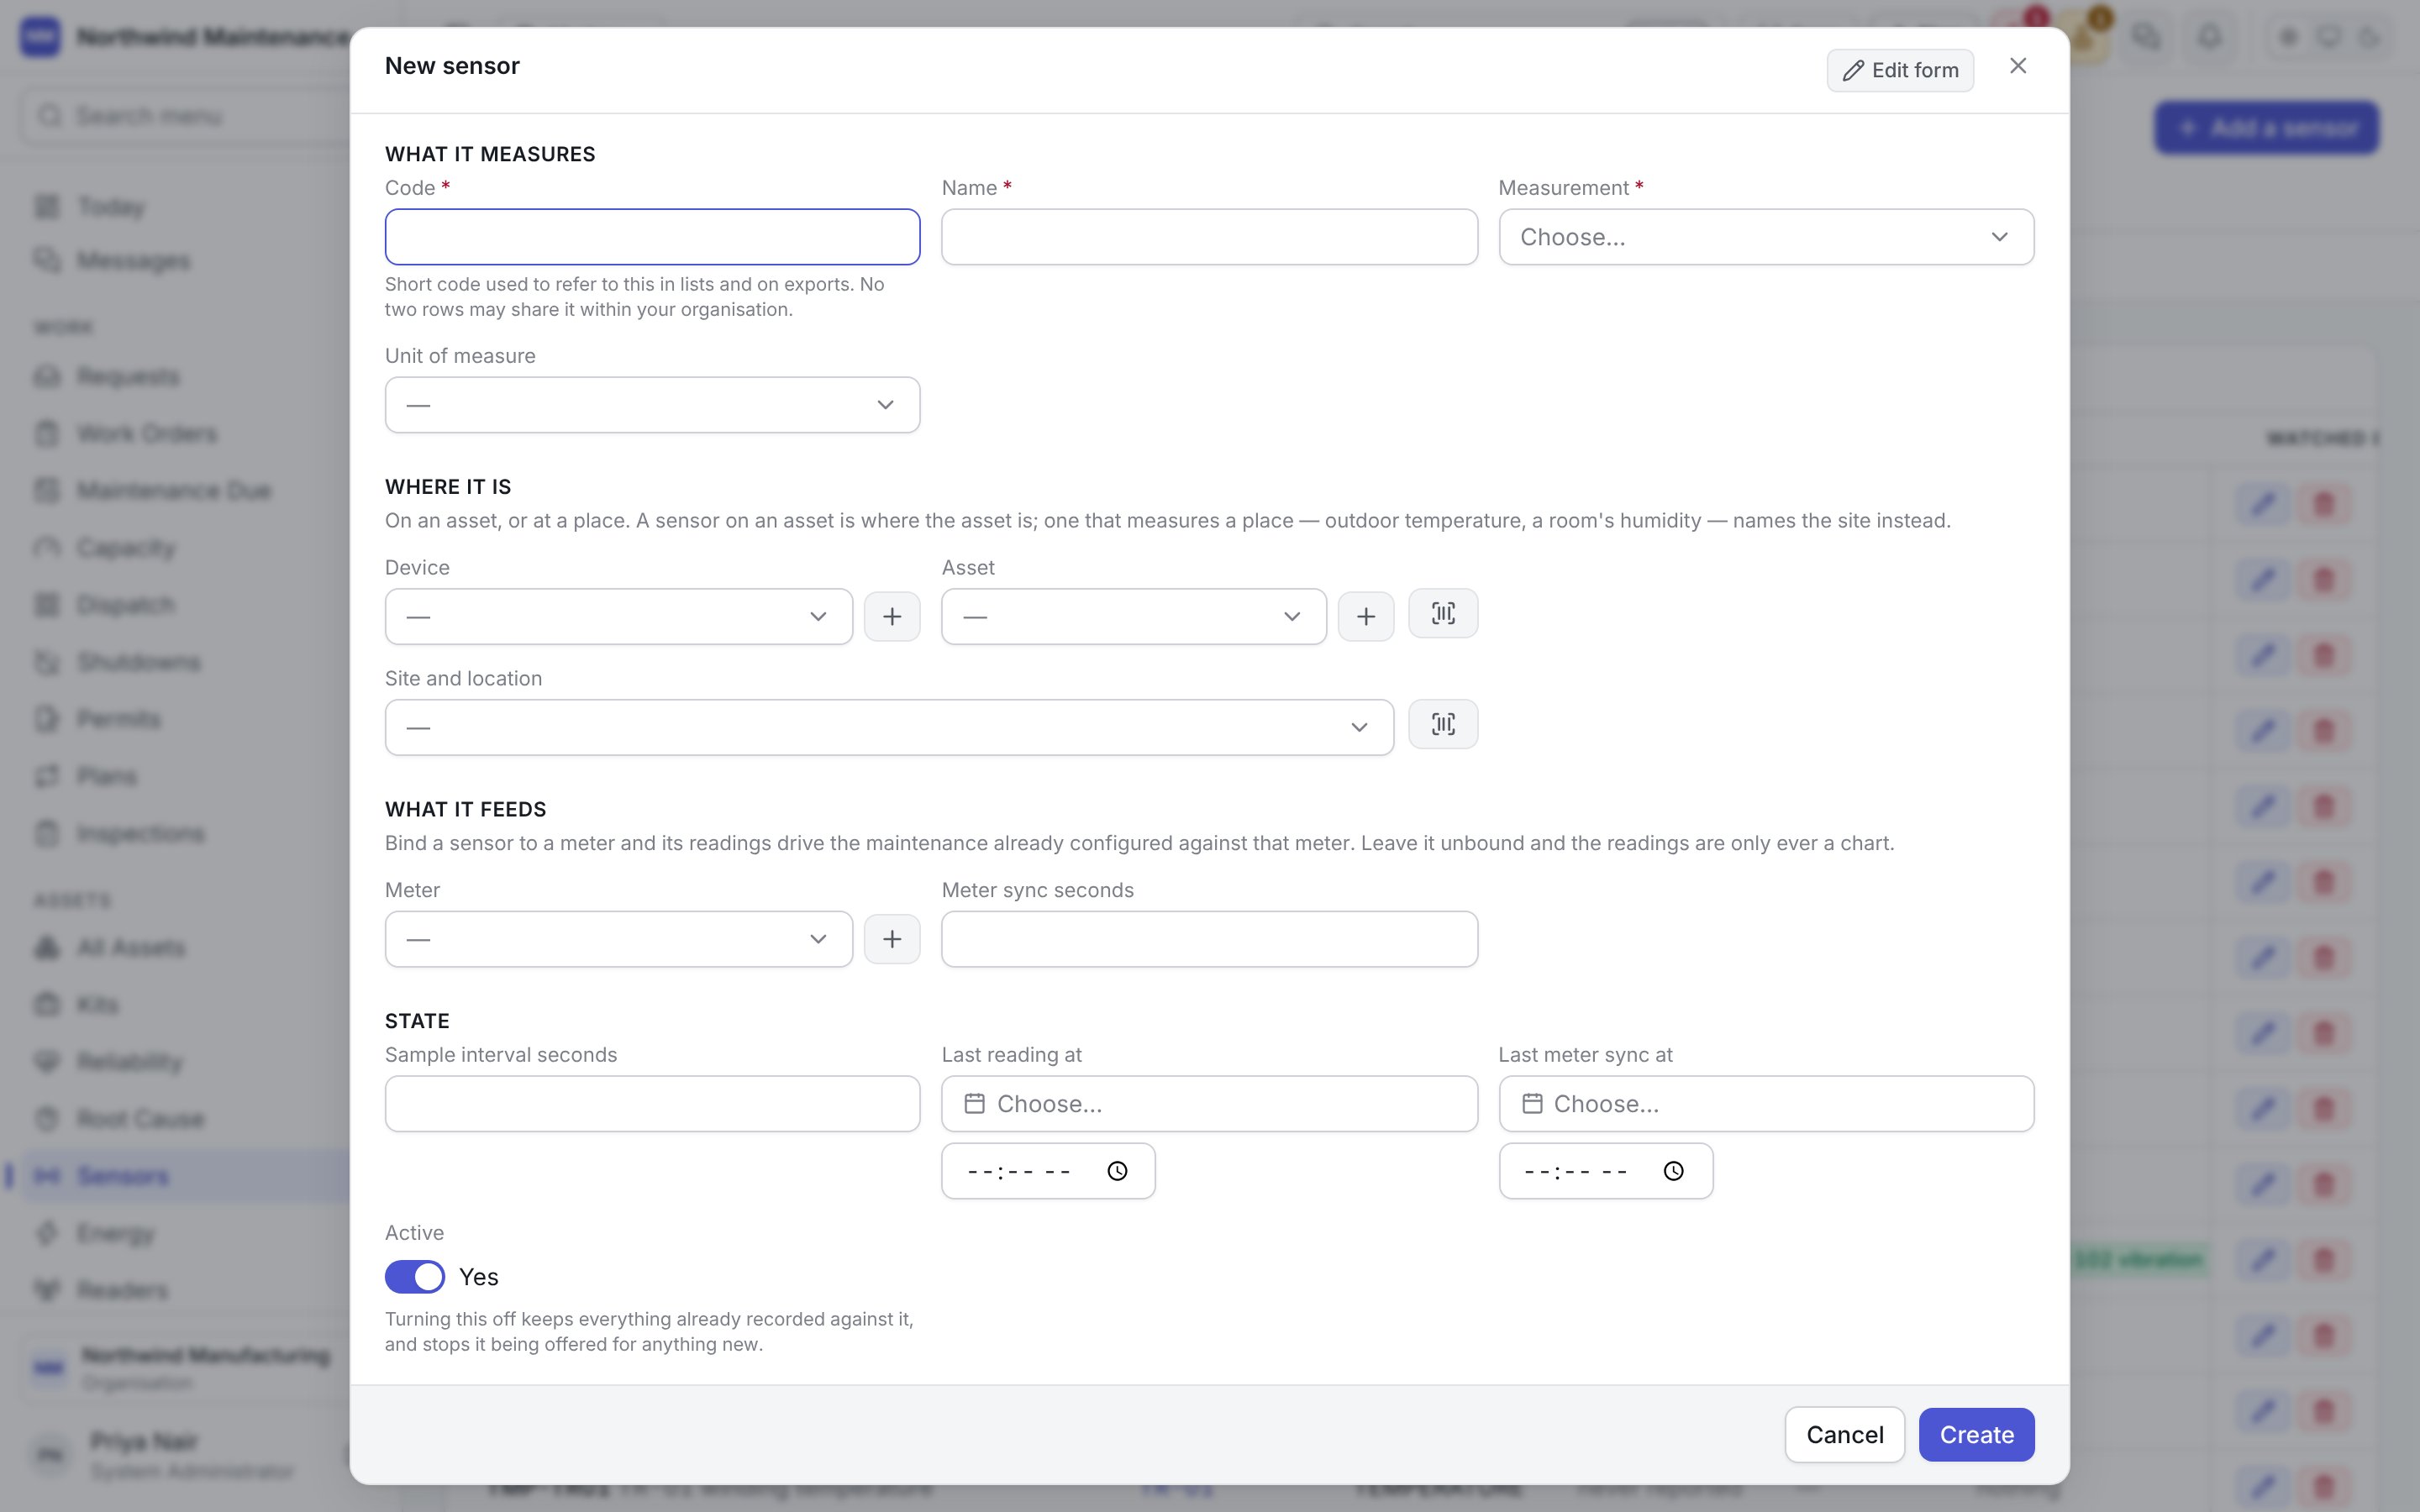
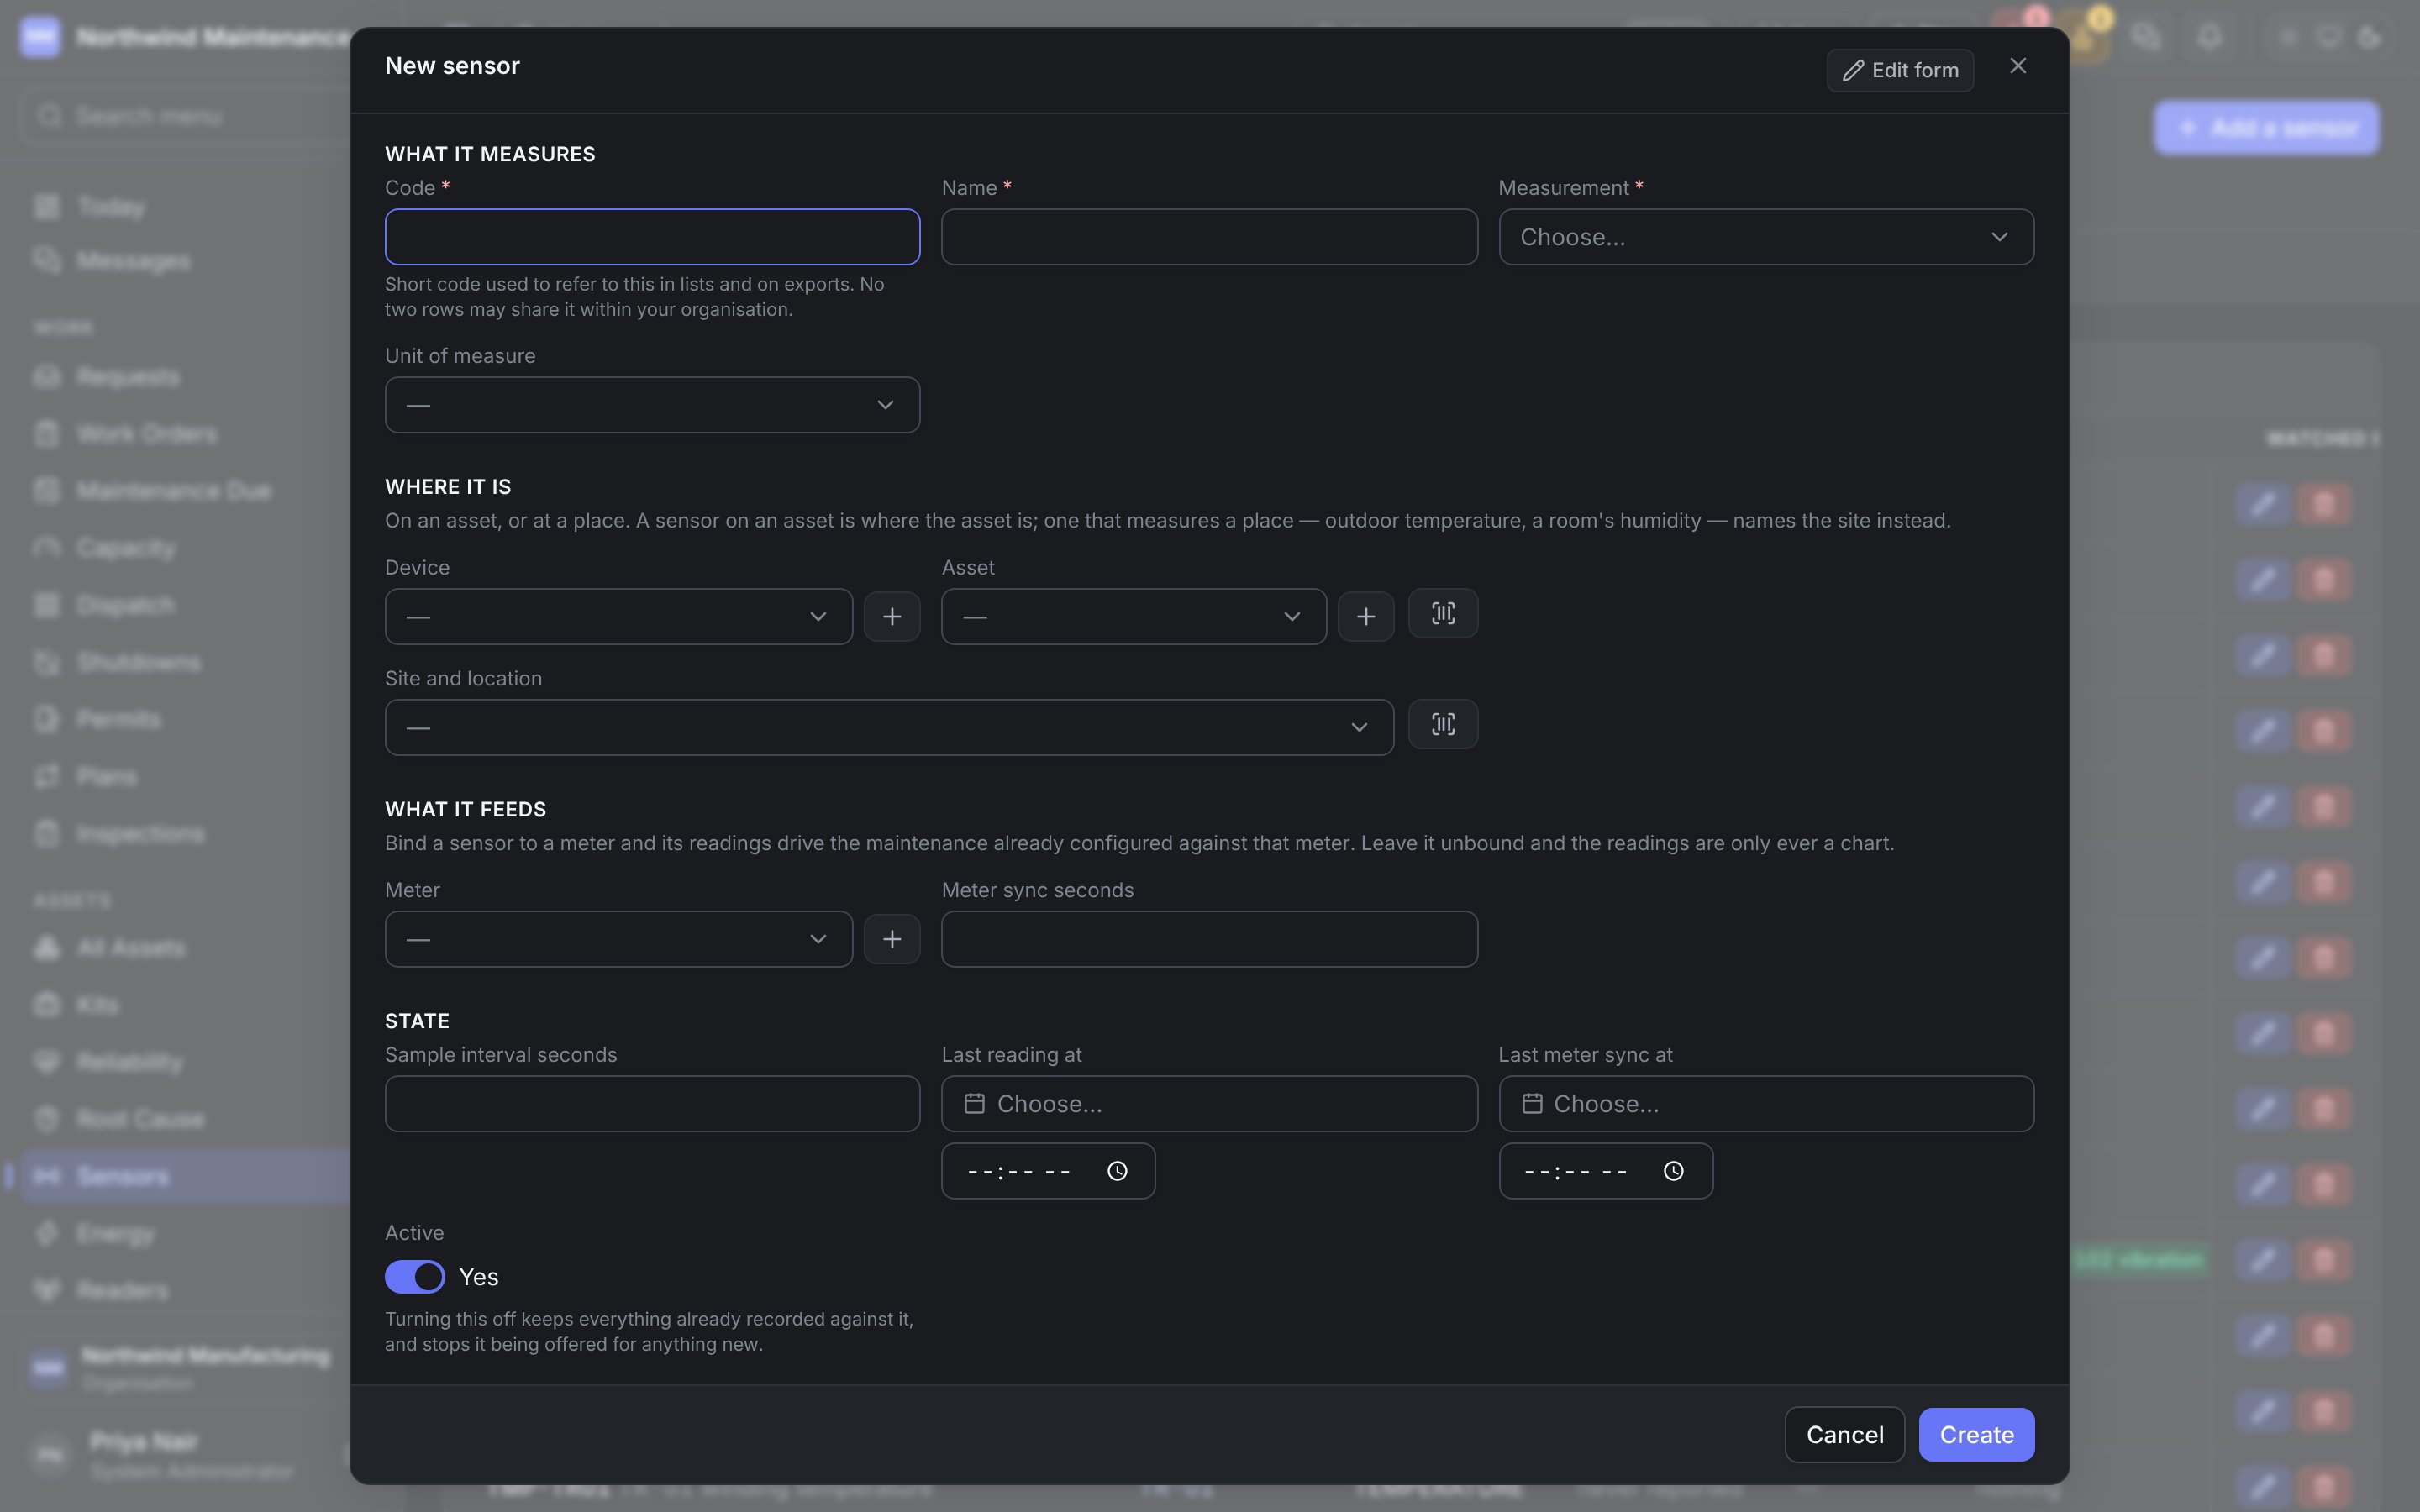
Adding and editing sensors needs permission to add or edit configuration entries.
Setting a limit
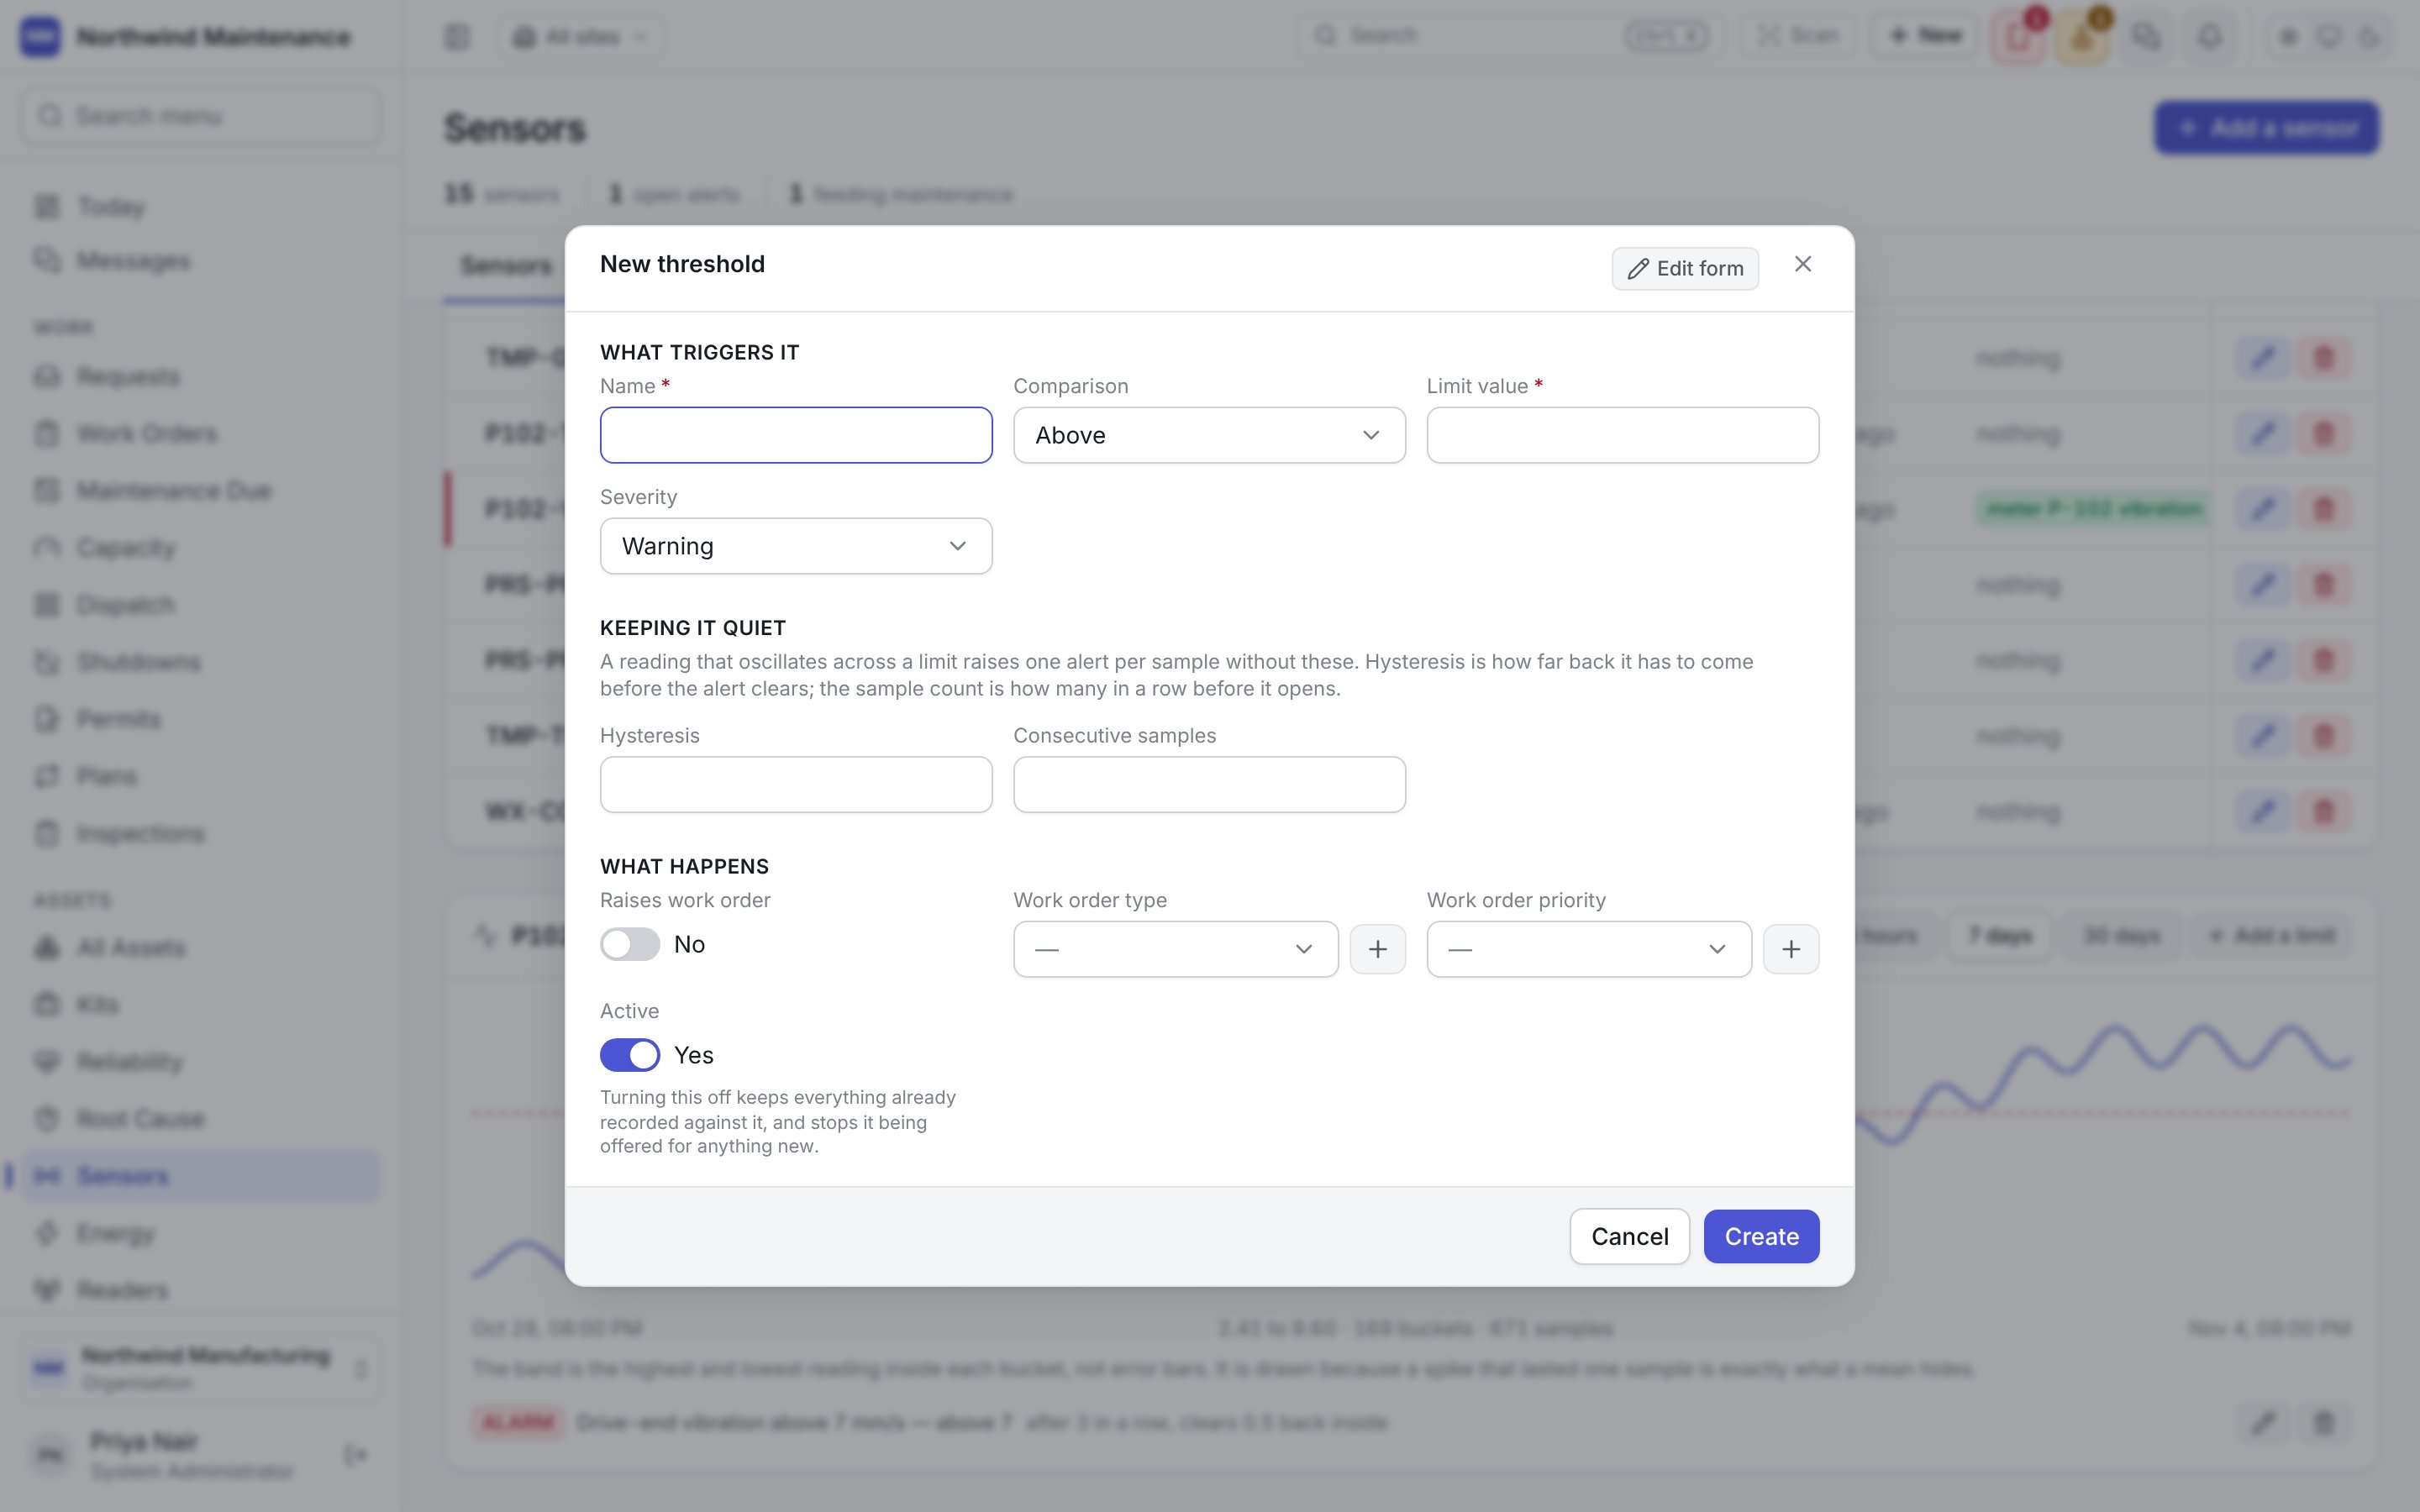
The Alerts tab
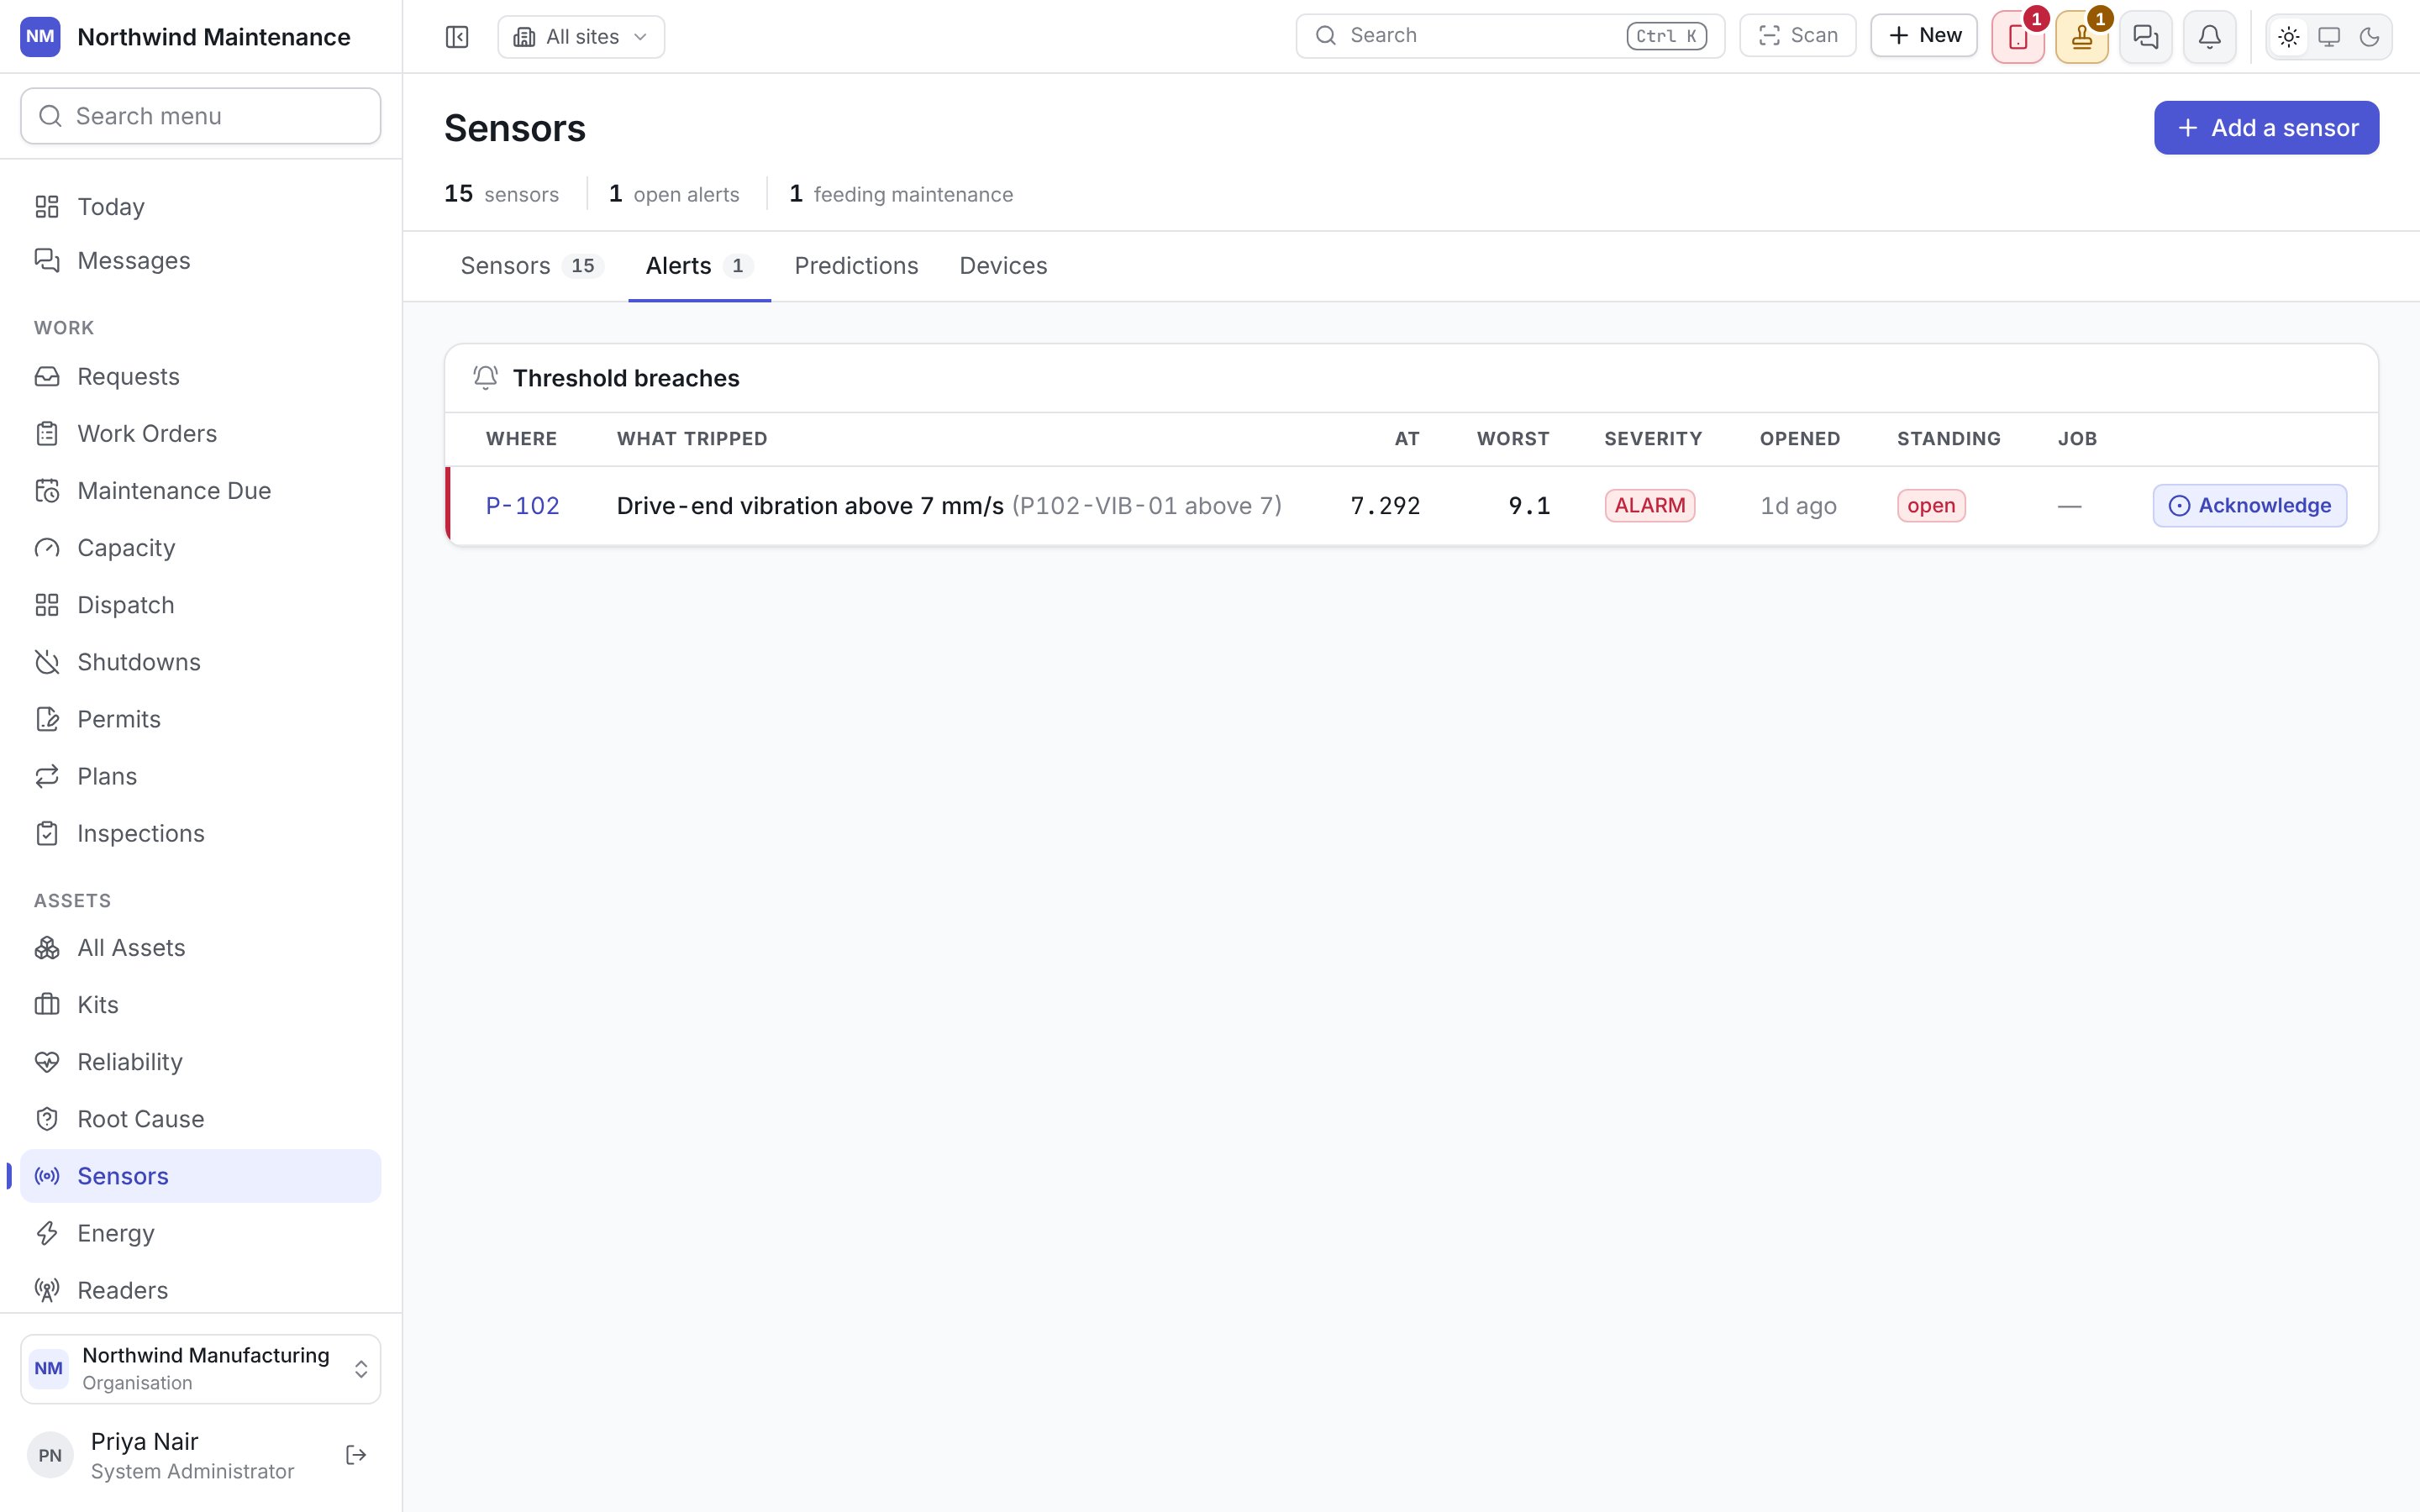
Open alerts are red and acknowledged ones amber.
Acknowledge says somebody has seen the alert. It does not clear it — the reading clears it — so
the row stays until the machine says otherwise. Acknowledging needs permission to edit assets.
The Predictions tab
This tab is normally empty and says so. Nothing in the product produces failure predictions yet. The tab is there so that when a prediction model is connected, what it expected and the day it said so are kept on record, which is what makes it possible to grade a prediction afterwards. When rows exist, they show the asset, the model, the Chance of failure, the window it applies Within, the Life left, the model’s Confidence, and when it Said so.The Devices tab
Devices are the gateways and loggers sensors report through — distinct from the sensors themselves, the way a phone is distinct from the calls made on it. A device that stops reporting takes every sensor on it silent, which is easier to see with devices listed on their own.How a device reports
The panel at the top answers the question people have before they add a device: what do I have to do to make this report? Nothing in the product dials out to a device. Either something at the site sends its readings in, or the device publishes to our MQTT broker, or the product subscribes to the message broker the device publishes on.Devices
Add opens the device form:
MQTT feeds
One feed per device: either a subscription to the site’s broker, or a device that publishes to ours. A device without a feed is not broken — its readings may be posted in, or nobody has configured it yet.
The buttons on each row set the Broker password (showing its last few characters once set) on a
feed we subscribe to, or issue a Key on one that publishes to us,
open Reading the payload to map the messages (labelled Map it until a map exists), edit the
feed, or delete it. Managing feeds needs permission to add or edit configuration entries.
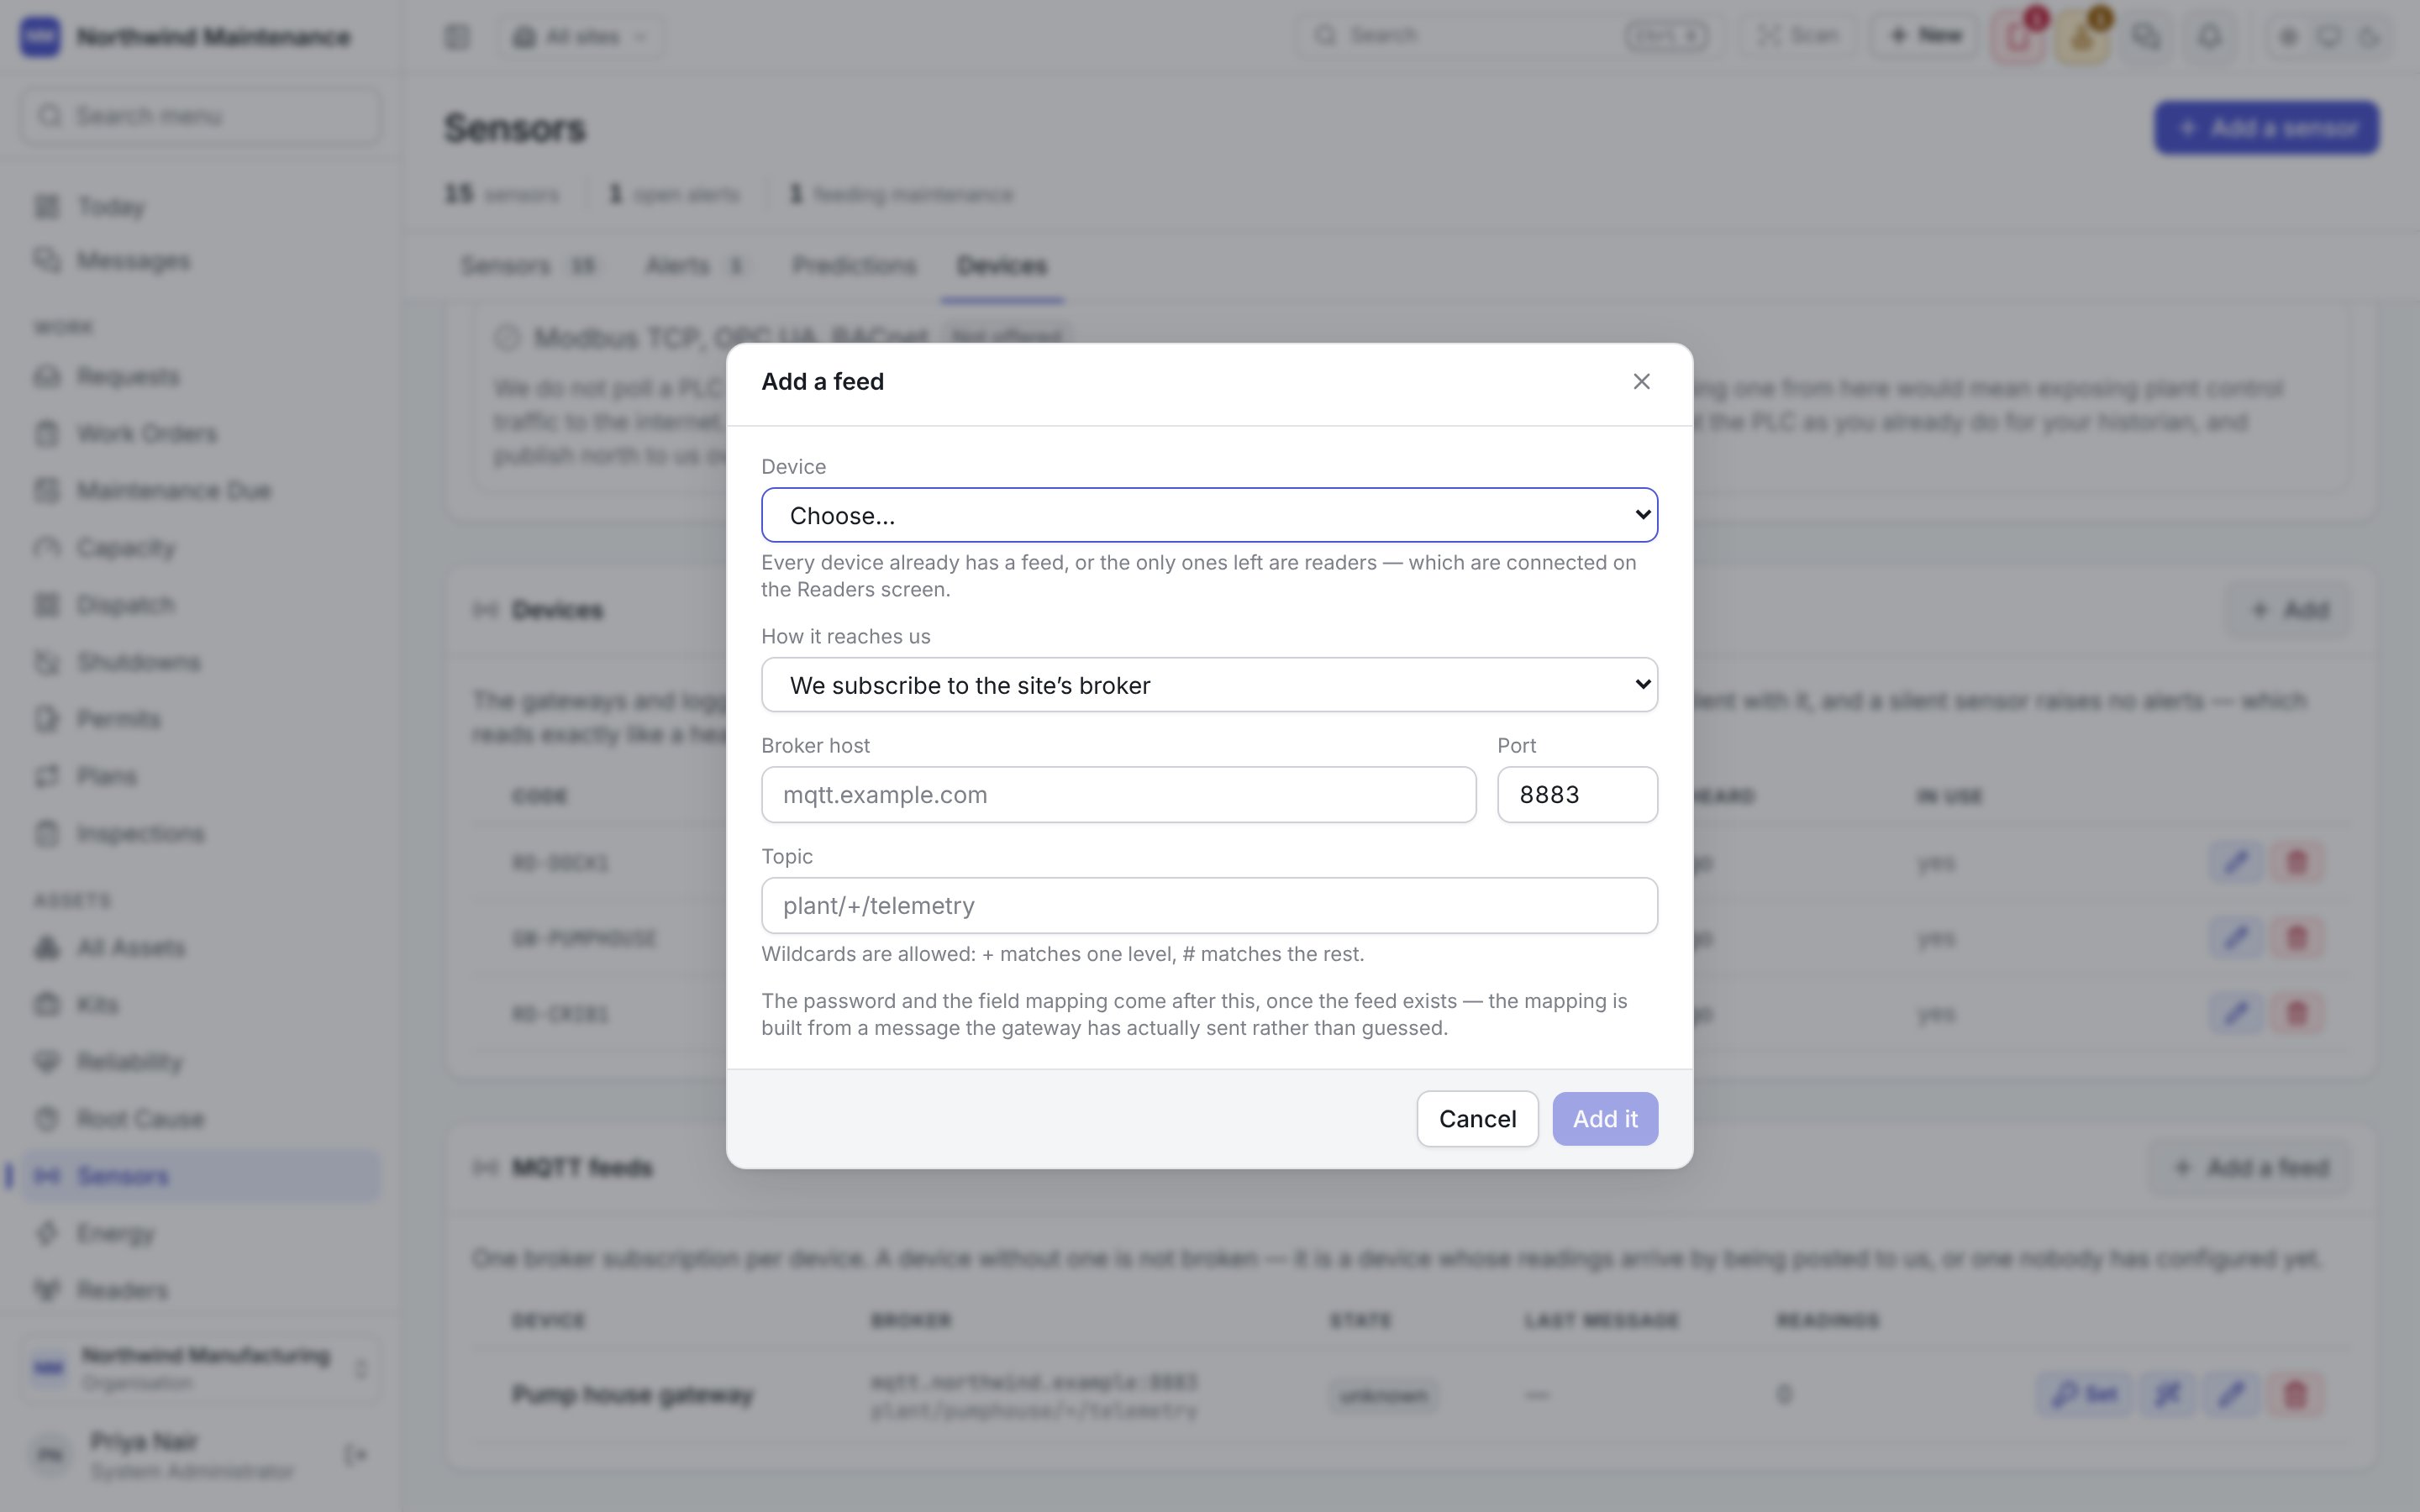
The password and the field mapping come after the feed exists, because the mapping is built from a
message the gateway has actually sent rather than guessed.
Broker password asks for a User name and Password. The password is stored encrypted and
never shown again.
Publishing to our broker
A feed that publishes to us signs in with the device’s code as its user name and a key issued for that feed as its password. Key on the feed’s row, for people with Issue and rotate api keys, opens A key for this feed: choose which identity it Acts as — one that may record meter readings — and when it Stops working after (90 days, 180 days or A year), then Issue it. The key may record that feed’s readings and nothing else: it cannot be used for any other feed or reader, cannot be traded for a token, and is the only key the feed may send without TLS. The key is shown once, inside the broker settings the gateway needs, under This feed’s key, in the gateway’s settings. Nothing in the product can read it back, so put it into the gateway before you press I’ve put it in the gateway. What the gateway publishes is read by the feed’s map, exactly as for a feed we subscribe to.Reading the payload
Reading the payload has two boxes: The map, which says which field of a message holds the sensor code and which holds the value, and A message to try it on (leave it empty to use the last message received). Try it shows what the map makes of the message without storing anything. Record it for real runs the saved map and records the readings, which is how you can commission a feed before any hardware is connected. Save the map saves it.Where sensors show up elsewhere
- On the asset’s Meters tab, a bound meter moves with the sensor’s readings.
- A limit that raises a work order puts it in the ordinary work order list.
- Sensors, limits and devices are also reachable from administered lists, which open this screen.