

1
Sign in
Open the address your administrator gave you. Enter your email and password and click
Sign in.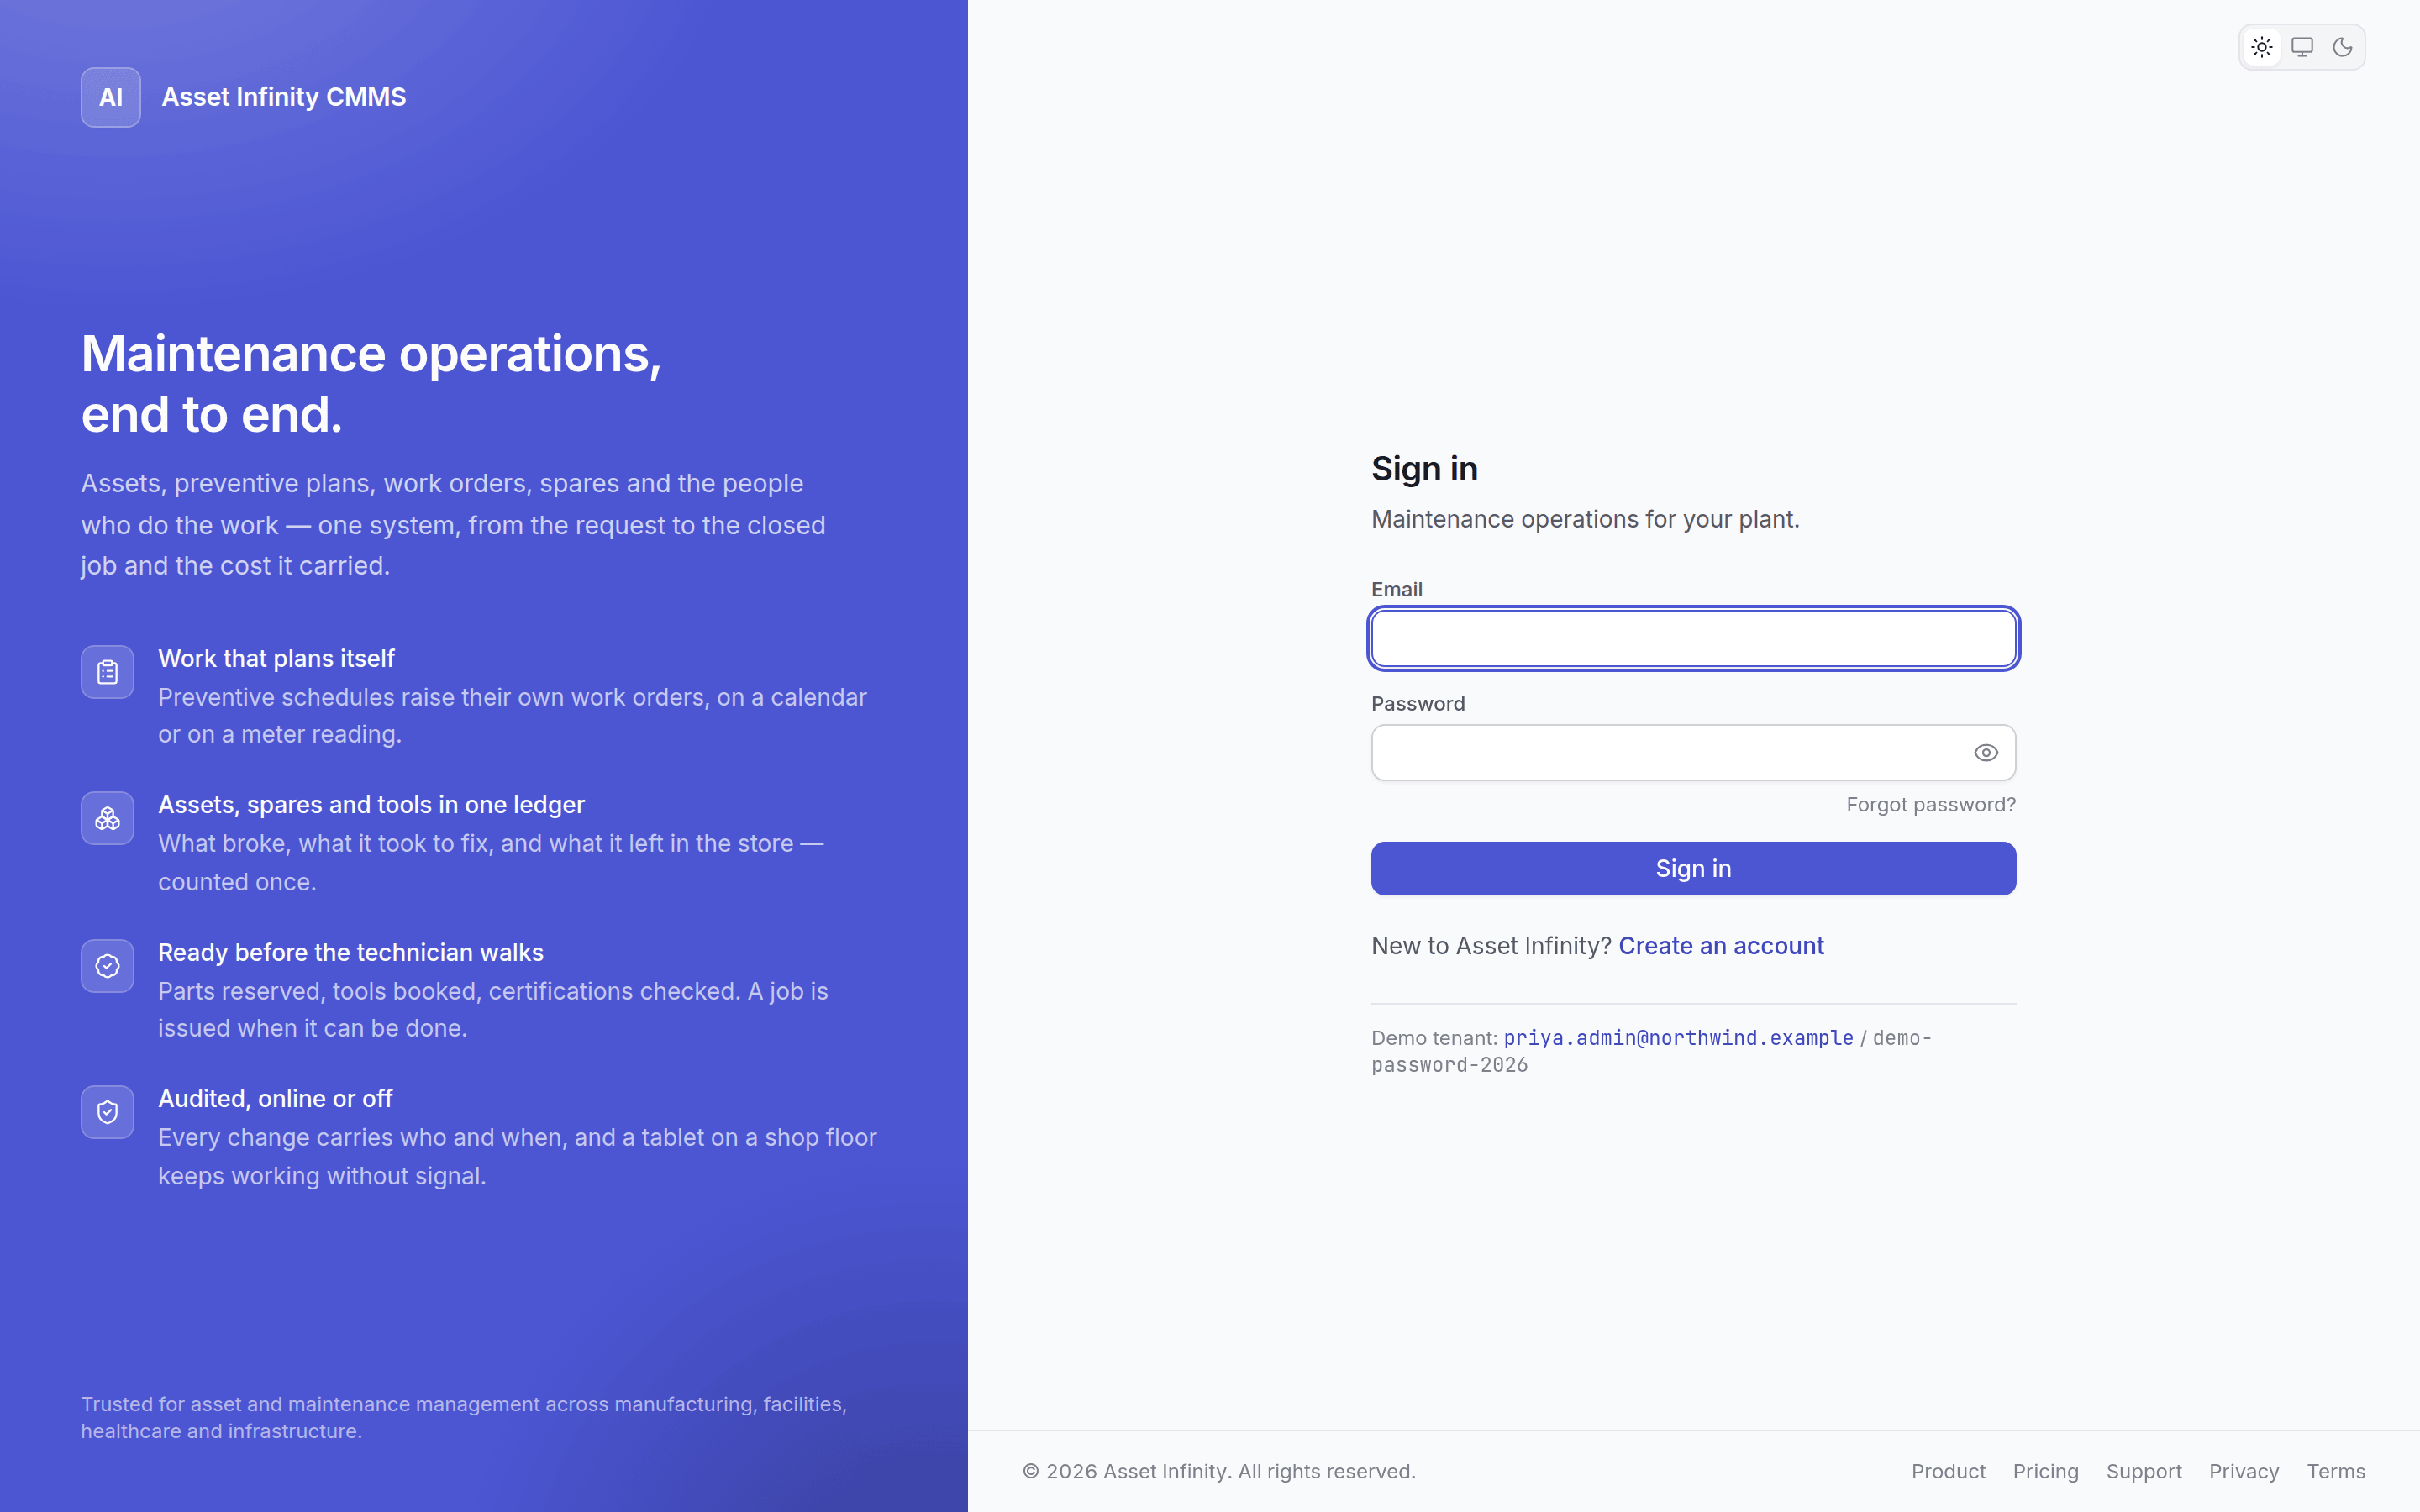
No account yet? If your organisation allows self-service signup you can
create one. Otherwise an administrator creates it for you and you will be
asked to change the password they issued on first sign-in.
2
Get your bearings
The sidebar groups screens by what you are doing: Work, Assets, Inventory,
Workforce, Commercial and Setup. The header carries search, the site switcher, the
New button, notifications and your account.Press Ctrl+K (⌘+K on a Mac) to open the command
palette and jump anywhere by typing.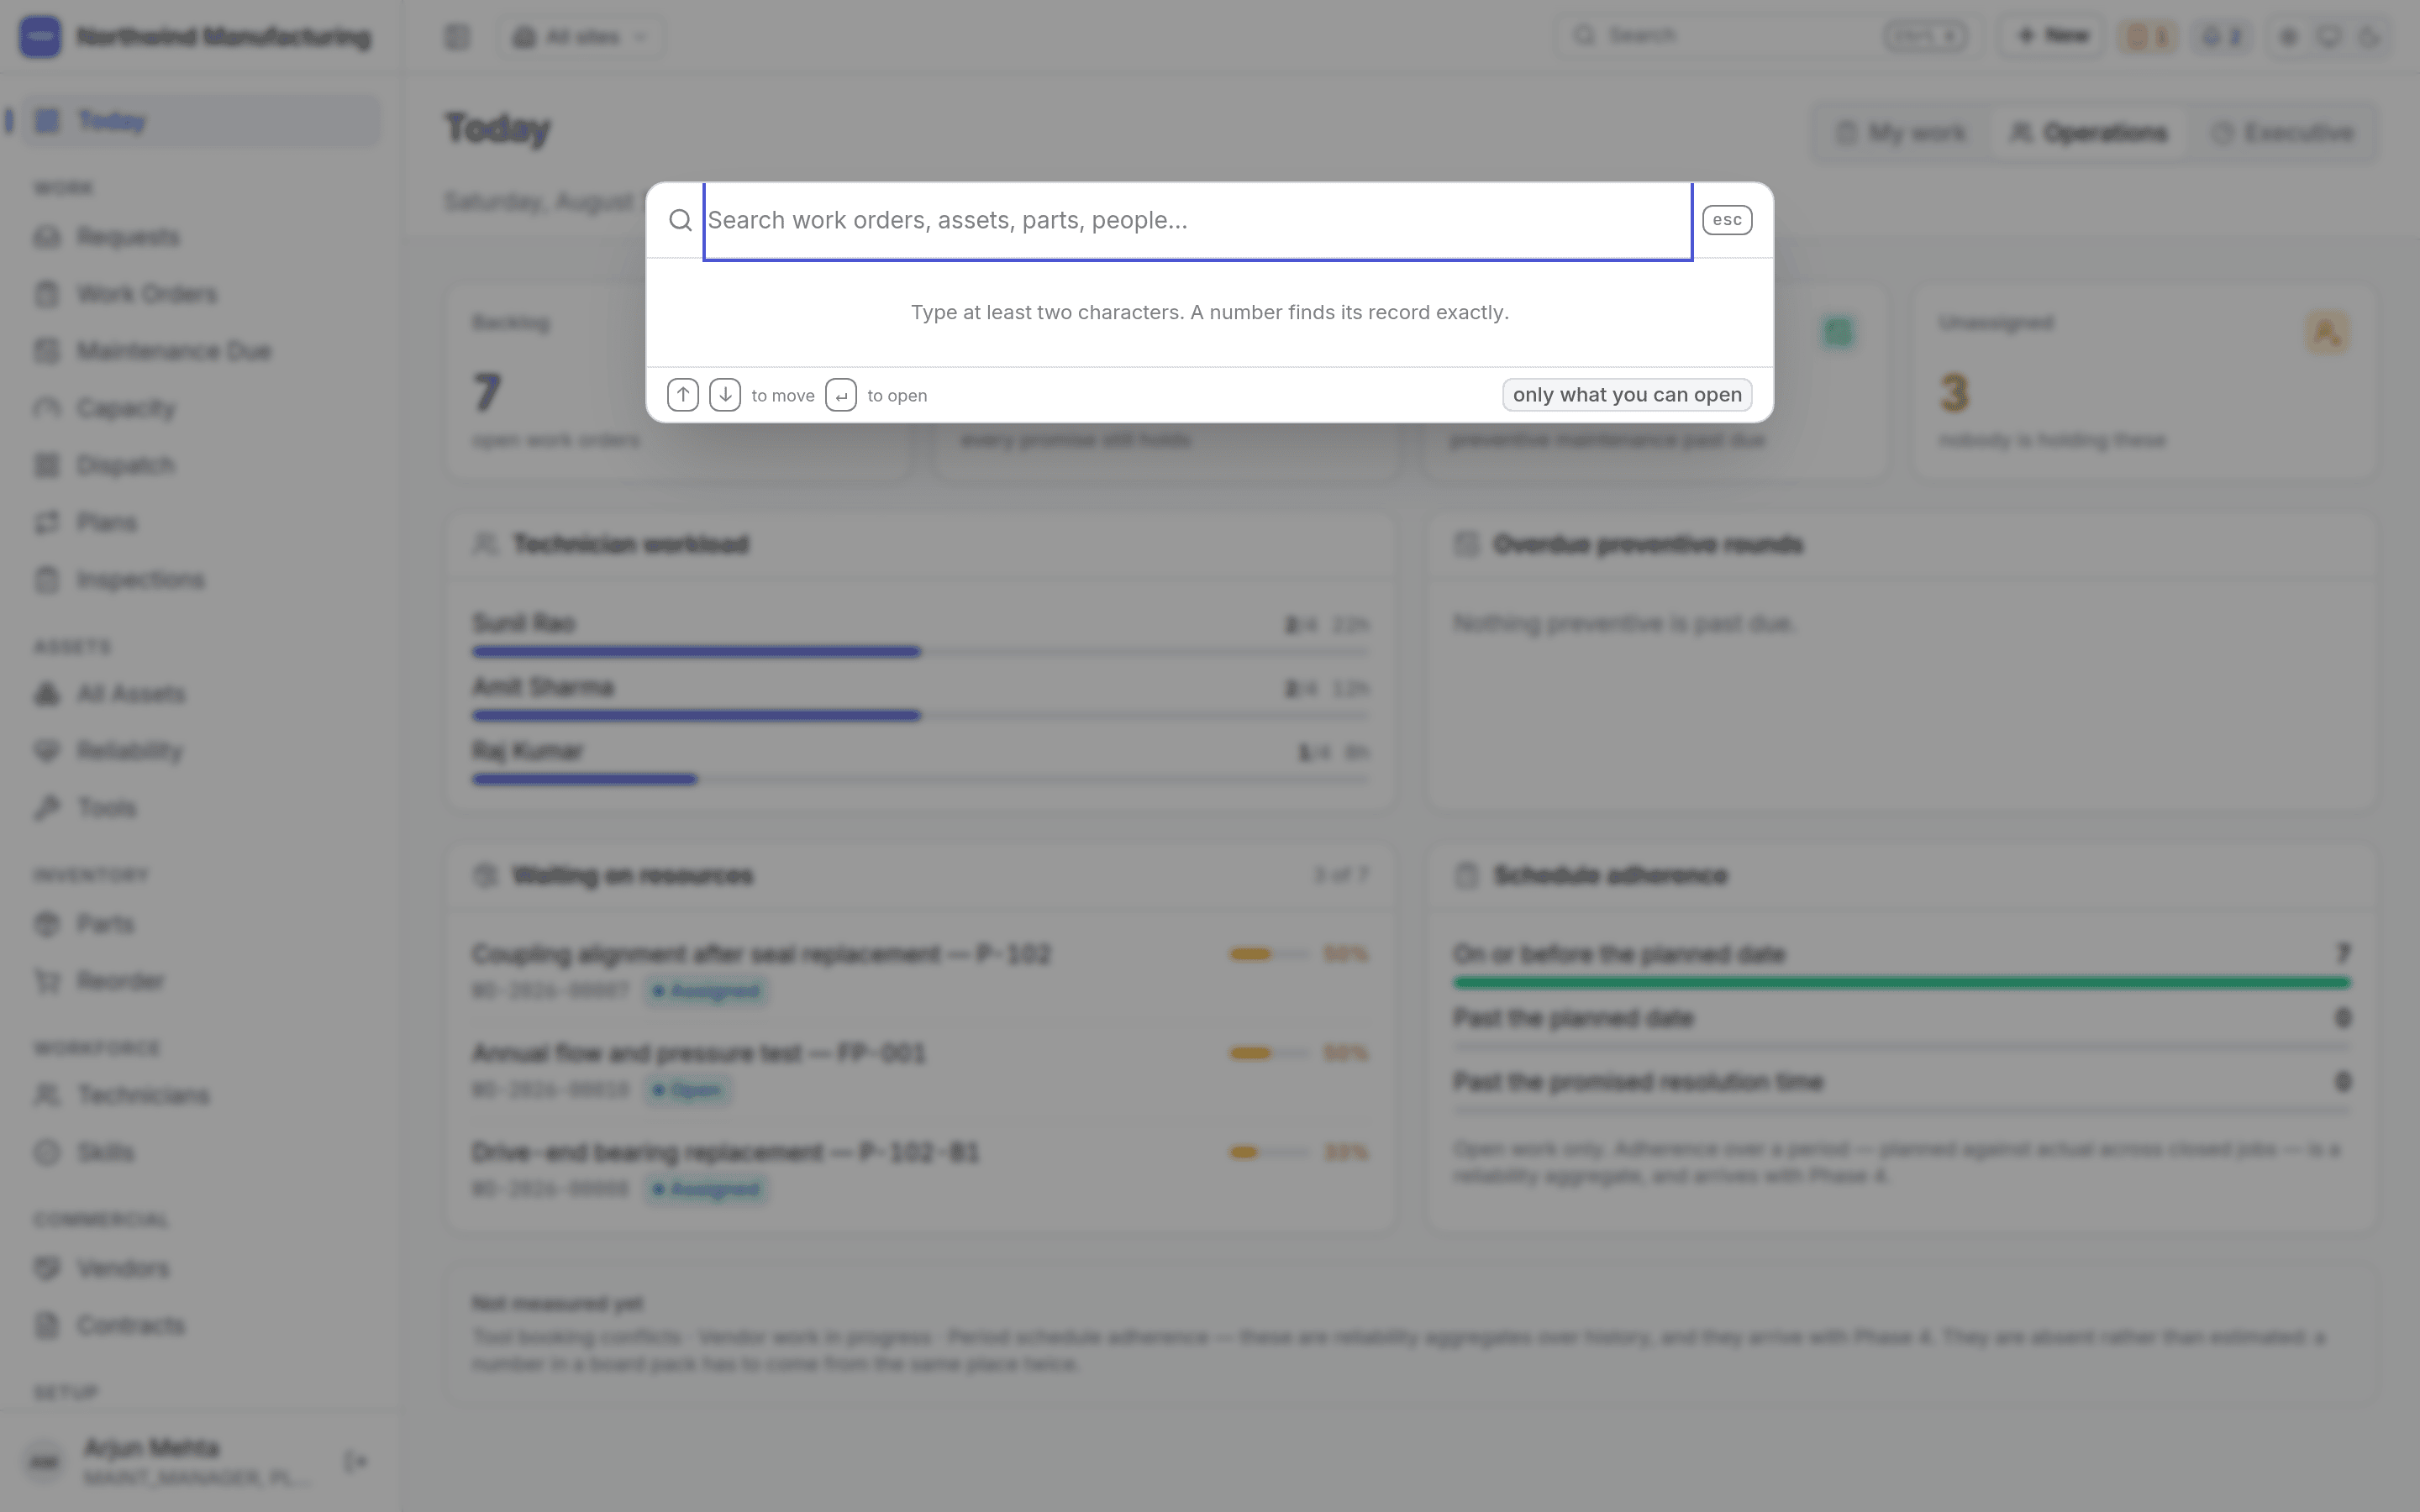
3
Triage a reported fault
Go to Work → Requests. This is the inbox of things people have reported. Select one and the
request opens in a panel beside the list, so you can work down a queue without navigating back
and forth.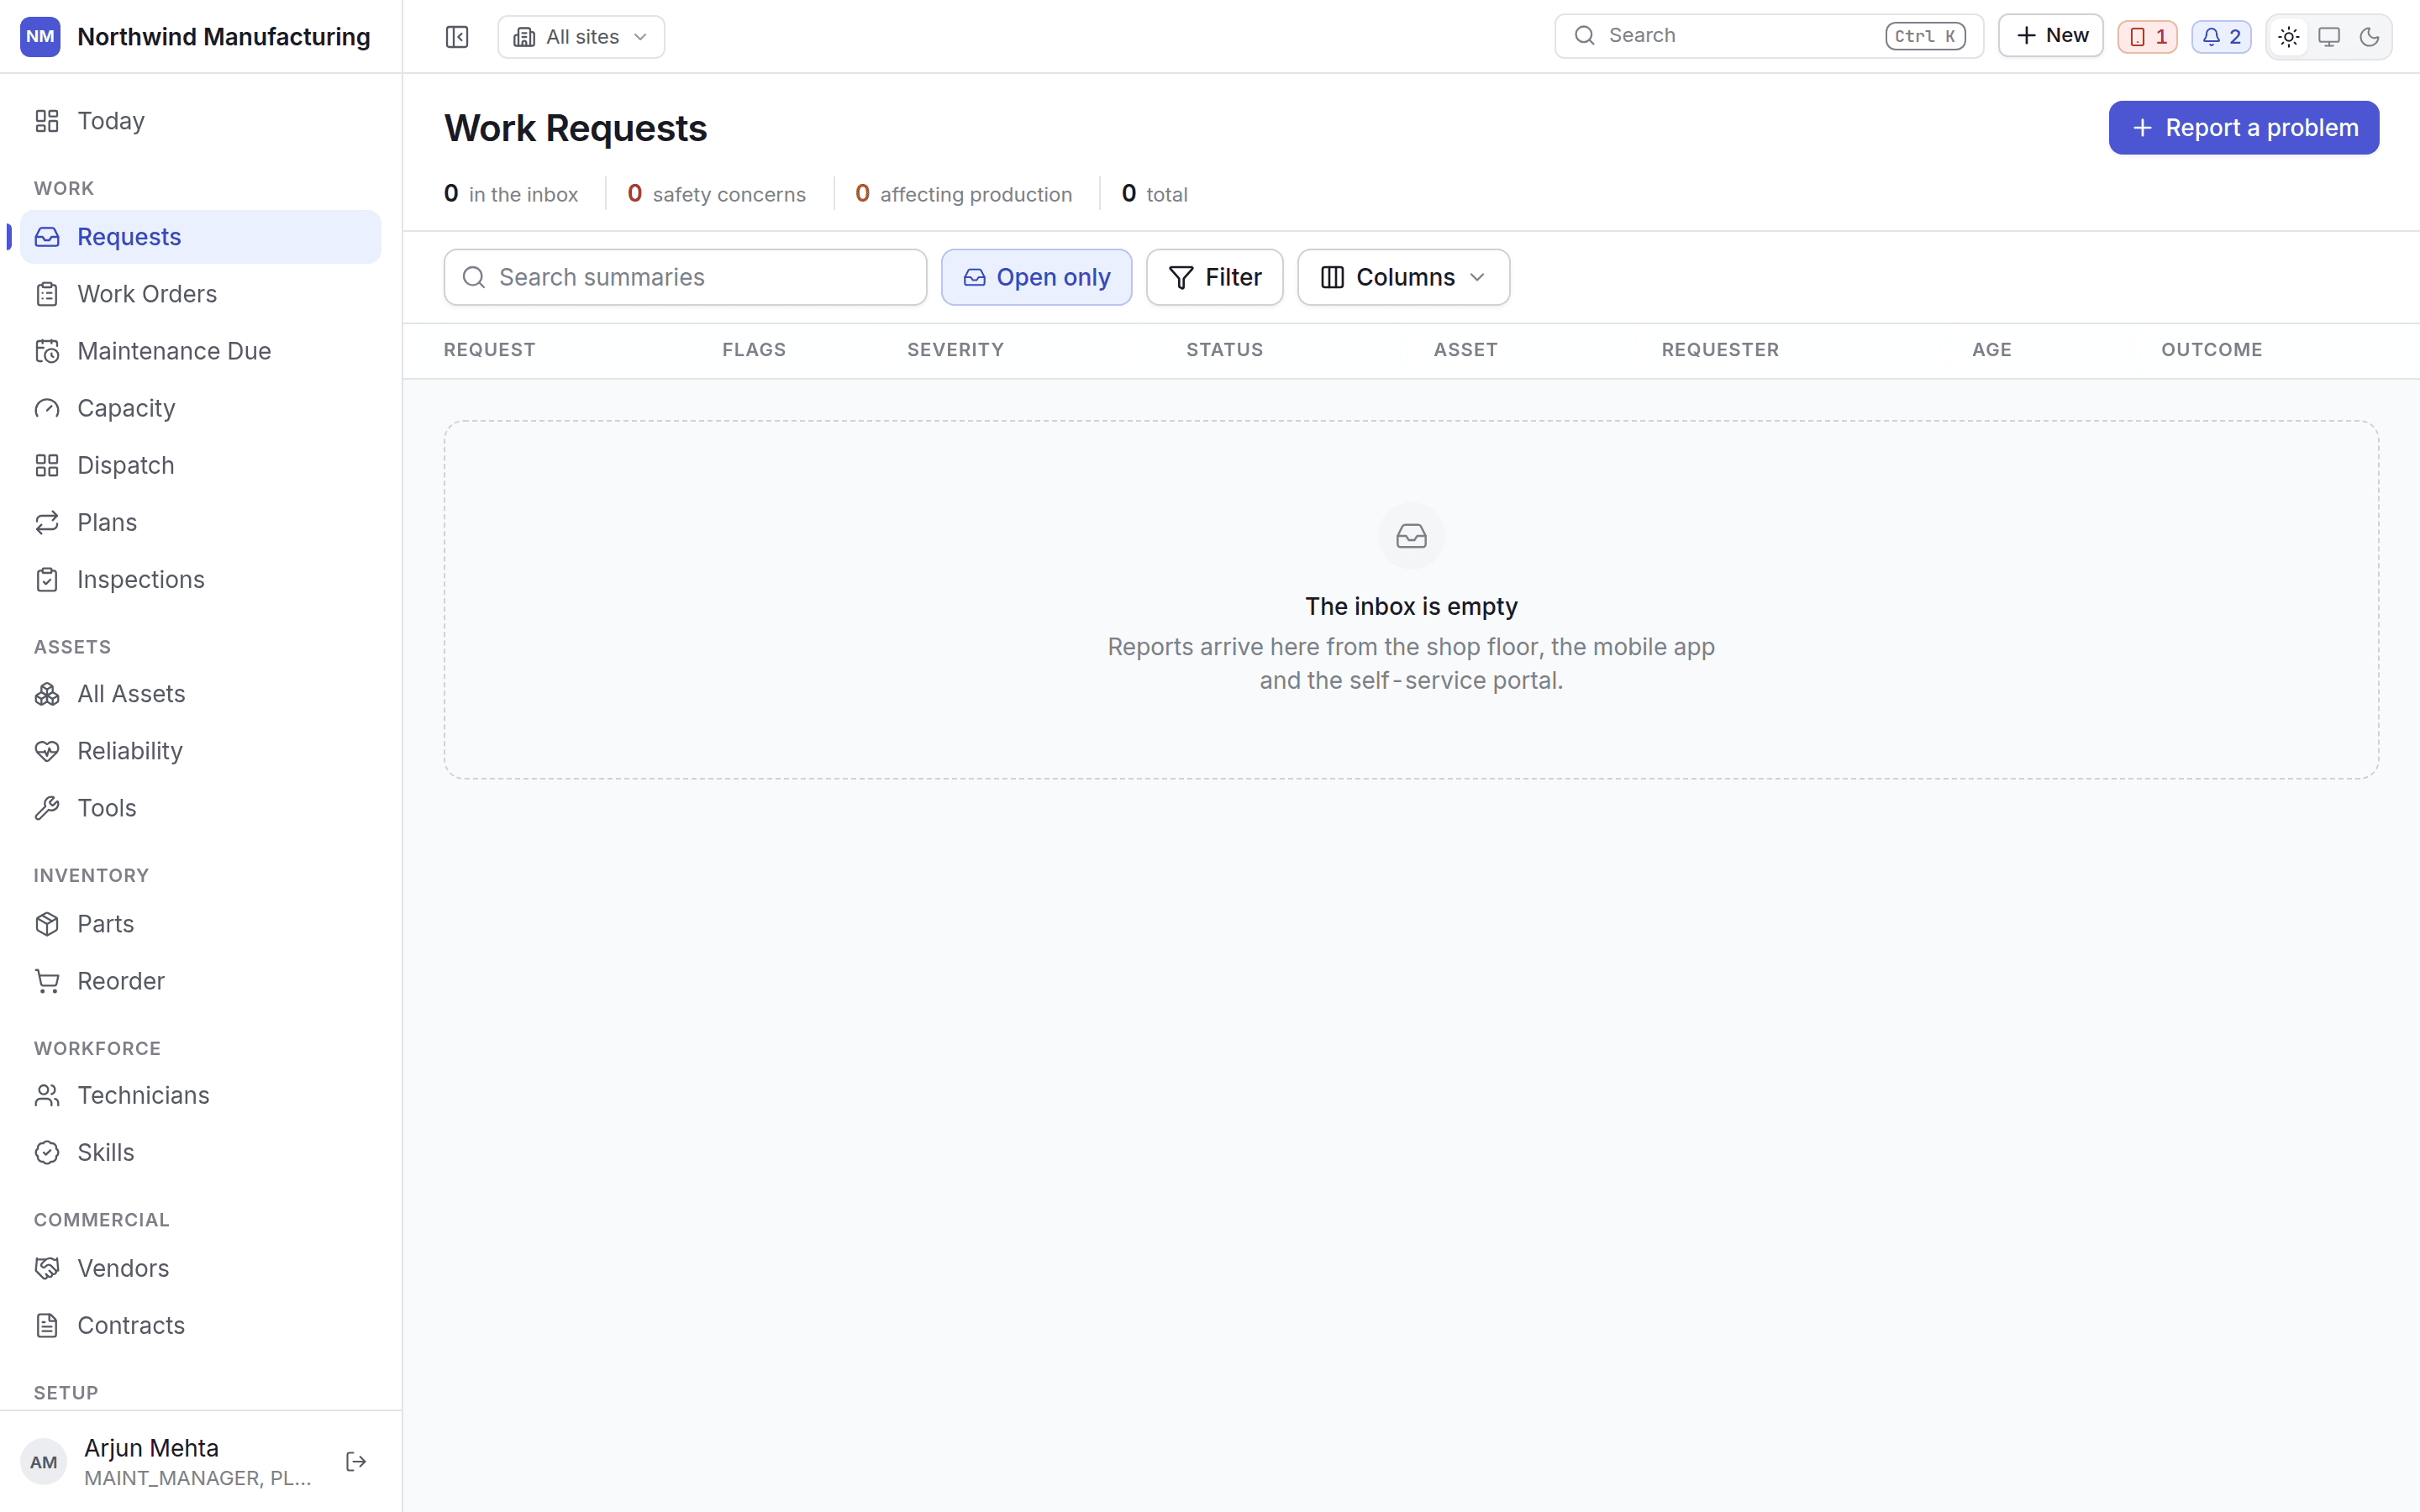
4
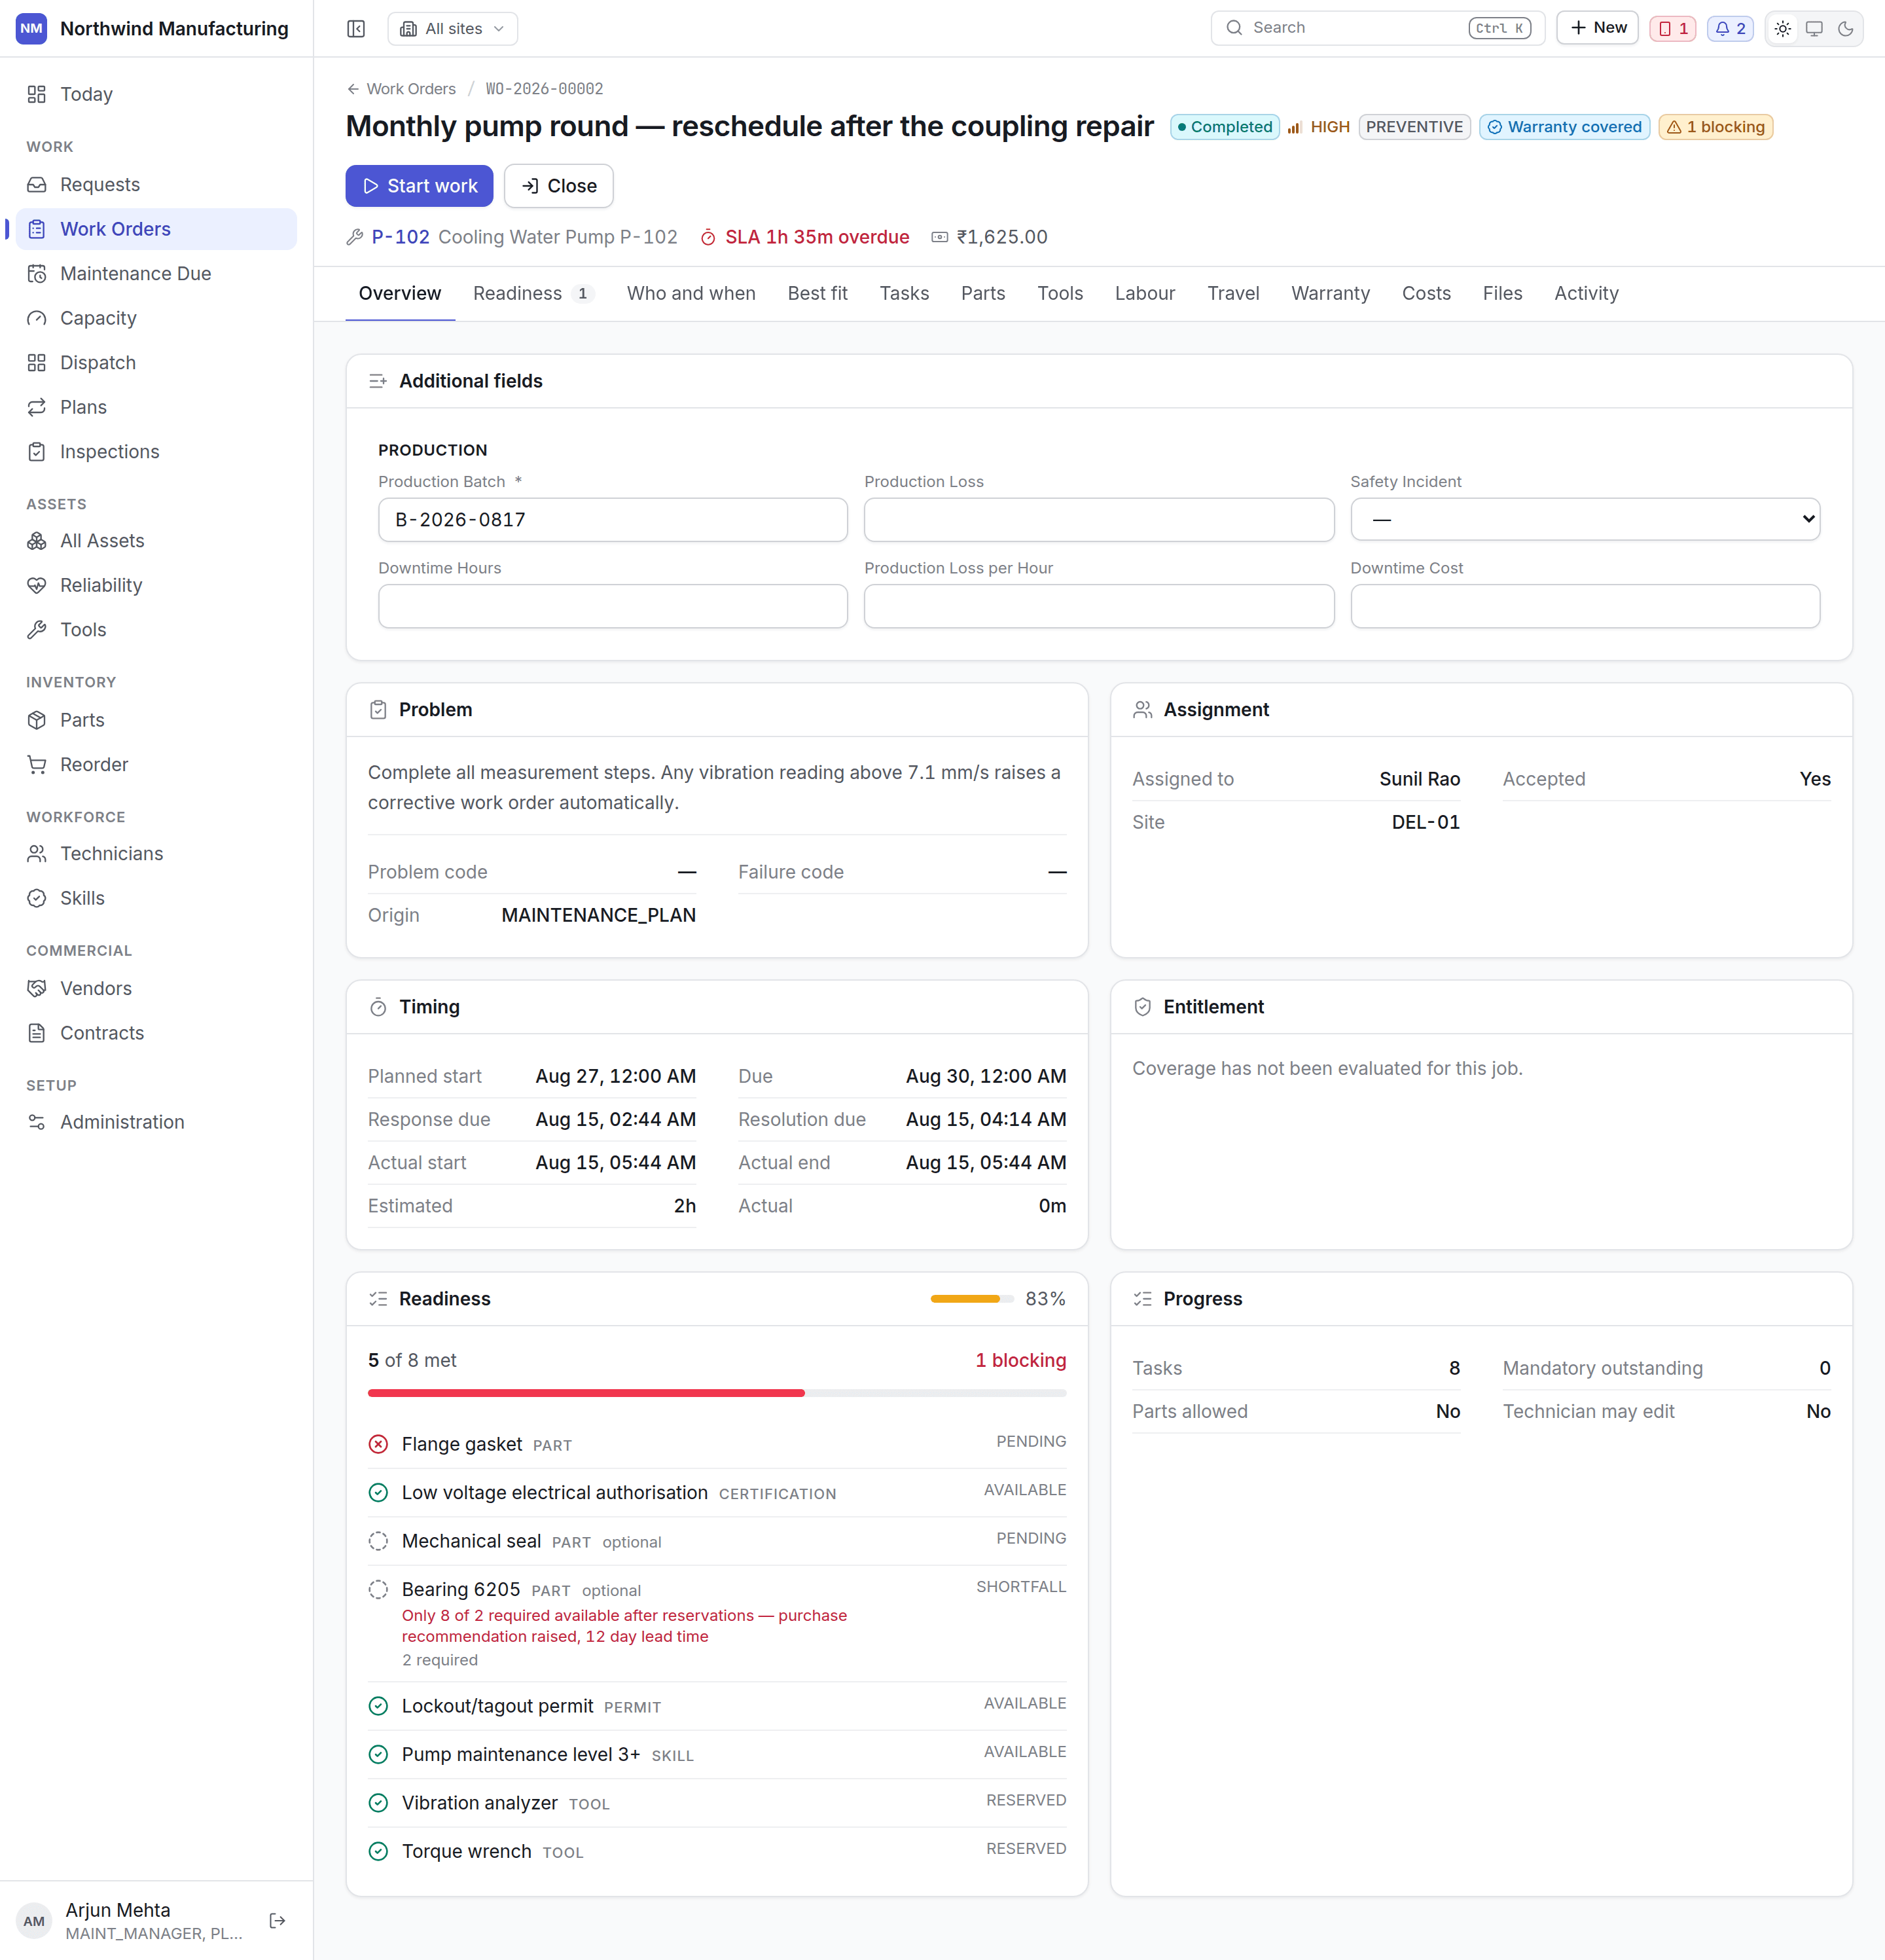
Open the work order
Converting lands you on the job. Work → Work Orders lists everything open, with views along
the top for Unassigned, Due today, Overdue, SLA breached, Critical and each of your
on-hold states.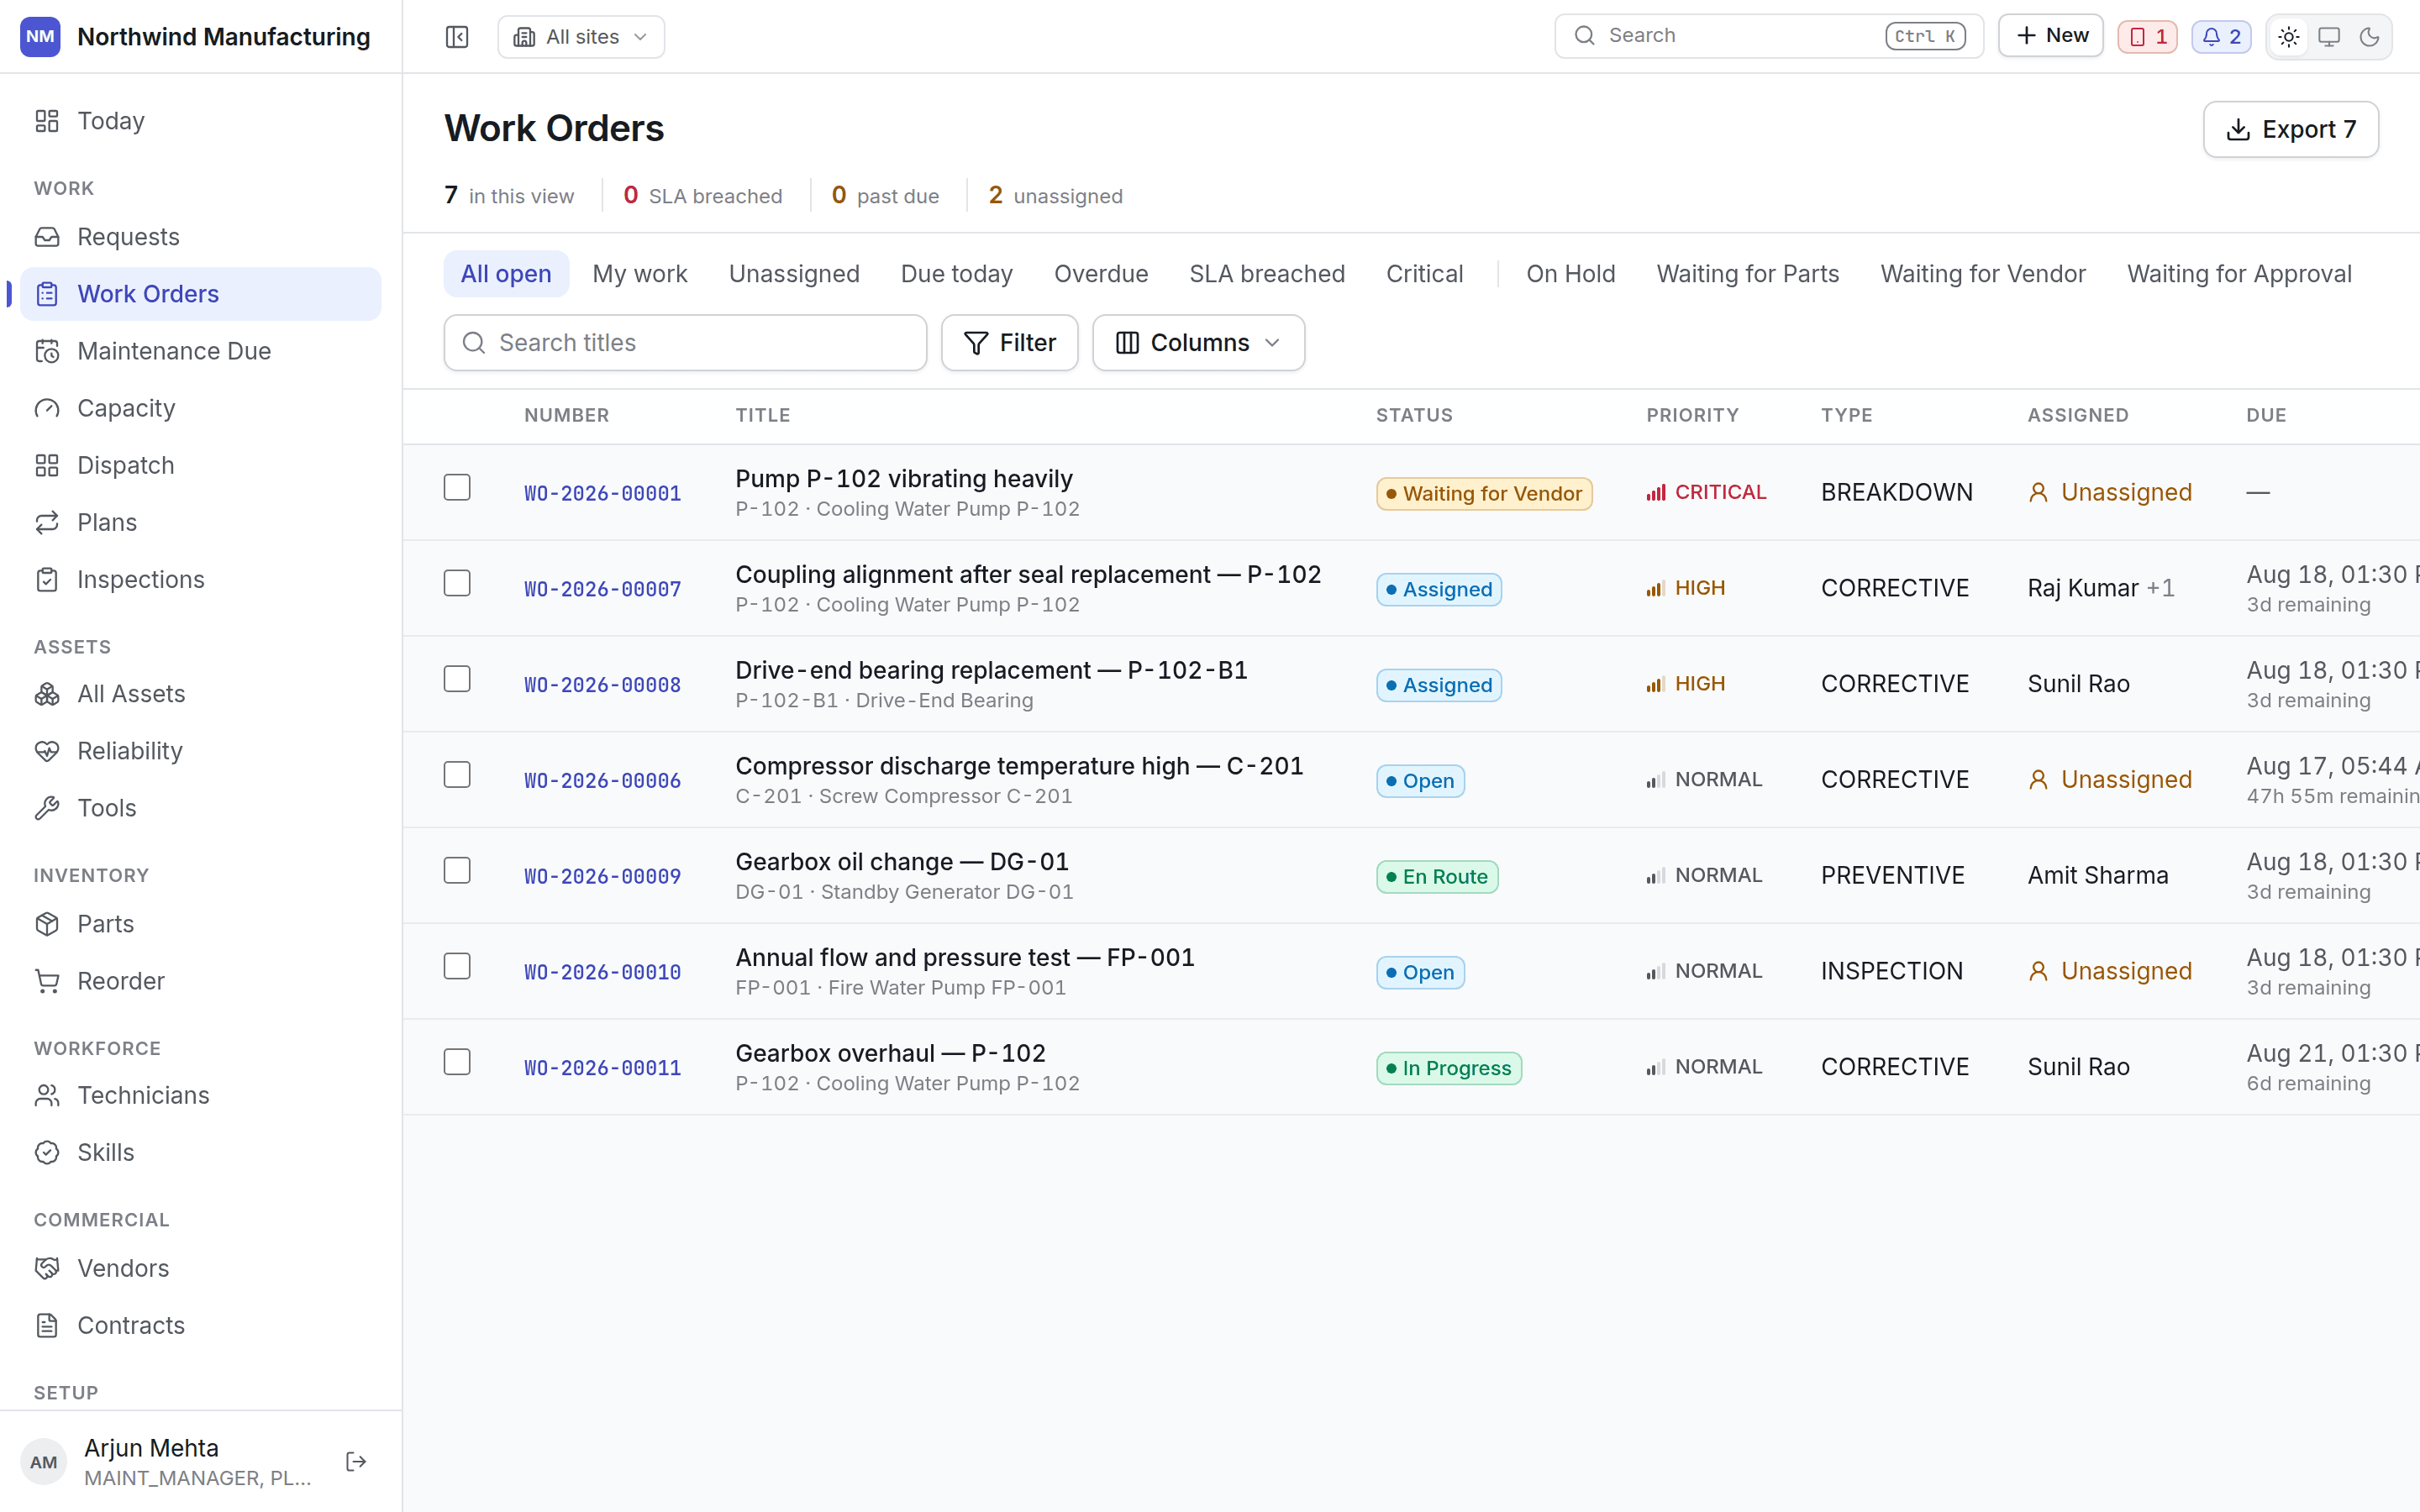
5
Check it can actually be done
Open the Readiness tab. It lists what the job still needs — parts not in stock, a tool that
is out or out of calibration, a skill or certification nobody available holds, a vendor who has
not confirmed.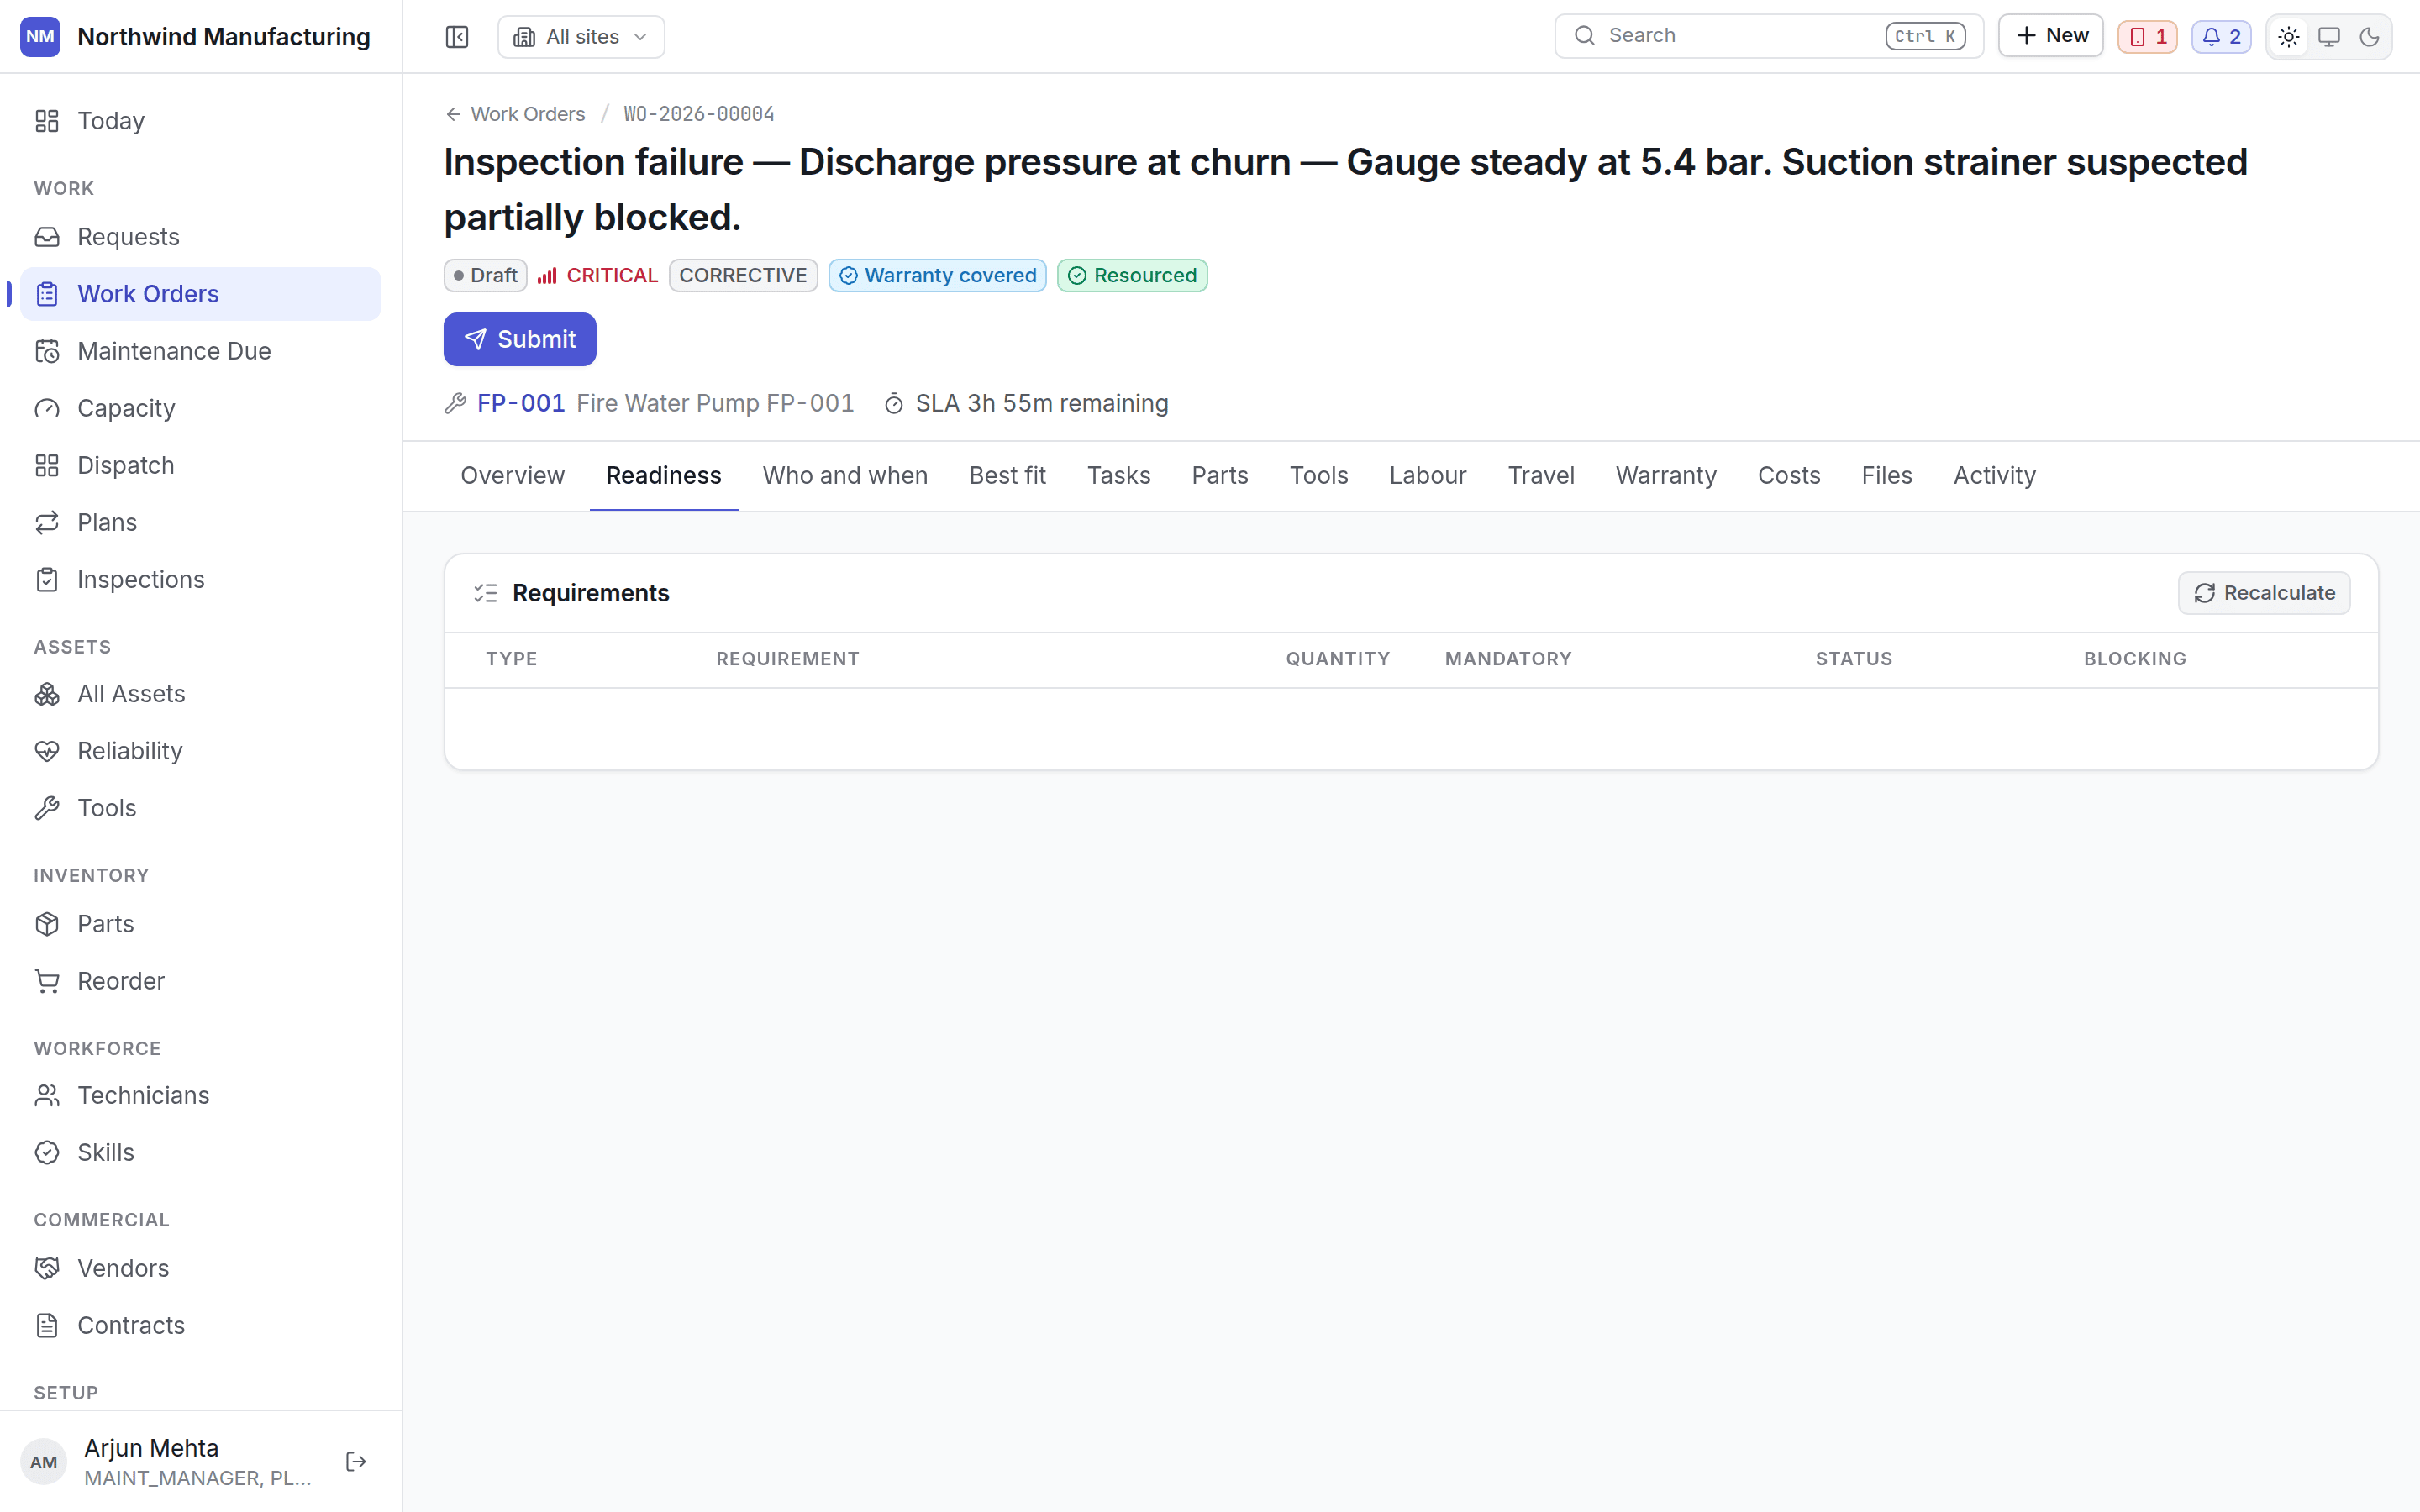
6
Put somebody on it
Go to Work → Dispatch. Jobs sit in columns by state; technicians are in the rail on the
right. Drag a job onto a person.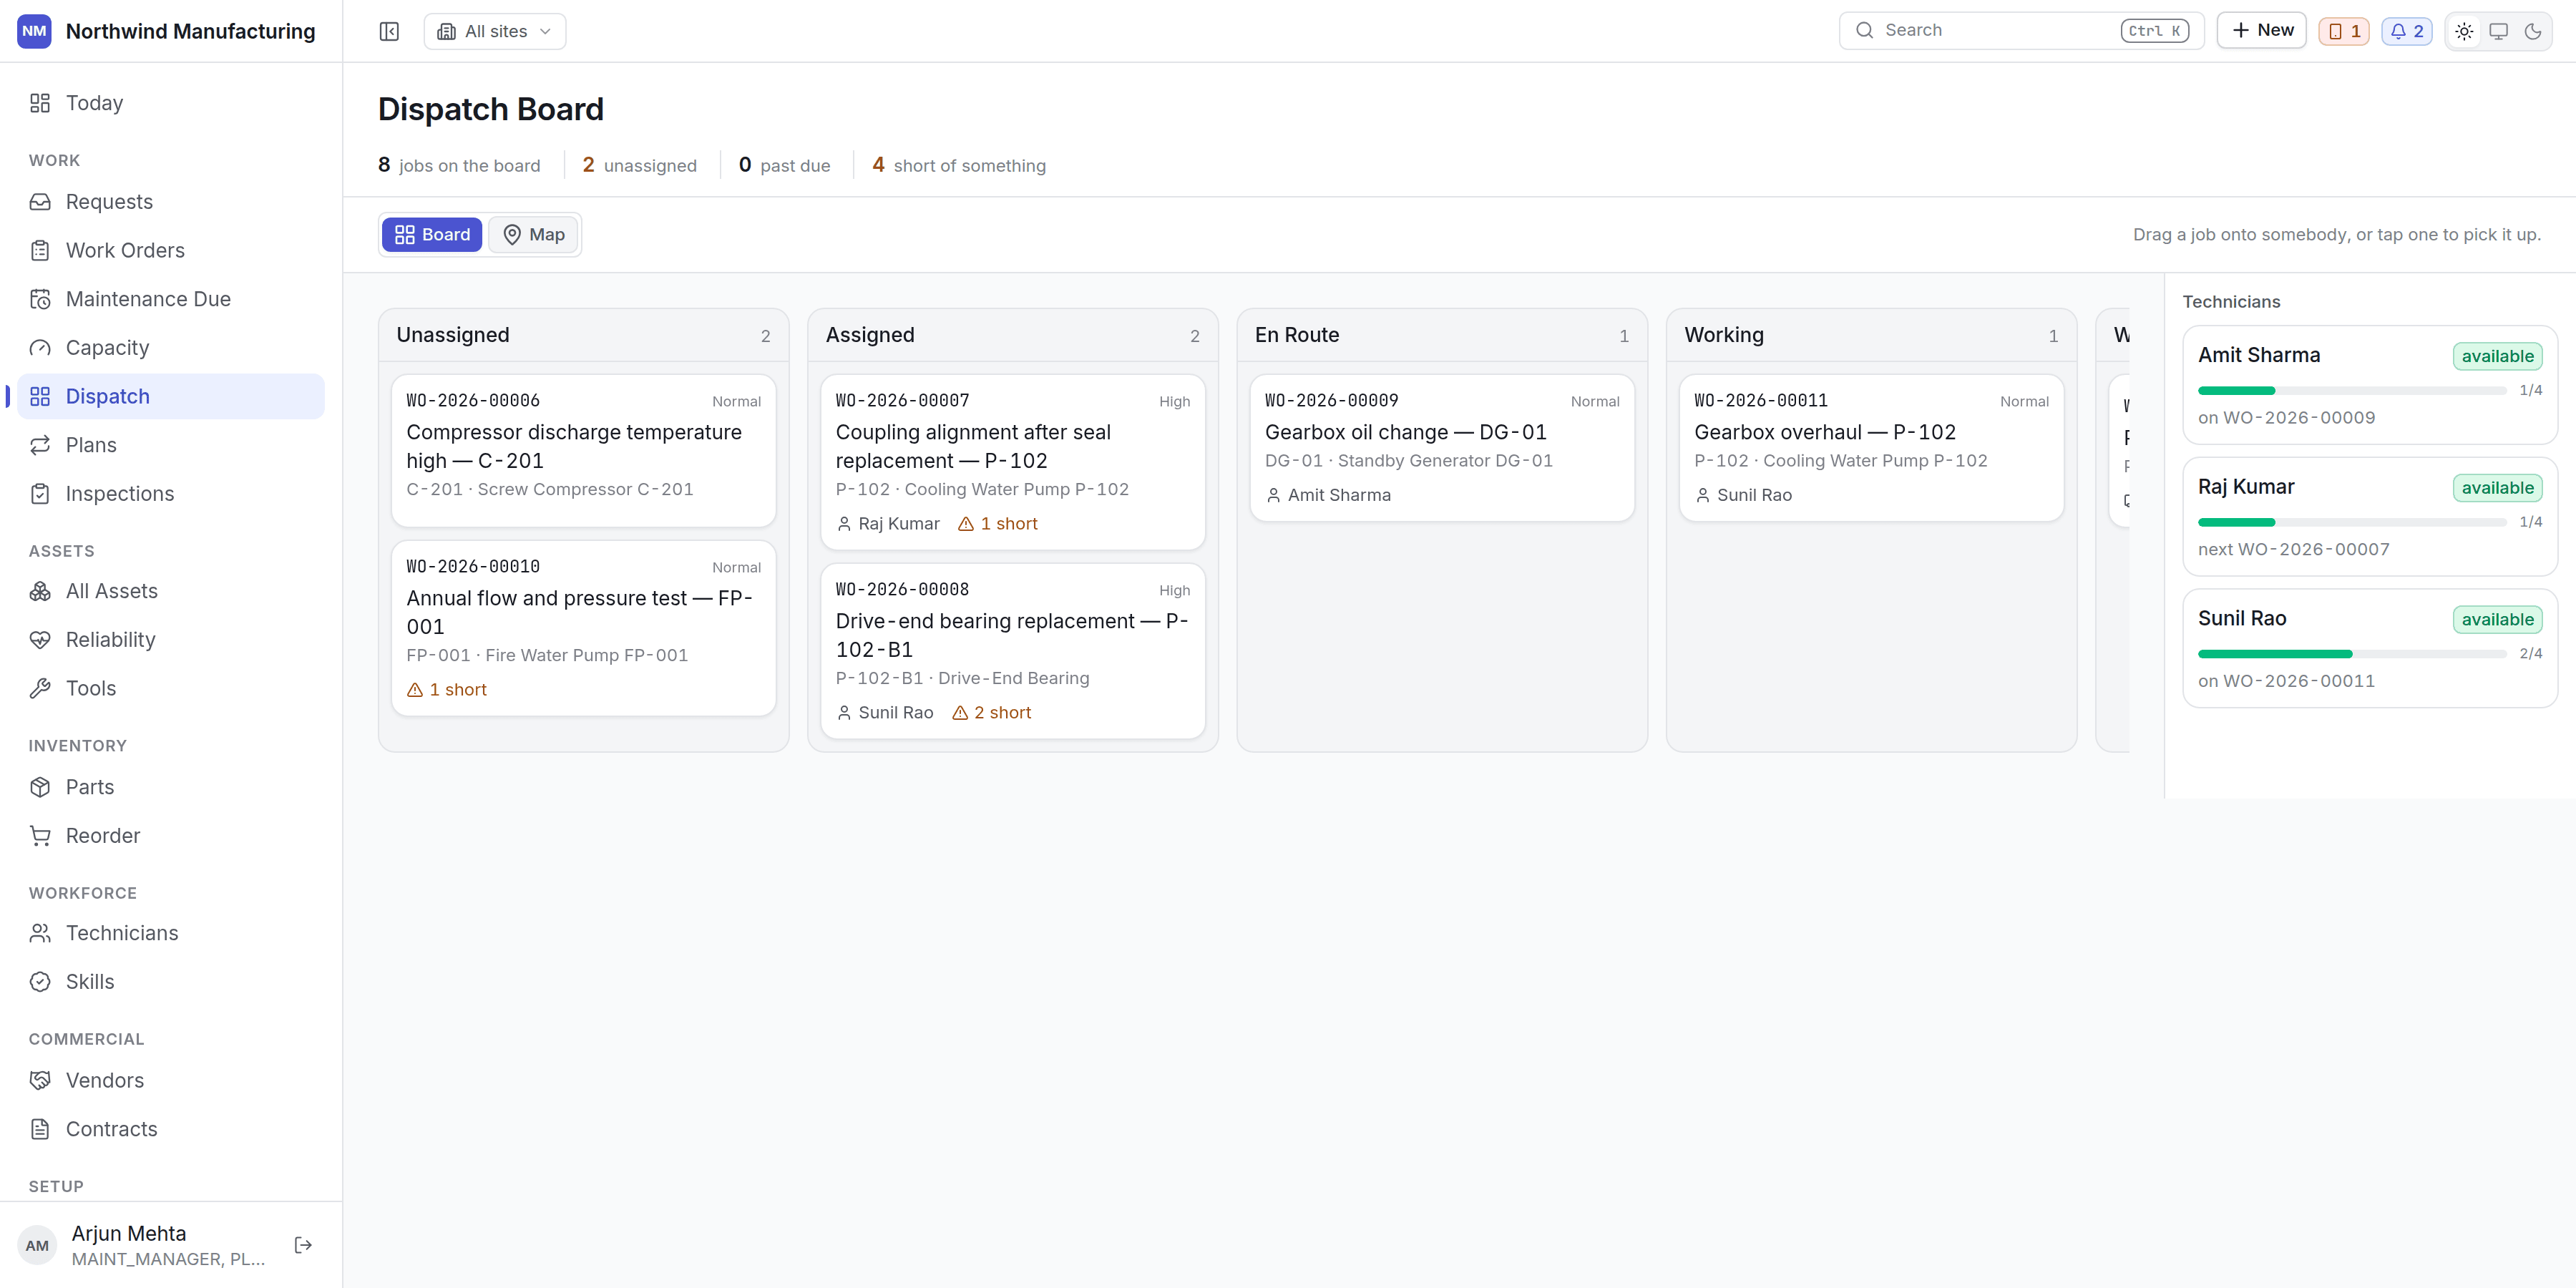
7
Watch it get done, then close it
The technician picks the job up on the field app, works through it at the
machine, and records hours, parts and readings as they go — offline if there is no signal.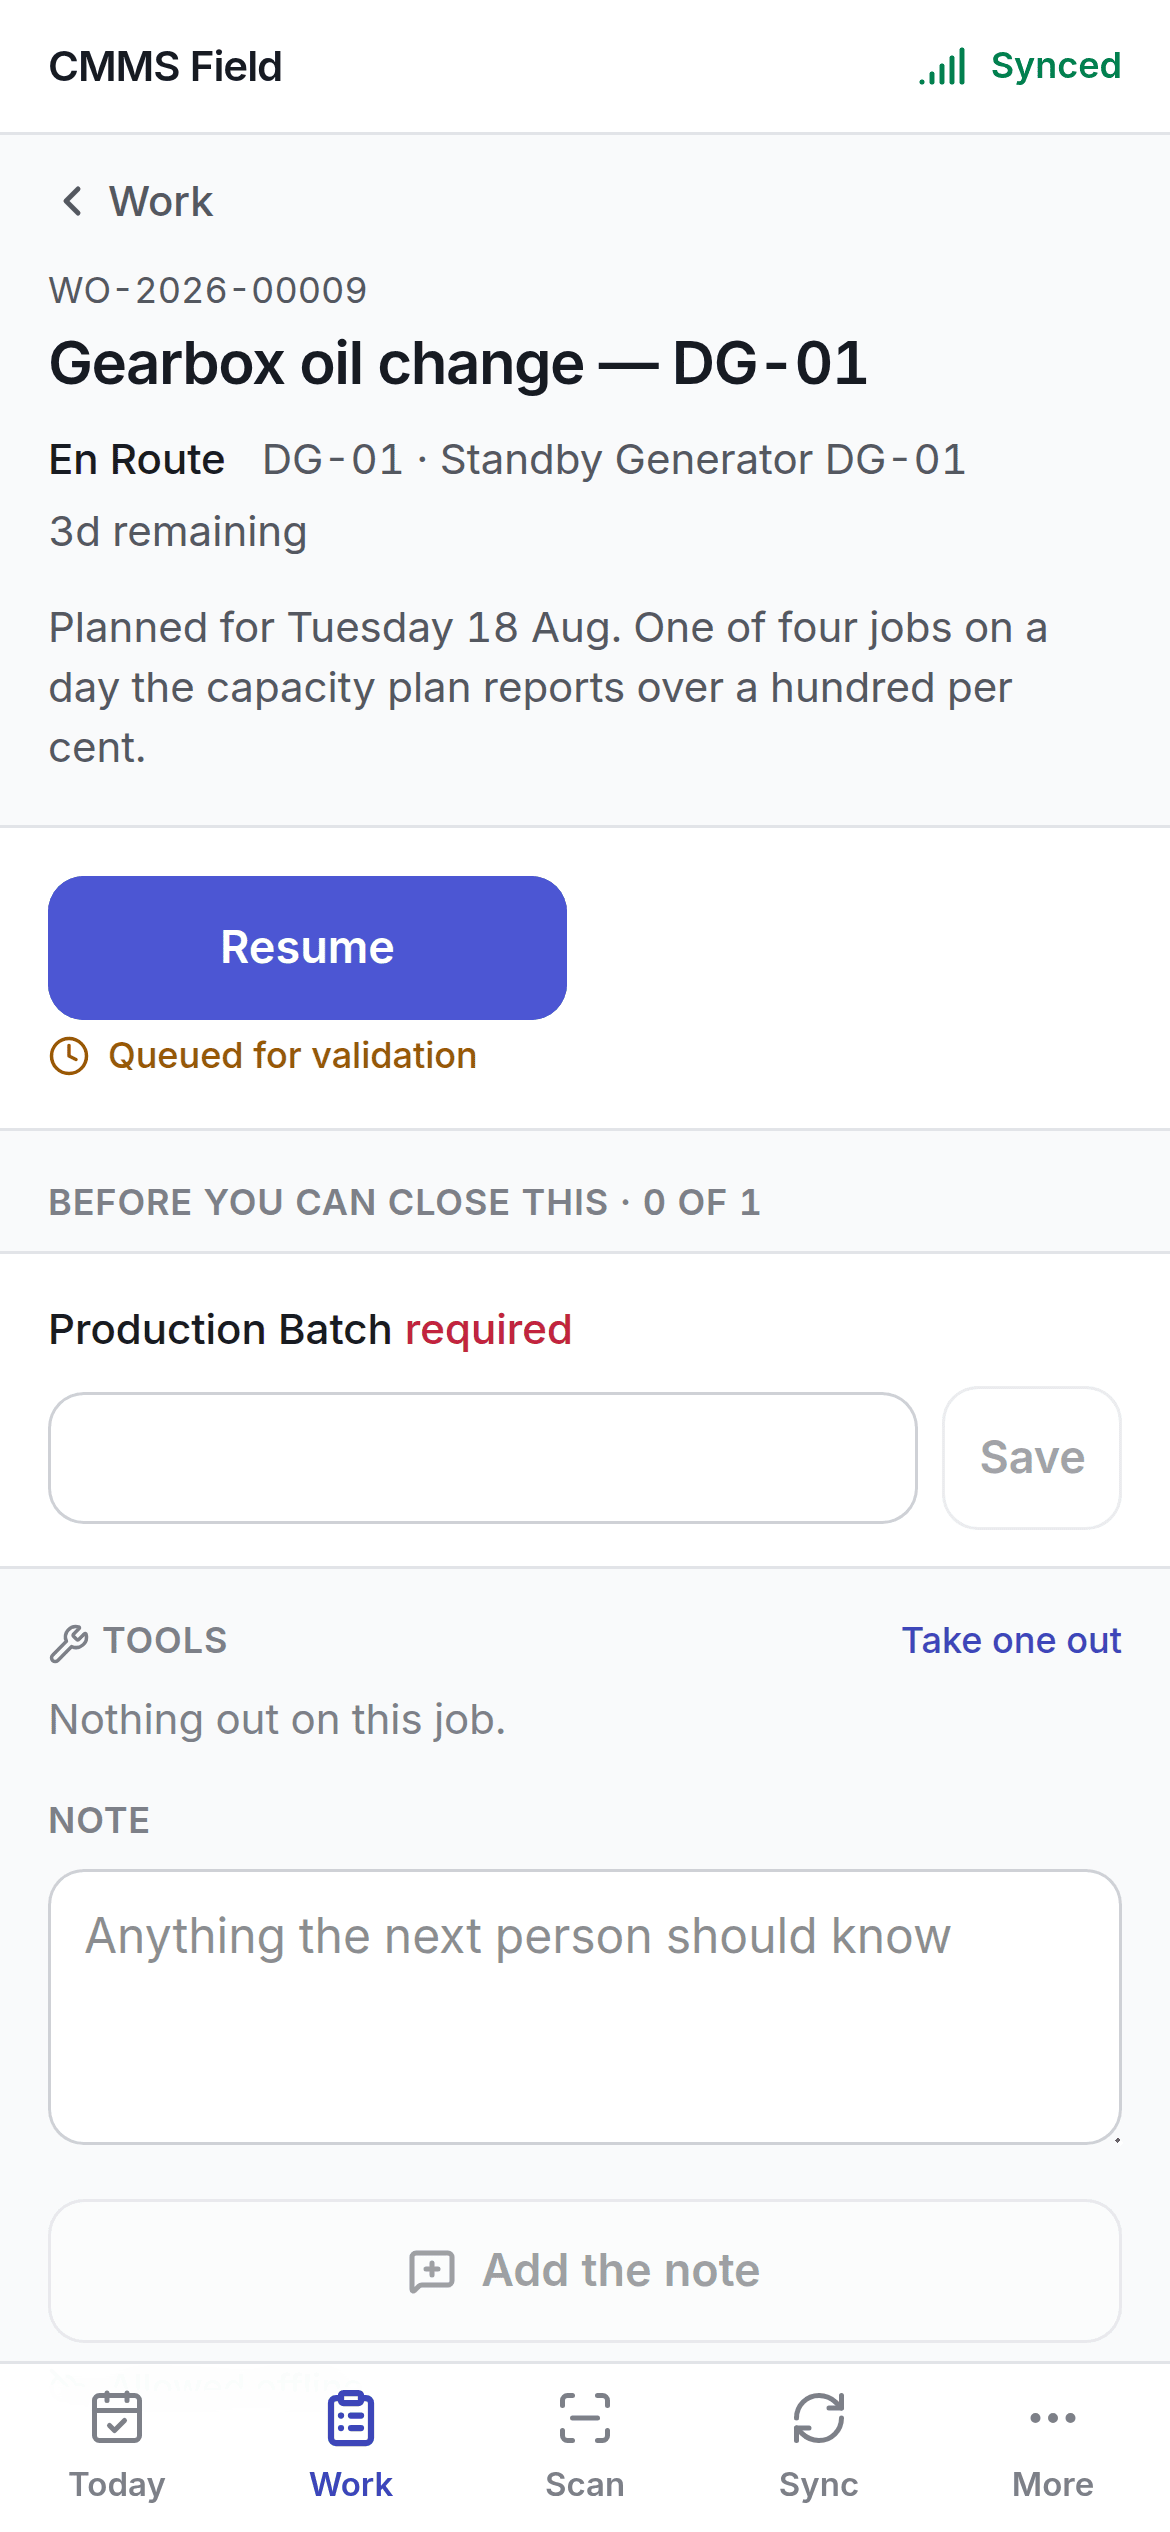
Where to go next
Core concepts
The vocabulary — assets, requests, orders, plans, requirements, entitlements, scope.
Set up preventive maintenance
Build a plan so work raises itself instead of waiting for a breakdown.
Add your assets
The register, the hierarchy, and what a good asset record carries.
Set up the plant
Sites, people, roles, statuses and the fields your plant tracks.